In this post, I’m going to introduce you to an AI video generator, Vidnoz AI, and I’m also going to show you how I go about making a tutorial video with the said tool.
What is Vidnoz AI all about?
Vidnoz AI, in a nutshell, is a free AI video generator that’s pretty easy to use. It boasts over 100 AI avatars and a variety of ready-made templates, making it quick and easy to get started.
It also claims that you can make a video in just one minute. I tested it; well, it took me about 10 minutes to create a video. This included the initial learning curve, from choosing the right text and images to tweaking them and everything in between.
The video I created, which you can view below, may not be the fanciest. However, it gives you a good idea what you can achieve with Vidnoz AI in mere 10 minutes.
Example video:
Creating video with Vidnoz AI
The process begins by deciding the type of videos to create and whether I want them to be in landscape or portrait mode. I intend to create a simple how-to video guide that teaches users “How to Backup iPad on iCloud”, so I head over to the template section, hover over the “3 Step Guide” template, and then click “Use.”
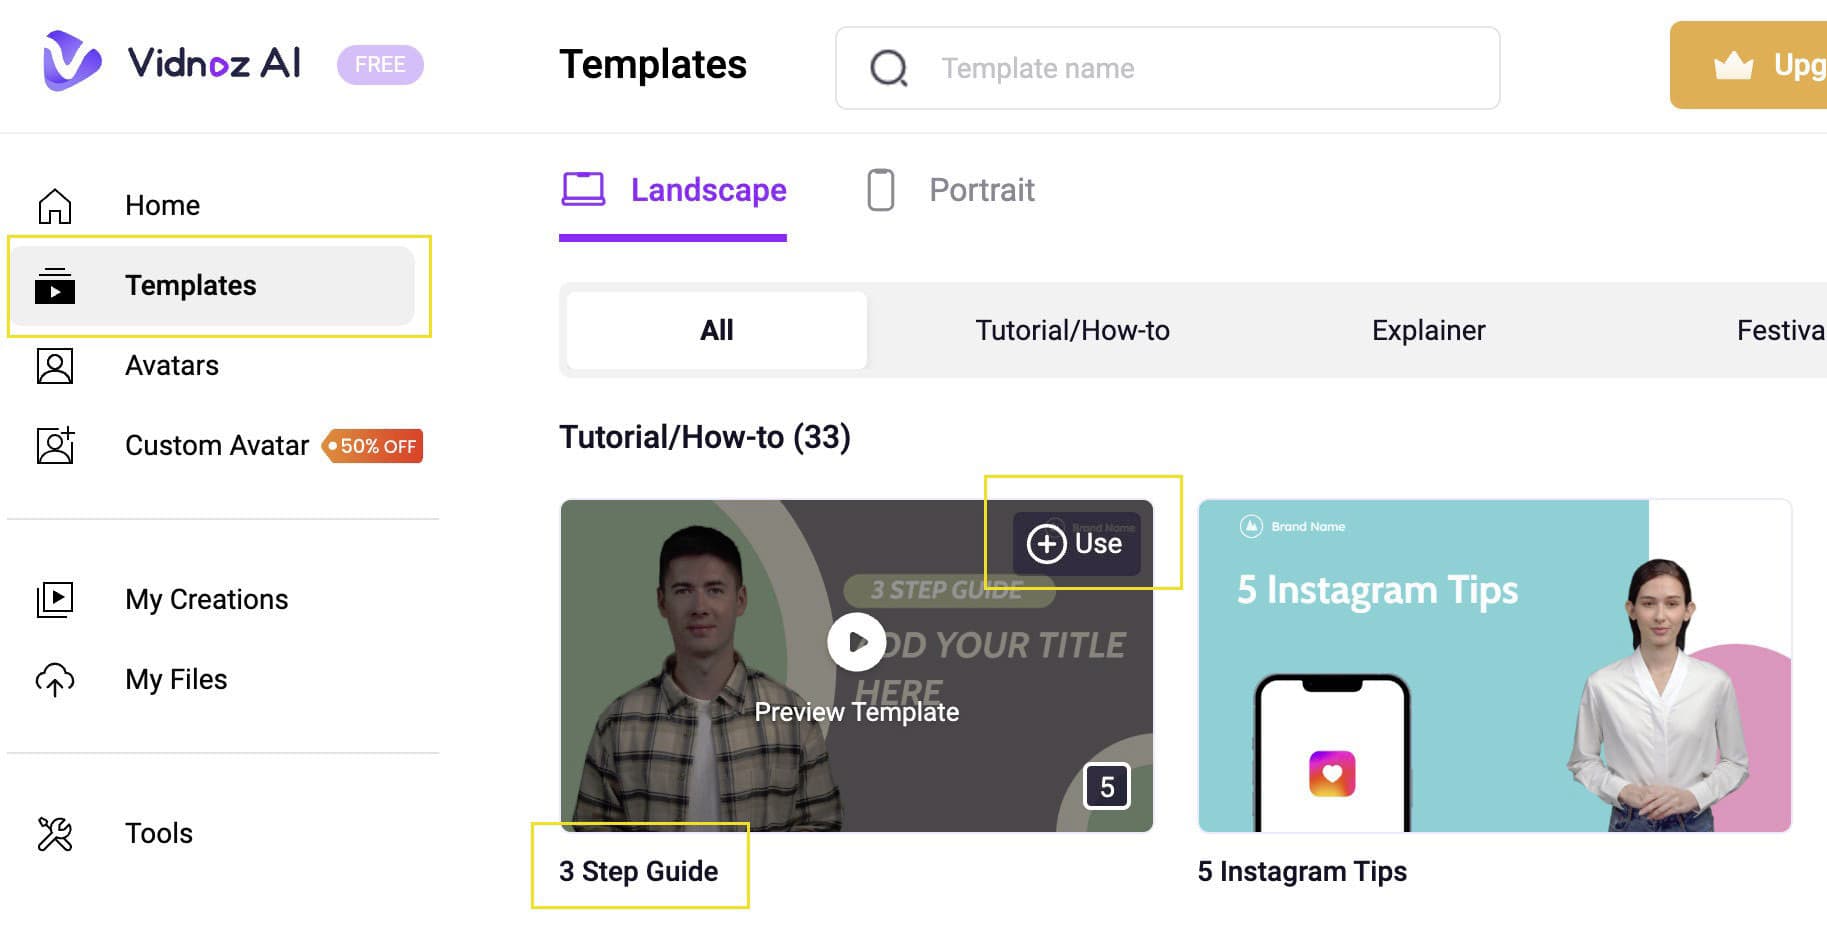
This 3-step guide template comes with five scenes: the intro, each of the three steps, and the outro. There’s also the flexibility to add more scenes if necessary.
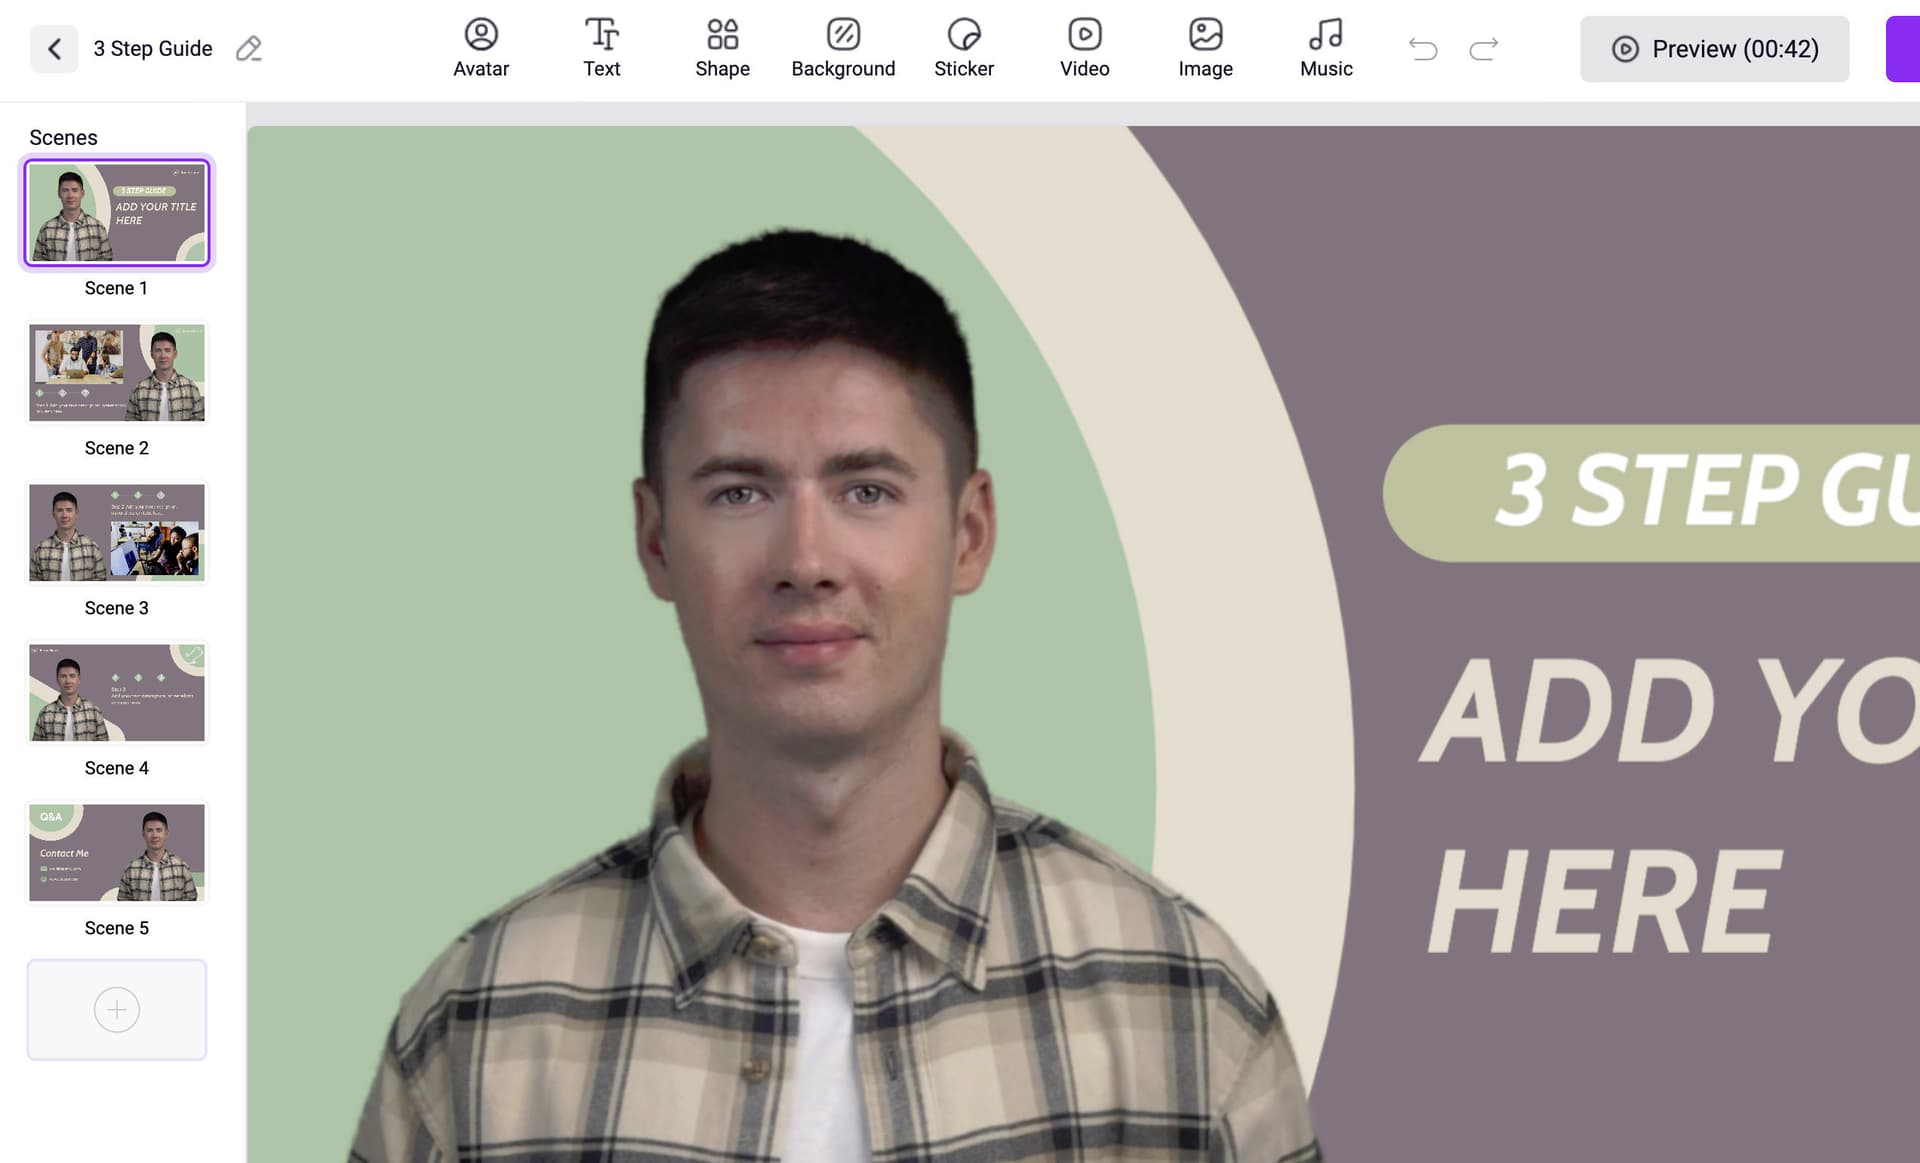
1. Changing the avatar
First, I pick the avatar/character I want and then click “Apply new avatar to all scenes.”
2. Setting the styles
Then, I moved on to changing the background. Preferring something more colorful, I uploaded a custom background image of my own. After that, I deleted all the unnecessary elements that came with the template that I don’t need and repositioned the avatar.
Unfortunately, there isn’t an “apply to all scenes” option, so I’ll have to manually do this for all scenes. Then, I’ll go back to the first scene, change the style of the title and text, and ensure they stay consistent throughout the entire video.
3. Insert content and images
In the “Speech Text” section, I input all the content I want my avatar to speak. Again, this needs to be done for each scene.
4. Preview each scene
With all the content in place, I then go through each scene to ensure the content, text, and titles are correct. There’s also a play icon on each scene to preview how each will play out.
And here’s how all my individual scenes look when I’m finally done.
For the final touch to the video, I added a logo in the top right corner for all scenes.
5. Generate final video
Before generating the video, I clicked on preview again to see how it would turn out. When everything was all set, I then clicked “Generate” to start creating my final version of the video. The time it takes to generate the final version largely depends on the complexity of the video (i.e., the number of scenes).
This 3-step tutorial with 5 scenes took about 6 minutes.
The avatar won’t animate during the preview, only in the final video.
Click here to learn more about the pricing of Vidnoz AI.
Pros:
- Free to use.
- User-friendly interface.
- Wide range of templates for quick video creation.
Cons:
- Absence of an “apply to all scenes” option for certain settings.
Source: Hongkiat/Onehack.us
Happy learning!
 !
!