If you quickly want to free-up memory space on your Windows machine, the best way to do that is to find large files on your Windows 10 PC and get rid of them if they’re no longer useful. The question though is how do you go about searching for large files on your computer?
Windows provides you with multiple ways to find all the large files that are stored in your drives. Either you can use the built-in tools on your machine to look for these files or you can grab a third-party app that will do the task for you. Either way, you’ll find the files that occupy a significant portion of your memory space.
Once such files are found, it’s then up to you what you want to do with them. If deleting them permanently isn’t something you’d like to do straightaway, you can move them over to a cloud storage or to an external hard drive.
Find Large Files In Windows 10 Using File Explorer
File Explorer comes with a lot of hidden features to let you organize, sort, and find files on your computer. One of its abilities is to help you find files that are of specific size on your computer. Using this feature, you can locate those memory-hogging files and get them removed from your PC.
Before you do that, though, you’ll need to first enable the hidden files option. This is to ensure that Explorer looks for large hidden files as well in addition to searching for the normal files.
However, be cautious while dealing with the hidden files. Most of the time, these are system and app related files which, if you delete, will cause your apps to malfunction and even lead your entire system to crash. Before you delete anything, just make sure you know what it is and you’ll be fine.
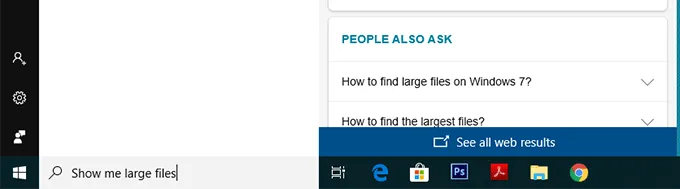
Open the Start Menu and search for Show hidden and click on Show hidden files and folders .

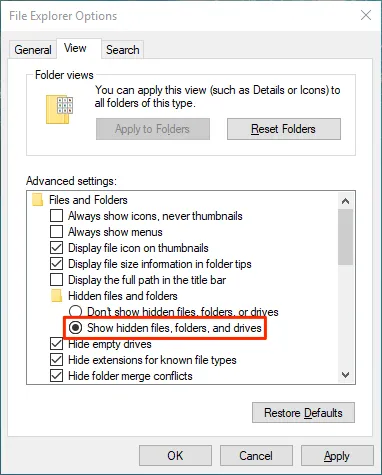
When the dialog box opens, click on the View tab at the top. You’ll see various File Explorer options that you can modify.
Find the option that says Show hidden files, folders, and drives and put a checkmark in it. Then click on the OK button to save your changes.
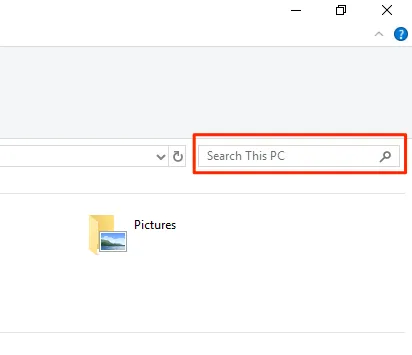
Double-click on This PC on your desktop to launch File Explorer. When the utility launches, click on the search box given at the top-right corner.
A new menu item will be added to the top of your screen. Click on the newly added item that says Search to view further options.
Select the Size option and then select an appropriate option from the list. It’ll let you find large files available on your PC.
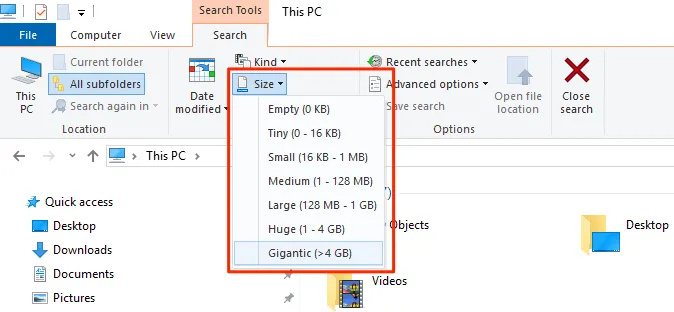
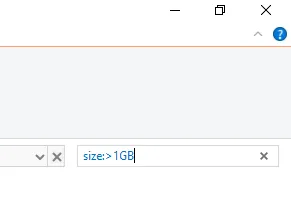
If what you consider as a large file isn’t available in the default menu, type in size:>1GB (replace 1GB with your size) in the search box and hit Enter . It’ll only look for the files that are larger than your specified size.
When the search results appear, right-click anywhere blank and select Sort by followed by Size and Descending . This’ll ensure the largest file is shown at the top of the results.

Search For Large Files In Windows 10 With Command Prompt
If you’re more of a geeky person, you can use the Command Prompt utility to retrieve a list of all the files larger than a specified size value. The files list can be exported to a text file for you to then actually find those files on your machine.
Press Windows + R , type in cmd , and hit Enter to launch the utility.
When it launches, type in the following command and hit Enter . It’ll find all the files that are larger than 1GB in size. You can modify the value in the command so it finds files that you think are large.
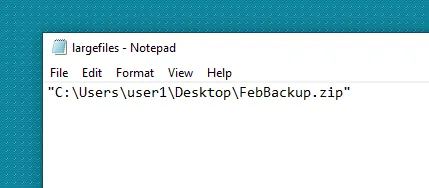
forfiles /S /M * /C “cmd /c if @fsize GEQ 1073741824 echo @path > largefiles.txt

Open the newly created largefiles.txt file and it’ll have a list of all the large files sitting on your computer.
Use Largest Files Finder To Find Large Files On Windows 10
File Explorer and Command Prompt aren’t the only tools to find large files on your Windows 10 computer. There are a few third-party apps as well that can help you find such files.
Largest Files Finder is one of those apps that helps you find the top 100 largest files on your computer. It claims to be only taking a minute to scan drives sized upto 200GB. Also, it doesn’t require any installation and works straight out of the box.
- Download and launch the app on your computer.
- Soon as it launches, it automatically starts searching for large files on your computer. When it’s done, you can review the results for yourself.

If you want to delete any files from the search results, you can do so with ease from within the app. Simply right-click on any of the files and select Delete .
Find Largest Files On Windows 10 With TreeSize Free
TreeSize Free has been around for quite a long time and it helps you find space-hogging files on your Windows computers. It requires a small installation but then it works like a charm.
- Download, install and launch the app on your computer. Make sure to run it with admin rights so it can search the folders that it can’t otherwise.
- You’ll see a tree of your folders along with space they occupy on your screen. You can double-click on any folder to view its subfolders and their sizes.
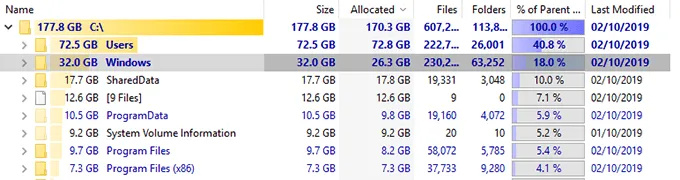
You can then sort the directories by the Size column so that the largest files are always shown at the top.
It has a few customizable options as well should you want to use them. Feel free to play around with any options you think will make it easier to find large files on your computer.
 !
!