Phishing – is the most commonly used cyber-attack. In phishing a malicious user sends a fraud link (in any format that can be a URL, picture, video etc) to a valid user. If the user opens it and fill his/her credentials at same time the malicious user will get users credentials and can use it in any wrong way or for educational purpose. It can be done by many ways.
The name ‘phishing’ used instead of fishing because earlier hackers who breach into the telecom network for making free long dist. calls or tapping a call were known as phreaks therefore ‘ph’ was used here instead of ‘f’.
The first phishing attack was recorded on 2 January 1996 occurred in a UseNet newsgroup named AOHELL.
In phishing a user needs a server, domain, source code.
In earlier 1900’s the user needs to buy a server, domain and has to work on the code which look exactly the same as the original website.
Then after that phishing evolved and cost cut down to zero because of free servers and domains. User only need to work on the source code of the website which take a lot of time.
Now it has become too easy because of tools like social fish, hidden eye etc.
Now coming to hiddeneye.
It is a tool used for phishing.

Step 1: Opening the tool in kali Linux it shows the front end as
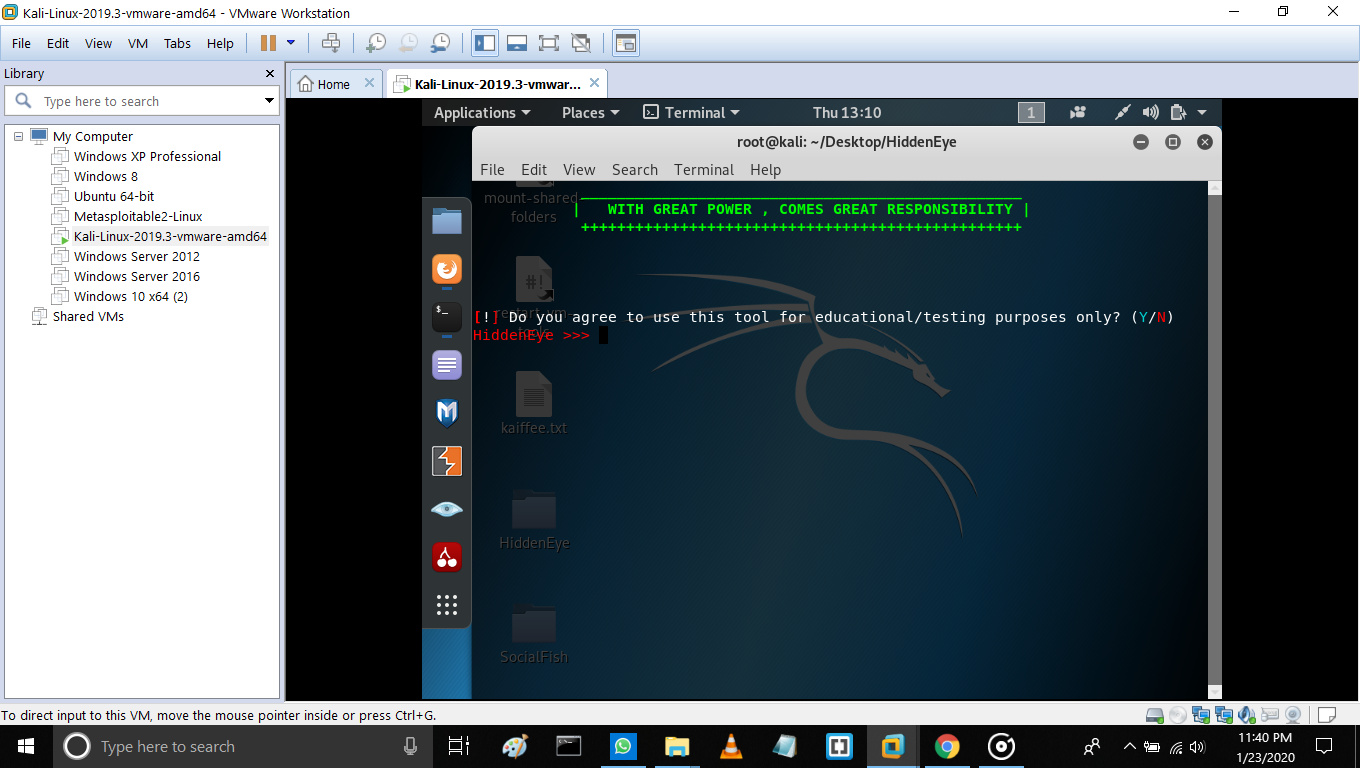
Which ask you if you are using the tool for education purpose or not (y/n)
If {you enter y Then it shows the next page}
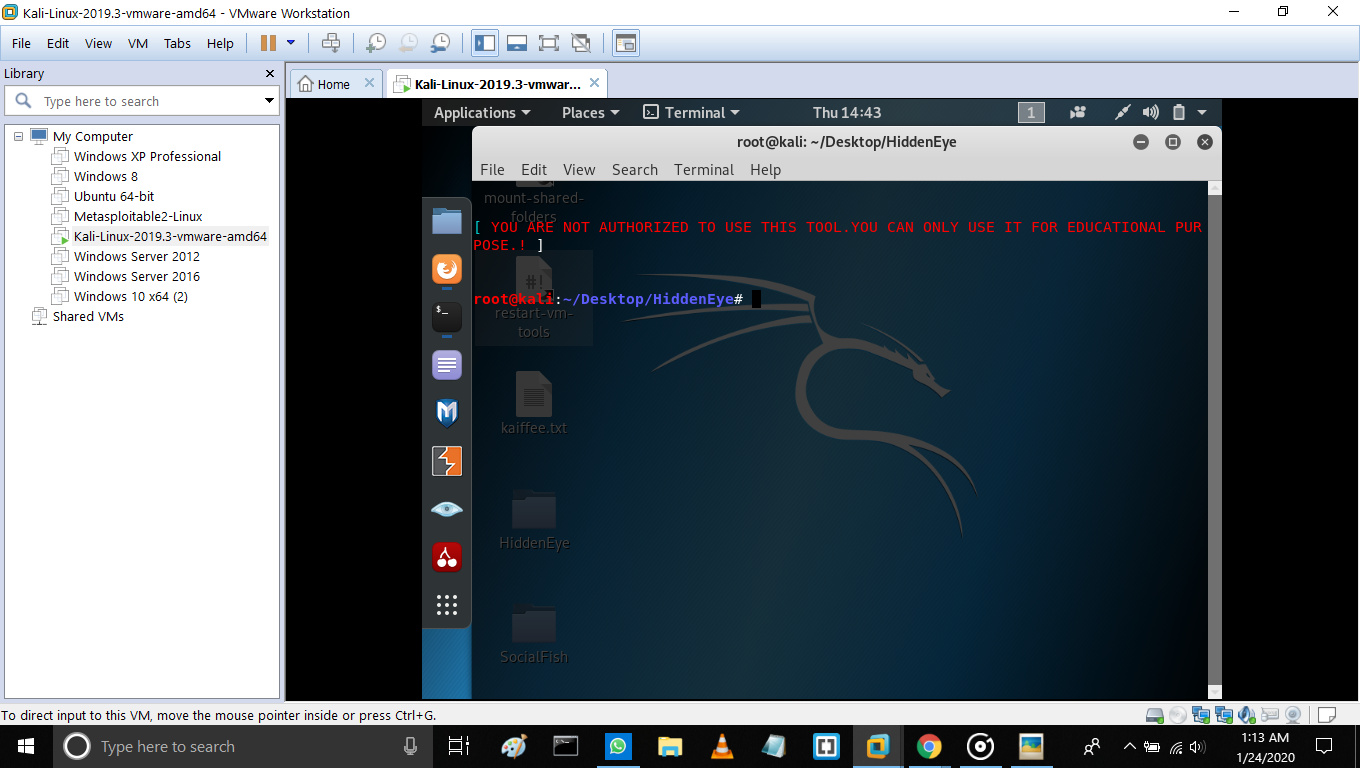
Else {It says you are not allowed to use this tool}
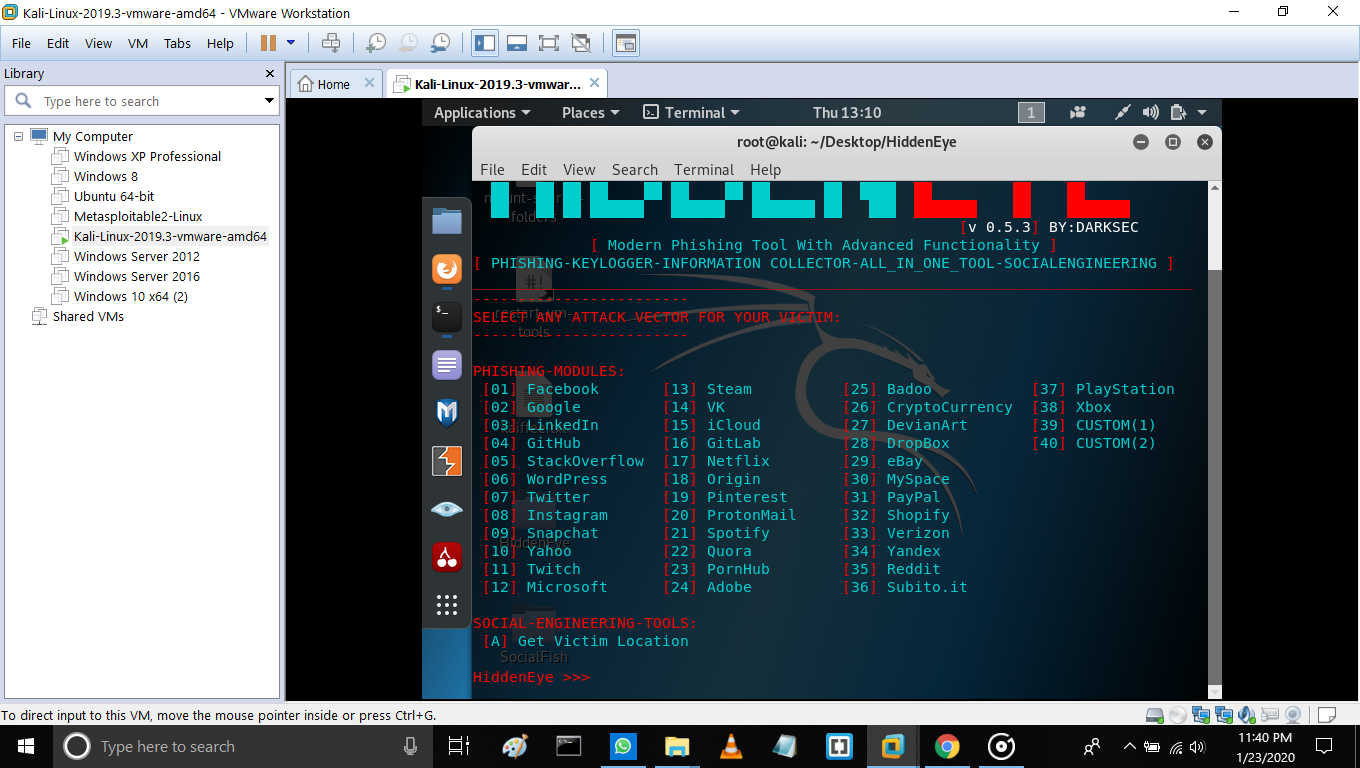
Step 2: if you say ‘y’ in step 1 then
It shows the next page which ask for the attack vector for the victim.
Which shows phishing-modules like Facebook, Instagram
And 2nd phase for social engineering tools.
After we put the input it goes to step 3
I choose one of the phishing modules
Step 3:
It says select any one mode

It shows many options as shown in the screenshot. I choose number 1 that is standard web page phishing.
Step 4: it ask if you want to add the keylogger or not.
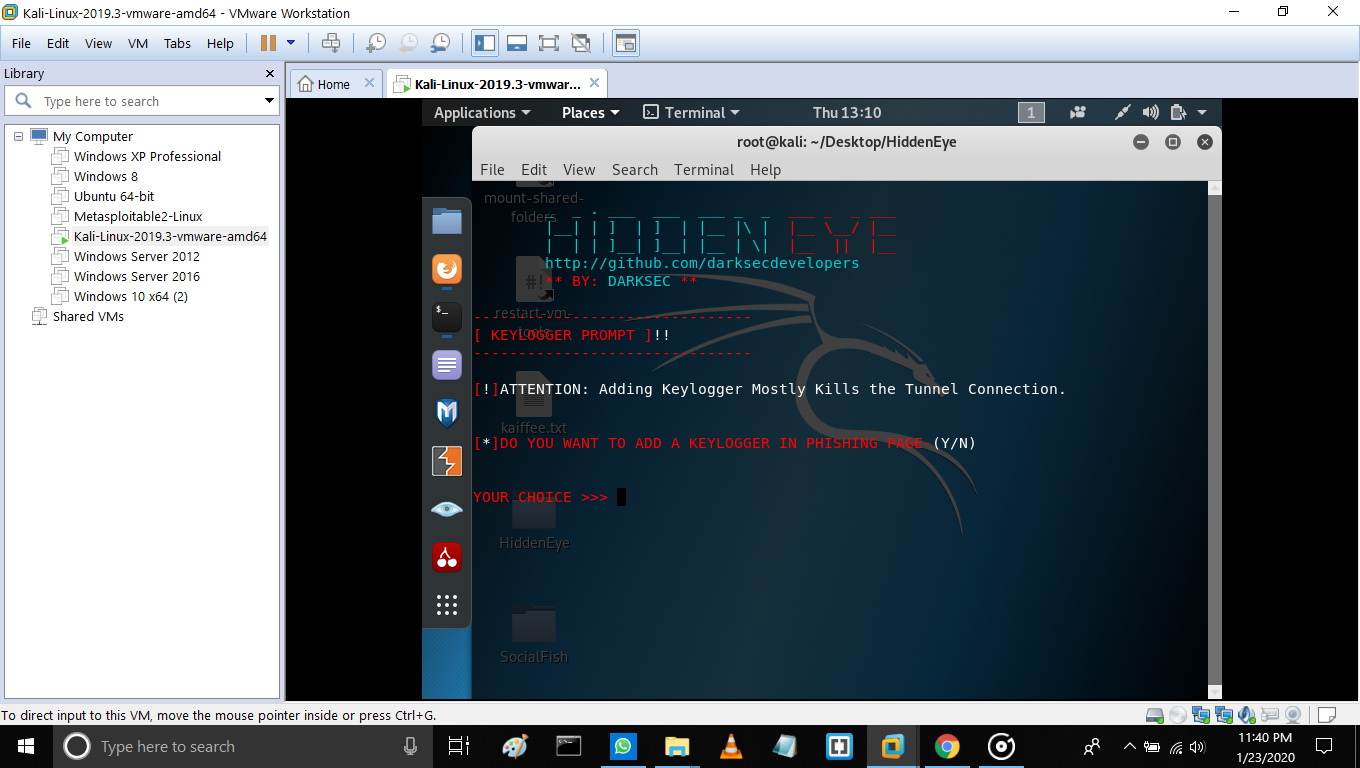
It has options (y/n)
If you choose y then keylogger will be added and if you choose n then keylogger will not be added.
Keylogger: is a program for capturing the keyboard key clicked one after another.
Step 5: it asks if you want to add a Cloudflare protection fake page.
Cloudflare protection: it will send you an email advising you what pages on a site you put phishing contents.

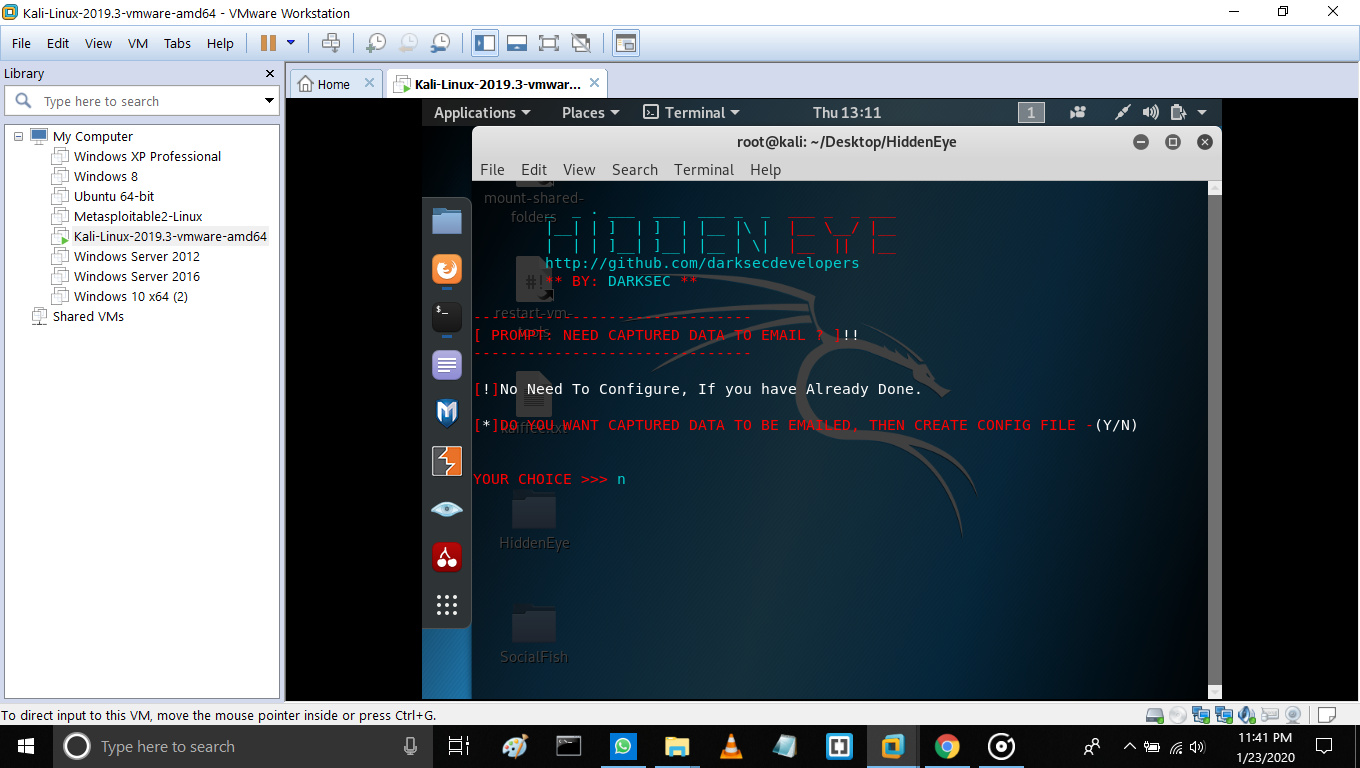
Step 6:
Next page tells if you want the phished data on your email or not?
It gives the 2 option again (y/n)
If you enter ‘y’ then you have to give your email where the phished data should be mailed.
If ‘n’ then it will not send data to any email.
Step 7: it asks for the redirecting link after you get the data then what page it should get redirect.
And it says a warning (do not leave it blank. Unless errors may occur).
Therefore, don’t leave it blank.
Step 8: the next page ask for the port the tool should use from your pc [any free port 1-65535]
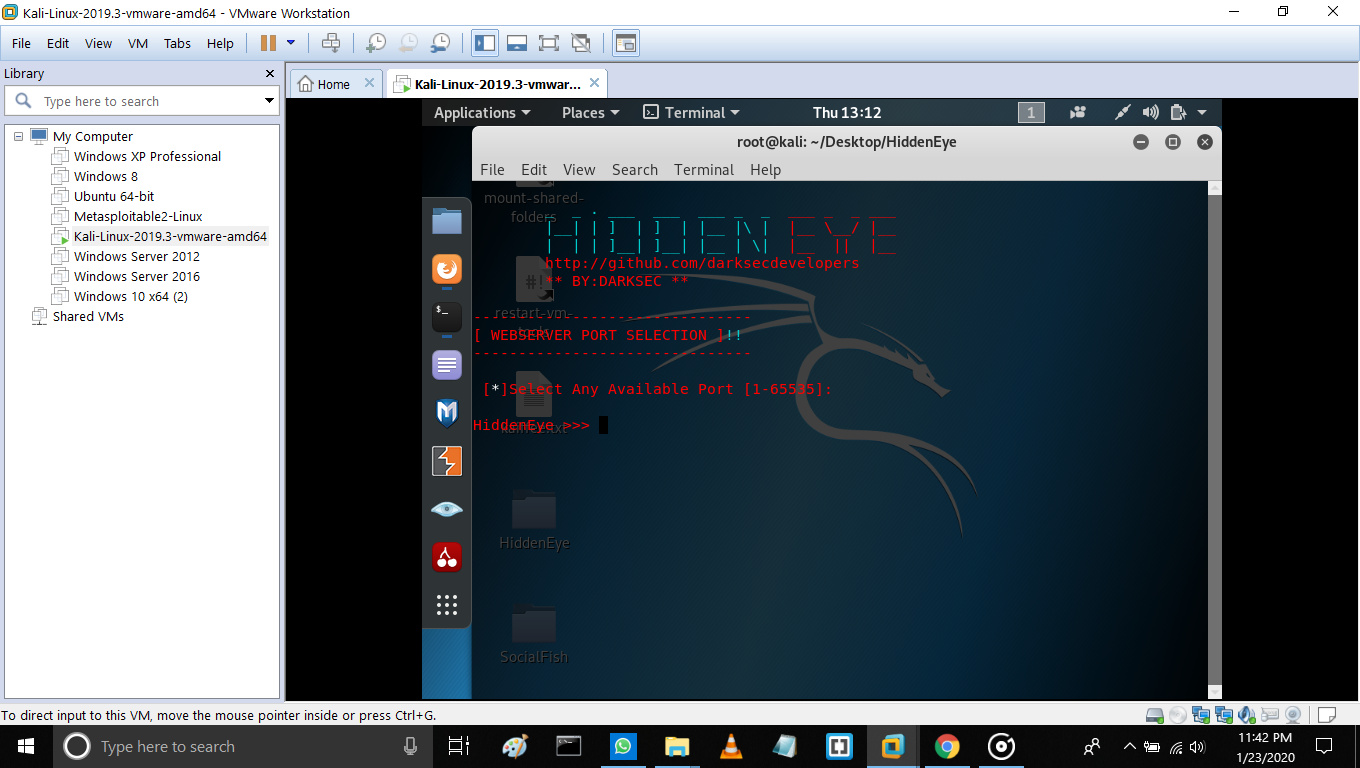
As we put any free port the next page appears.
Step 9: this step asks for any available server. There are some free servers given you can use any server from them.
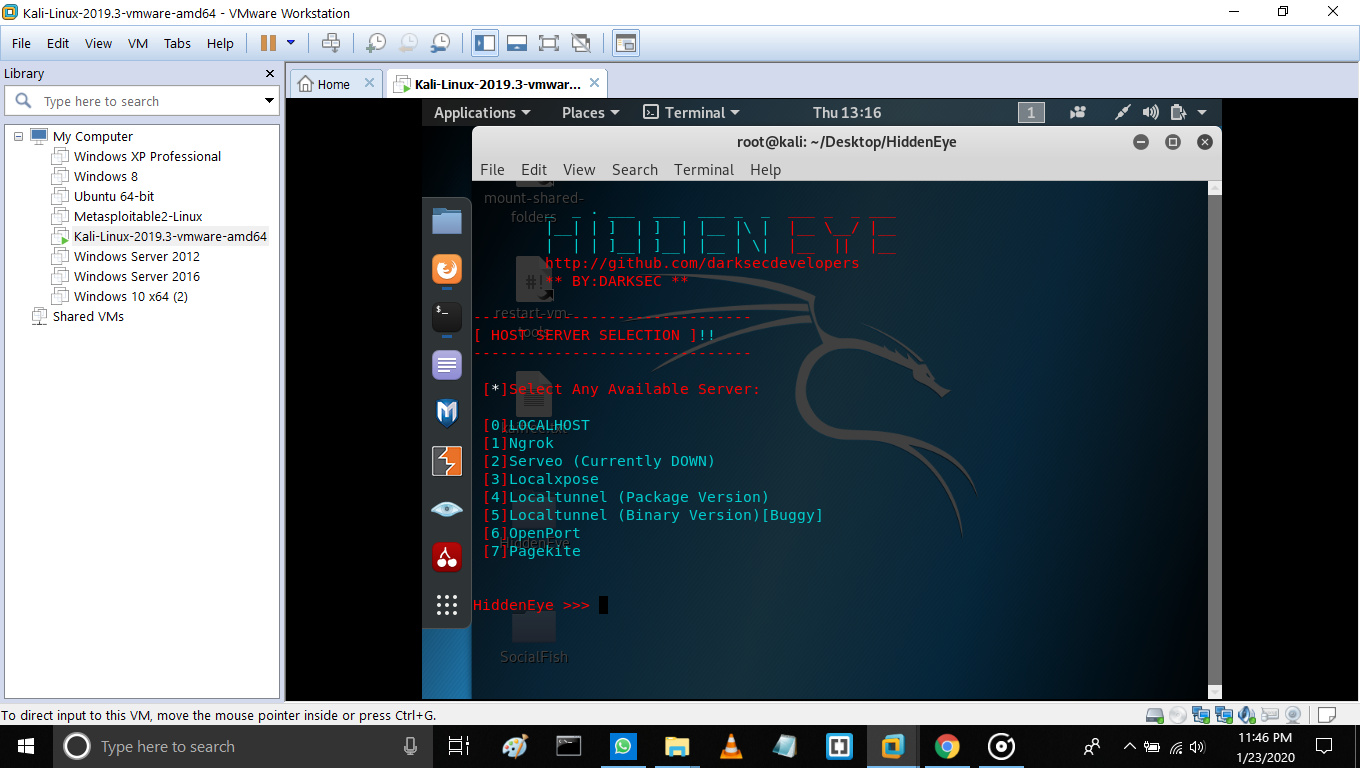
As we use the server it takes us to next page.
Step 10: this gives us the required URL or ask us for the option for making a custom URL or random URL.
If we use a custom URL, we get the URL ready to send.

As we get the URL, we can copy it and send to any user.
As he/she puts its credential. We will get it on our page.
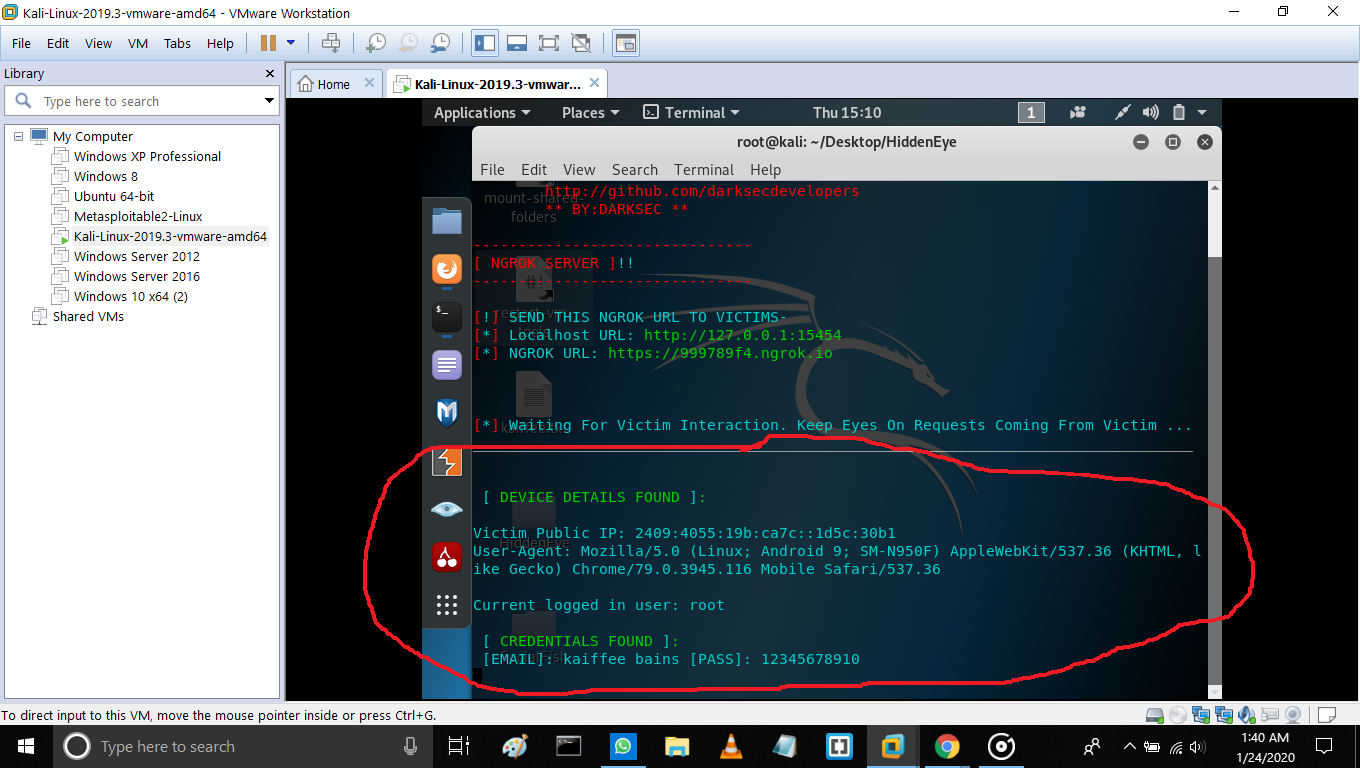
This is how we get the email and password of the user.
Source: hackernewsdog
 !
!