Do you want to manage the Group Policy Objects (GPOs) of several Windows PCs on a network using another Windows 11 PC? The Group Policy Management Console (GPMC) is the tool you need.
The Microsoft Windows operating systems come with advanced administrative tools to control app usage, website access, browsing rights, and more. One such admin tool is the Group Policy Editor. When you connect many Windows PCs to a domain network, you can no longer visit individual systems separately to configure the GPOs. Here, you rely on the GPMC tool.
Usually, GPMC is a built-in feature of the Windows Server operating system. You won’t find anything more advanced than the Local Group Policy Editor on your Windows 11 PC. But, you can still use GPMC on a Windows 11 PC without migrating the admin systems to a Windows Server.
If your plan is just that, then you’re in the right place! Keep reading as I reveal several methods to install Group Policy Management Console on a domain Windows 11 PC instead of the admin Windows Server OS.
What Is Group Policy Management Console (GPMC)?
Group Policy Management Console is a Windows system app that enables you to unify all the Group Policy management tasks across the organization. GPMC is a combination of features and functionalities from the following Windows networking tools:
- Active Directory Sites and Services
- Active Directory Users and Computers
- ACL Editor
- GPMC Delegation Wizard
- Resultant Set of Policy
The GPMC app offers a unified visualization of GPOs, domains, workgroups, organizational units (OUs), and sites across the network. The app is usually for Windows Server operating systems. However, by following some simple tricks, you can install it on Windows 11, Windows 10, etc., PCs.
Why Do You Need GPMC On a Windows 11 PC?
Suppose you created a Windows domain network and connected some Windows 11 and 10 PCs to the network. However, you don’t have a Windows Server PC to manage the domain network. In such a scenario, you can install GPMC on a supported Windows 11 PC and control Group Policy Objects on client PCs. A few other reasons to use the tool are:
- There’s a GUI for restoring, backing up, copying, and importing Group Policy Objects
- Create and change migration tables
- Delegate Group policy features
- Easy management of GPO security
Now that you’re familiar with the GPMC tool, let’s explore some methods to install it on a client Windows 11 PC.
How to Install Group Policy Management Console
There are three methods to install the app on a Windows 11 PC. You can only install GPMC on a Windows 11 Professional or Enterprise Edition OS. If you’ve got a Windows 11 Home Edition PC, you must buy Windows 11 Pro to activate GPMC.
Installing GPMC From Windows 11 Settings Tool
This is the most intuitive way to get GPMC support on a non-server Windows 11 PC. Here are the steps you can follow:
- Press the Windows + I keys together to open the Settings app.
- On the left-side navigation panel, you should notice the Apps menu. Click on that.
- Inside the Apps window on the right side of the Settings app, select the Optional features menu.
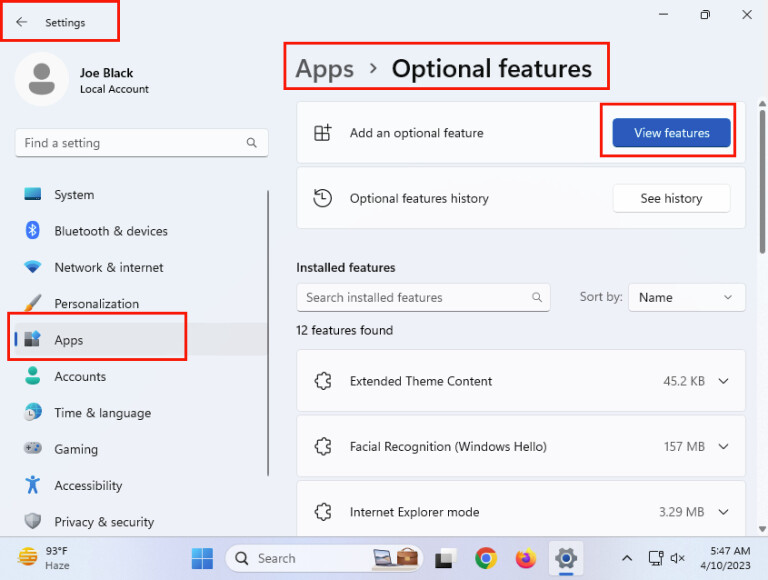
- Click the View features button and a search field will show up.
- Search for RSAT.
- Several search results will show up.
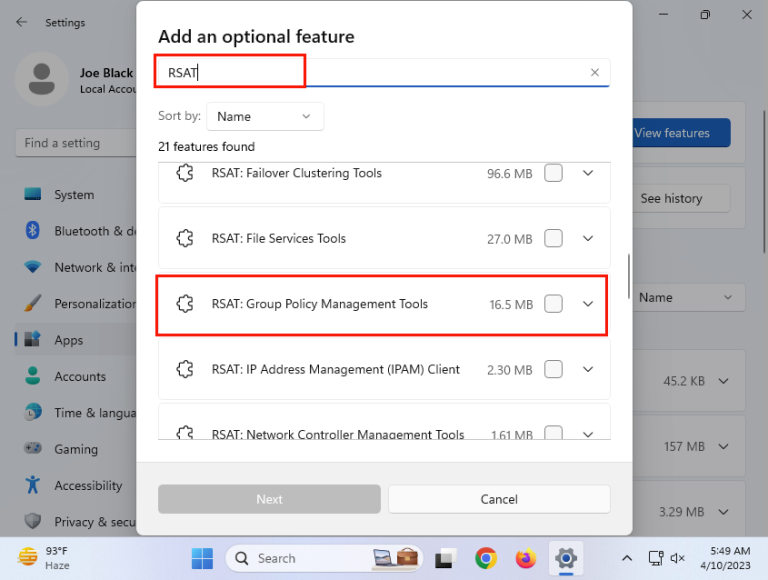
- Scroll the results to find the RSAT: Group Policy Management Tools option.
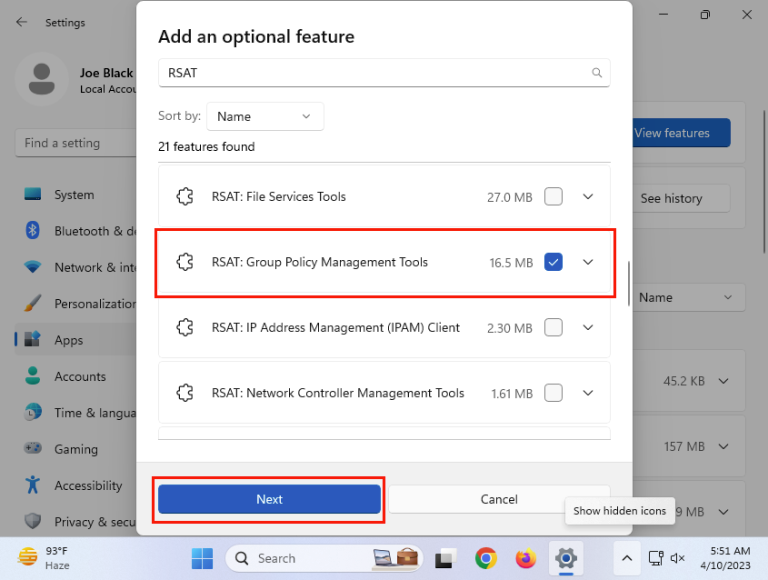
- Checkmark the box next to the GPMT feature and click Next on the Add an optional feature dialog box.

- You should now see a summary page showing the modules Windows 11 will install when you approve the action.
- Click Install to approve the action.
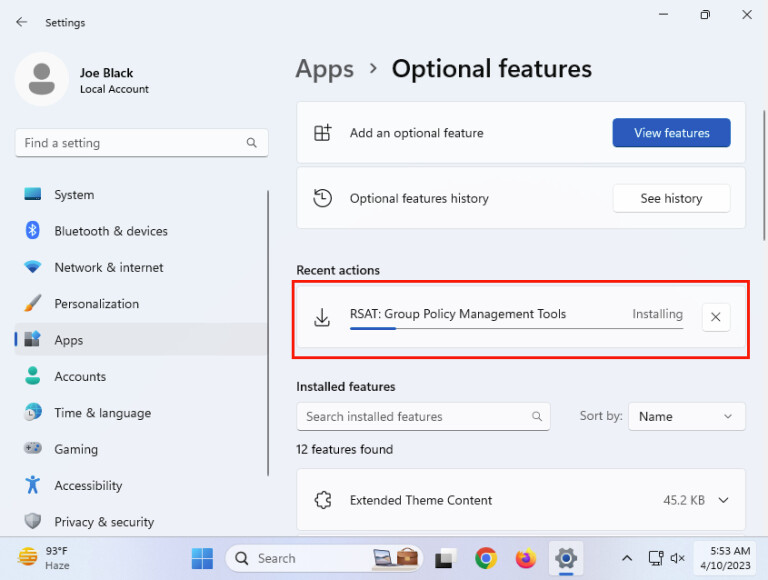
- Then, you must see that the RSAT app is being installed with a real-time progress bar.
Just wait for the downloading and installation to finish and you’ll get the GPMC tool on a non-server Windows 11 PC.
Use A PowerShell Command to Install GPMC on Windows 11
Suppose, you don’t find the RSAT: Group Policy Management Tools optional feature installation option on the Windows 11 Settings app, you can follow these steps too:
- Click the Start button on the target Windows 11 PC and type PowerShell.

- Select the Run as Administrator link on the right side of the search result.
- Once the PowerShell app opens, copy and paste the following code onto the app:
DISM.exe /Online /add-capability /CapabilityName:Rsat.GroupPolicy.Management.Tools~~~~0.0.1.0
- Hit the Enter key to execute the command on PowerShell.
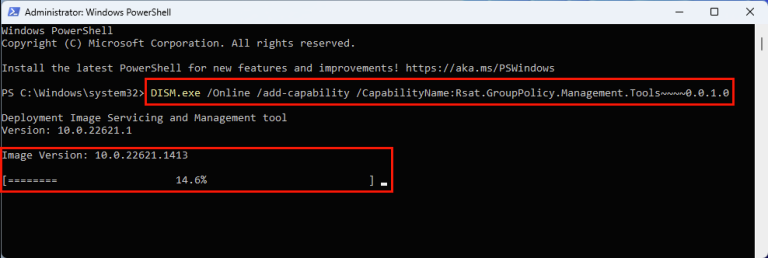
- Wait for the Windows Terminal app to download and install the GPMC tool.
- If you ever need to remove GPMC from a non-server Windows 11 PC, run the following code on PowerShell:
DISM.exe /Online /remove-capability /CapabilityName:Rsat.GroupPolicy.Management.Tools~~~~0.0.1.0
Install GPMC From a Downloadable RSAT Package
If none of the above methods work for you, then the fail-safe method is installing a package from Microsoft to get the GPMC interface on your Windows 11 PC. Here are the steps you can try:
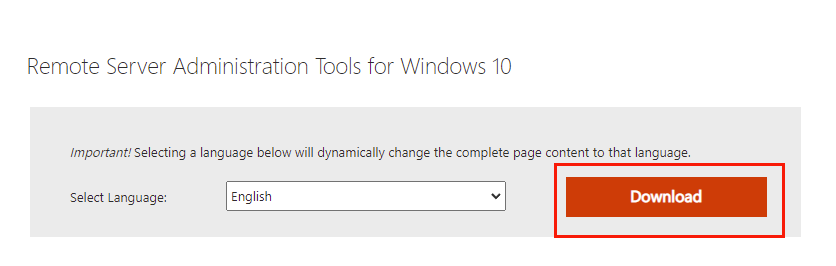
- Visit the Remote Server Administration Tools for Windows 10 portal and get the installation package by clicking the Download button.
- You’ll see two files on the download portal. One is for 64-bit Windows and the other is for 32-bit Windows PC.
- Since you’re on a Windows 11 PC, you must download the 64-bit editions of the RSAT package.
- Select WindowsTH-KB2693643-x64.msu and click the Next button.
- The download will begin instantly.
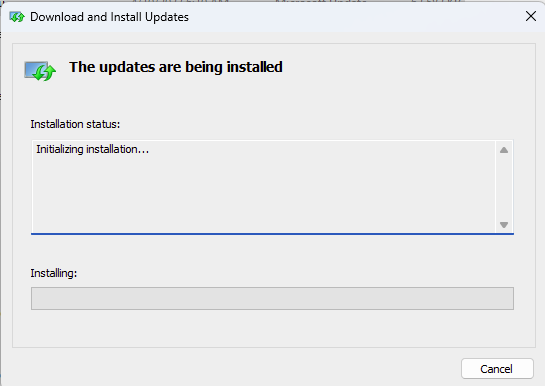
- Go to the package directory and install the tool.
- Once you see the Installation Complete window, click the Close button.
That’s it! You’ve successfully added the Group Policy Management Console using the RSAT package installer.
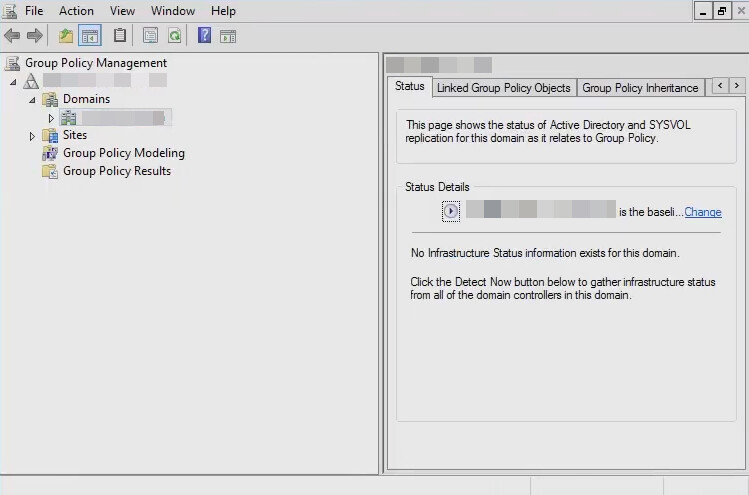
How to Open Group Policy Management Console
Now that you installed GPMC, it’s time to verify whether the tool is working or not. Find below the steps to open the utility on a client Windows 11 PC:
- Hit the Windows + R keys together.
- The Run command box will open in the lower-left corner of the Desktop screen.
- Type the following command into the Run box and hit Enter:
gpmc.msc
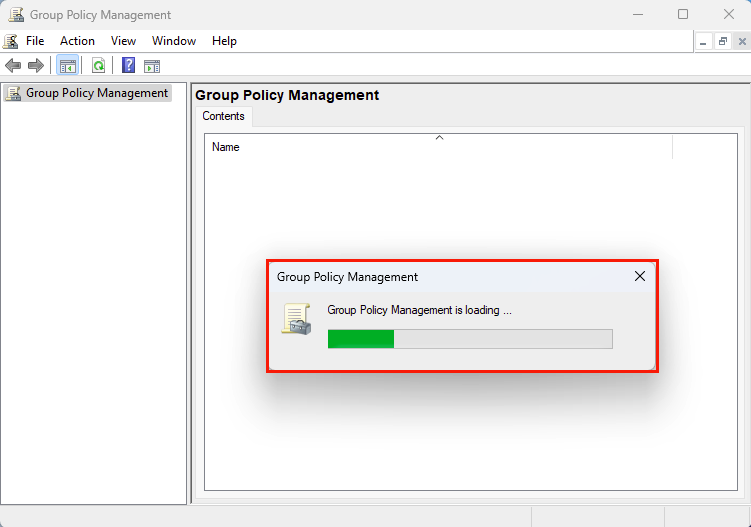
- The GPMC tool will open.
- Alternatively, you can click the Start menu and type Group and the GPMC tool will show up in the Start menu search results.
- Click the app to open it.
- The app won’t work on the PC if currently logged into a local User Account.
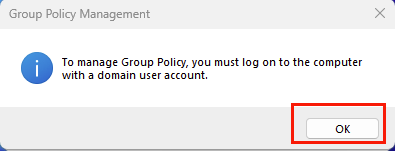
- When using GPMC from a local User Account, you’ll see the above error.
- You must sign out of the local User Account and log in again using the Windows domain account.
FAQs
How to Install GPO Management Console?
The GPO Management Console is the same as the Group Policy Management Console (GPMC) tool. Follow the installation methods mentioned above in this article to get the app on a non-server Windows 11 PC.
Why can’t I find Group Policy Editor in Windows 11?
The Local Group Policy Editor and GPMC aren’t part of Windows 11 Home Edition PCs. Hence, you won’t see these apps or options to install on Windows 11 Home.
Conclusion
If you don’t have access to the server PC for urgent modification of GPOs on domain PCs or networked PCs, then you can conveniently use the GPMC from any of the PCs in the domain. You can just log in to the domain PC using your admin account on the network.
The only barrier is Microsoft doesn’t readily make GPMC available on client PCs. But you need the GPMC tool to change GPOs. In such a situation, resort to any of the above methods to install GPMC on a client Windows 11 PC rather than a Windows Server. (Source: technipages)
Happy learning!