In this post, we are going to discuss how to add image watermark and text watermark in Google Docs, as well as removing them.
Adding Watermarks in Google Docs
It is really easy to add a watermark in Google Docs. To do that:
- Open a Google Docs document and from the top menu, select Insert > Watermark.

- You’ll be able to see the option to add a watermark on the right panel. From here you can either add an image watermark or a text watermark.
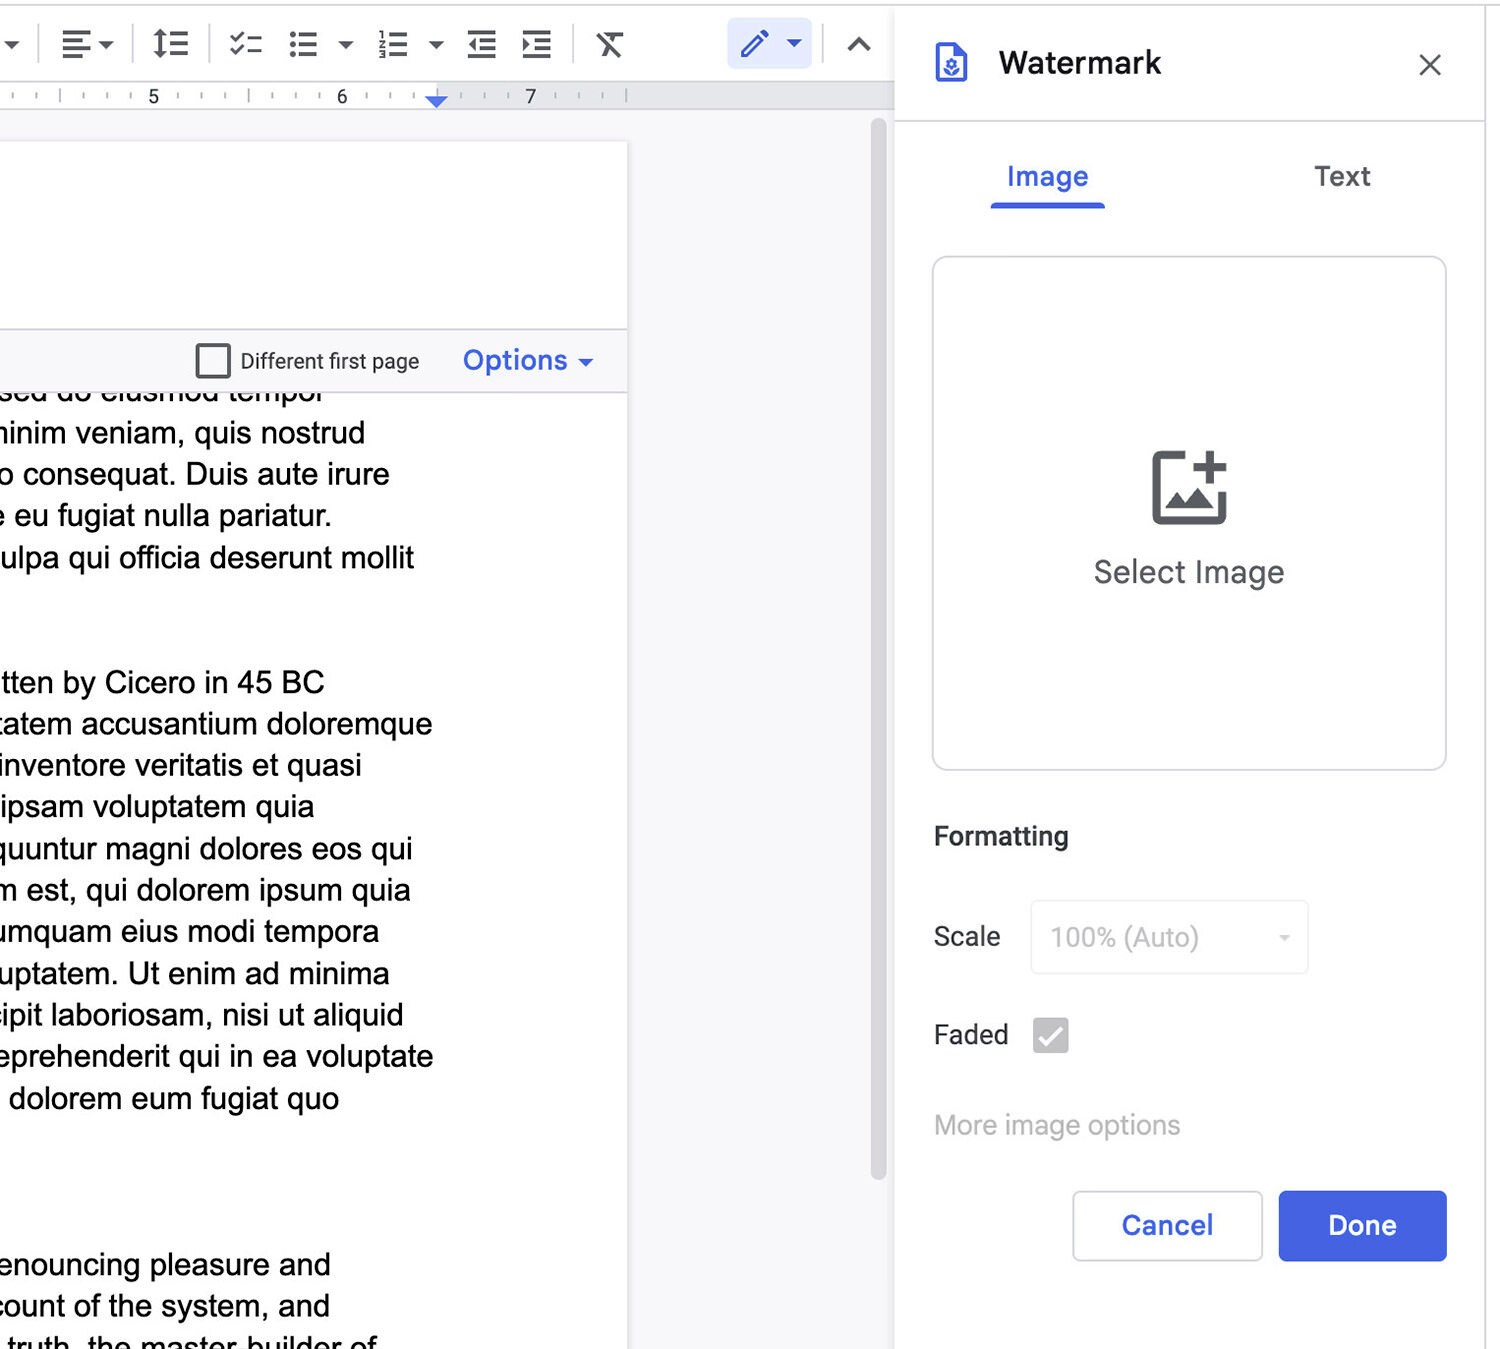
Adding a Image Watermark
To add an image watermark, click Select Image and then drag your logo or image on it, and that’s all!

Your watermark, by default, will appear right in the middle, obvious, and probably affecting the readability.
By tweaking the Scale , and or Fade option, you can make it look better, as though it is behind the text.
You can also go into the More image options , play around with Size & Rotation , Position and Adjustment to make your watermark look nicer.
The added watermark will appear exactly the same way on every page of that particular Google Docs file.
To remove the added watermark, simply click on the Remove watermark below.
Adding a Text Watermark
Adding a textual watermark is even simpler. Just go over to the Text tab, add in your watermark text, customize the formatting, and you’re done!
You can also adjust the transparency of the watermark and its position to your liking.
Happy learning!
 !
!