Microsoft allows you to install Windows 11 via a registry hack but that is not the only way to bypass the requirements checks like TPM 2.0, Secure boot, and more. You can simply remove the appraiserres.dll file in the Windows 11 ISO file to make the Setup avoid these checks and install Windows 11 on any unsupported hardware too. That method requires you to edit the ISO file to remove the appraiserres.dll file, which is not hard, but thanks to Rufus, you have an easier way to do this.
Read on to find how you can disable the Windows 11 requirements like TPM 2.0, Secure boot, RAM, etc. to install Windows 11 on an otherwise not supported PC.
Step 1: Disable Secure Boot
Before you can proceed with the guide below, we implore you to check your system for Secure Boot. If you have Secure Boot enabled on your system then you need to disable the same before you can install Windows 11 using the method below. If Secure Boot is enabled during the installation process then Windows 11 will automatically check for TPM 2.0 and fail the process if it is not present.
Secure Boot is usually disabled from the BIOS menu and we recommend you check your manufacturer’s website for detailed steps to disable the same. Once disabled, you can use the steps below to create a boot media with disabled Windows 11 checks. Let’s get started.
Step 2: Create Windows 11 bootable USB drive with TPM and Secure Boot checks disabled
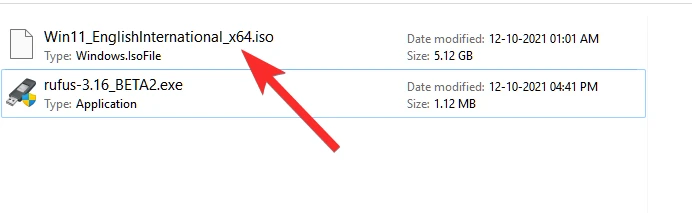
Download the Windows 11 ISO file from Microsoft from here.
Plugin a USB pen drive into your PC.
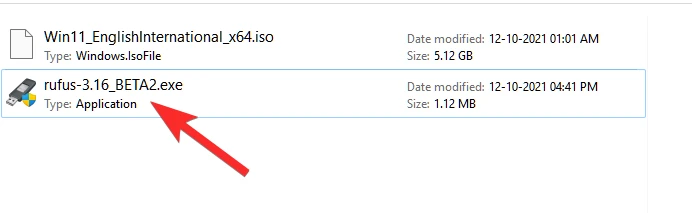
You need Rufus v3.17 or higher for this to work out of the box. Rufus first introduced this functionality with the release of v3.16 Beta2. Use the link below to download the latest version of Rufus to your system.
- Download: Rufus v3.17 | Download Link | Download Link (Portable)
Download the latest version of Rufus from the above link. With the file saved on your disk, double-click on it to run Rufus. (Grant admin access when it asks for it in a pop-up.)
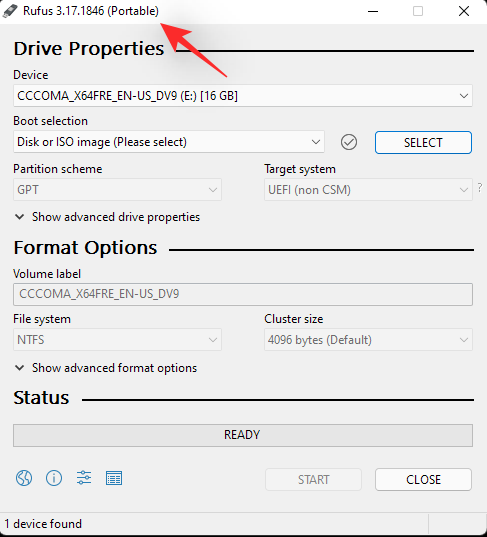
You will see Rufus v3.17 in the title bar.
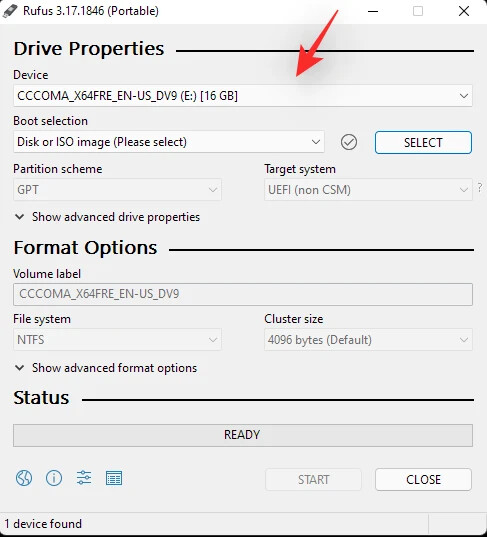
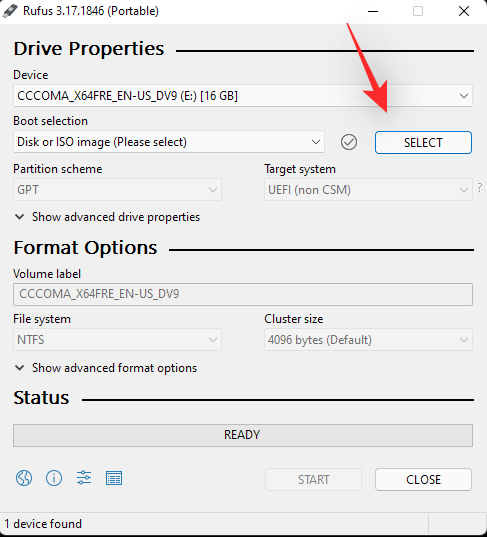
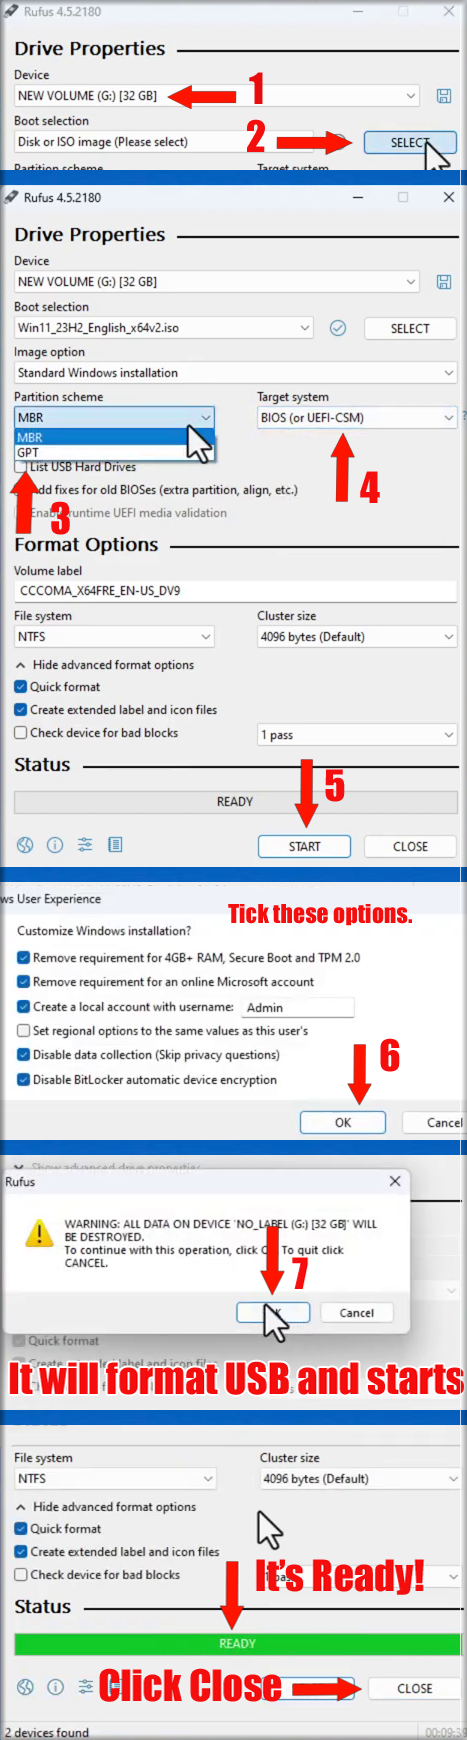
Rufus will detect your USB device automatically. If you have more than one external storage device connected, you can select your USB device from the first drop-down menu.
Now, click SELECT under Boot selection to select the Windows 11 ISO file.
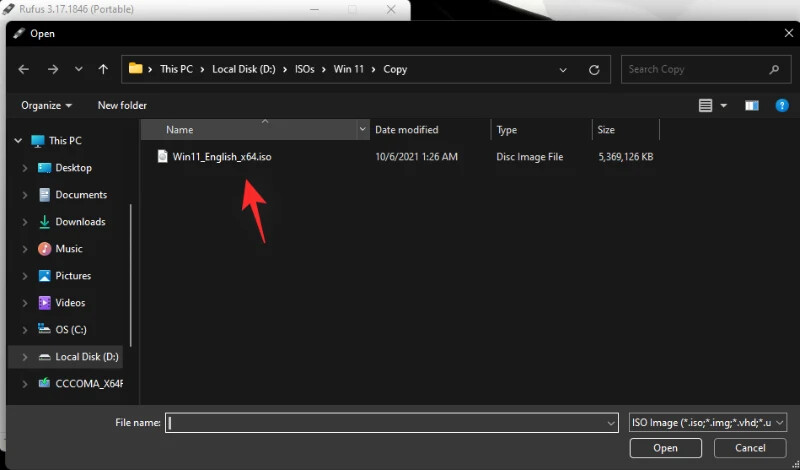
Browse for the downloaded Windows 11 ISO and click Open .
Once the ISO file is loaded, Rufus will configure the rest of the options automatically.
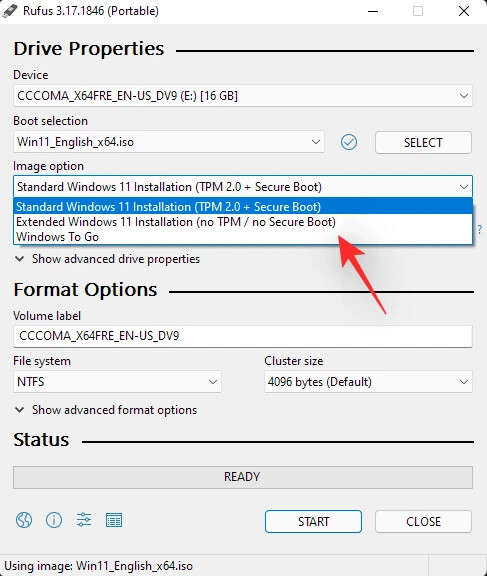
Now, the most important and unique part of this guide. Click the dropdown under the Image option to select the “Extended Windows 11 Installation (no TPM/no Secure 800t/8G8- RAM)” option. Yes, change from Standard installation to Extended installation.
Now, make sure that the Partition scheme is set to GPT and the Target system is set to UEFI (non-CSM).
[Optional] Change the label of your Pen Drive under “Volume label” if you wish to.
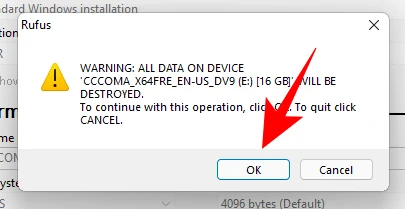
Now, we are ready to create a bootable USB drive that will have the checks for TPM, Secure boot, and RAM disabled. When ready, click Start.
When prompted, click Yes .
The process will take some time. Once it’s done, you will see the “Ready” status message turn green.
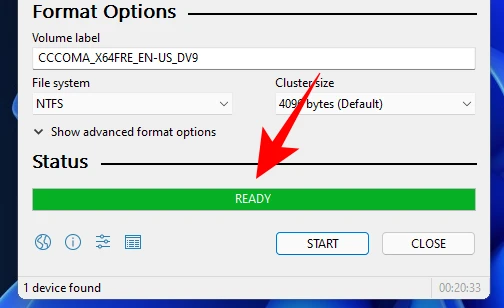
You have now created a Windows 11 bootable USB device.
Step 3: Install Windows 11
You need to start your PC in boot mode first.
For this, shut down your PC first. Make sure you have saved any unsaved work. Then, turn it back on and press F8 at the splash screen to restart the PC into boot mode.
Once you’re in Boot mode, click on Use a device.
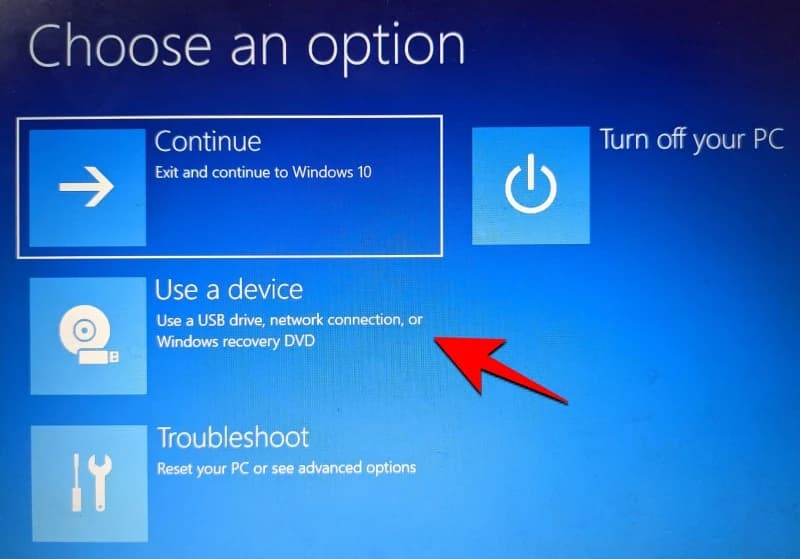
Then select your USB Drive .

The Windows 11 setup should start. Click Next to proceed.

Click on Install now. Enter your product key. If you don’t have one, click on I don’t have a product key at the bottom.
Select the version of Windows that you want to install and click Next. Accept the terms and agreements and click Next.
Here’s that choice again – to upgrade or to start afresh. The choice is yours, but we’re going to go for a clean installation and are thus selecting the Custom: Install Windows only.
Select your partition and click Next.
Now, this is where you’ll get the new out-of-box setup experience. Select your country and click Yes.
Choose the input method and click Yes.
For a first, Windows now lets you name your PC from the setup itself. Enter a name and click on Next.
Link your Microsoft account and click Next.
As such, go through all the on-screen instructions until you come to the final installation process. You’ll see the steps remaining and the percentage markers at the bottom.
Once the process is complete, your computer will restart and you’ll have Windows 11 running on your PC.
Happy learning!
 !
!