Hello Folks!
Since couple of weeks i found few requests that sounds ‘‘how to keep back up of my window and all apps installed and all settings’’ ‘‘Is that possible to make a copy of installed os and programs i’m using’’ Etc!
Well sometimes we know such methods and solutions but because weak memories we couldn’t consider what exactly user want! Yeah that happens with me sometime few users asked me but i given them another solution infact i knew the simple easy method. First of all read below what actually System image does:
You can create a system image, which contains a copy of Windows and copies of your programs, system settings, and files. The system image is then stored in a separate location from the original programs, settings, and files. You can use this image to restore the contents of your computer if your hard disk or entire computer ever stops working.
If you’re using Windows Backup to back up your files, you can have a system image created each time your files are backed up. The files can be saved on a USB flash drive, CDs, DVDs, or a hard drive. The system image must be saved on a hard drive. By default, the system image only includes the drives required for Windows to run.
If you want to include additional drives in the system image, you can manually create a system image. If you manually create a system image, it can be saved on a USB flash drive, CDs, DVDs, or a hard drive. Follow the steps below to manually create a system image.
Note: To create a system image of a drive, it must be formatted to use the NTFS file system. If you save the system image on a hard drive or USB flash drive, it must be formatted to use the NTFS file system.
To back up your programs, system settings, and files:
1. Open Backup and Restore by clicking the Start button ![]() of the Start button, clicking Control Panel, clicking System and Maintenance, and then clicking Backup and Restore.
of the Start button, clicking Control Panel, clicking System and Maintenance, and then clicking Backup and Restore.
2. In the left pane, click Create a system image, and then follow the steps in the wizard. ![]() If you’re prompted for an administrator password or confirmation, type the password or provide confirmation.
If you’re prompted for an administrator password or confirmation, type the password or provide confirmation.
Keeping different versions of system images:
If you’re saving your system images on an internal or external drive, or on CDs or DVDs, you can keep several versions of system images. On internal and external hard drives, older system images will be deleted when the drive runs out of space. To help conserve disk space, you can manually delete older system images.
If you’re saving your system images in a network location, you can only keep the most current system image for each computer. System images are saved in the format of drive\WindowsImageBackup\computer name. If you have an existing system image for a computer and are creating a new one for the same computer, the new system image will overwrite the existing one. If you want to keep the existing system image, you can copy it to a different location before creating the new system image by following these steps:
-Navigate to the location of the system image.
-Copy the WindowsImageBackup folder to a new location.
Now see below how backup does works: (These options for windows 7 & 8, 10)
1- Right-click the Start button and launch Control Panel.
2- Click File History. or System and Maintenance > Backup and Restore.
3- While in File History or Backup and Restore, click the System Image Backup or Create a system image link in the bottom-left corner of the screen.
4- Connect an external USB drive or hard drive with enough free space.
5- In the backup wizard, you’ll be prompted to choose from one of the three options to save the backup. For this example, we are going select the hard drive you just connected. However, keep in mind that you can backup to DVD blanks and a network share, but these options will slow down the backup process.

6- Click Next.
7- Confirm and begin the process by clicking Start backup.
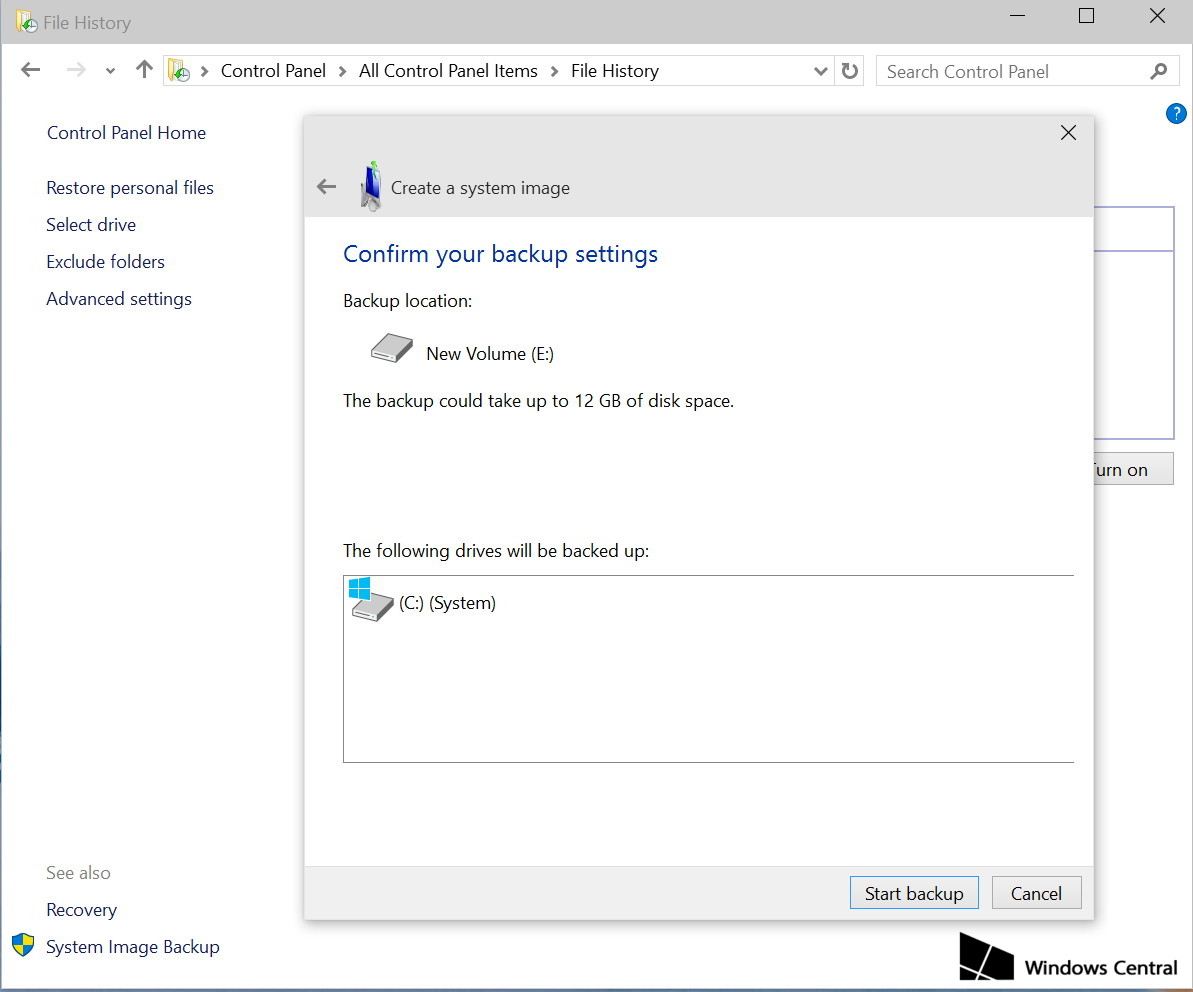
The backup could take anywhere from 10 minutes to 2 hours, it all depends on the amount of data to be backed up. And yes, during the backup process, you can use your computer as you would normally do.
Note: After the System Image Backup utility completes the task, remember to keep the hard drive in a safe place.
- To restore your computer from backup, connect the drive with the system image backup and reboot your computer with the Windows installation media. During the Windows Setup, click Next, then click the Repair your computer link in the bottom-left corner of the screen. Click on Troubleshoot, click Advanced options, and select System Image Recovery. Now select the target operating system you want to recover, click Next And Finish.
Although, a lot of tech savvy users are aware of how to perform a full backup in Windows, you’ll be surprised how many people fail to know the basics. Often times I get asked questions such as: “I upgraded my system and now Windows won’t boot, how can I rollback?”. Or “My hard drive is ruined, is there any way to recover my data?”, and most of the times a simple backup could have saved them a lot of troubles. ![]()