You have a lot of choices for note taking apps to choose from, just refer to our reviews of Elephant, tomboy-ng, or Joplin. But if I had to choose one of the more complex ones, it has to be TreeLine.

It’s not right to name it a note taking app, it’s more of a database program that you can use as a PIM (personal information manager).
There are three panes, a menu bar and a toolbar in TreeLine’s interface. The program can be used to store data in plain text, rich text, HTML, images etc. If you want to start a new notebook, click on the File menu > New File option to select a template for your note. You may choose from Single line text, Long text, Contact list, Book list and ToDo lists.
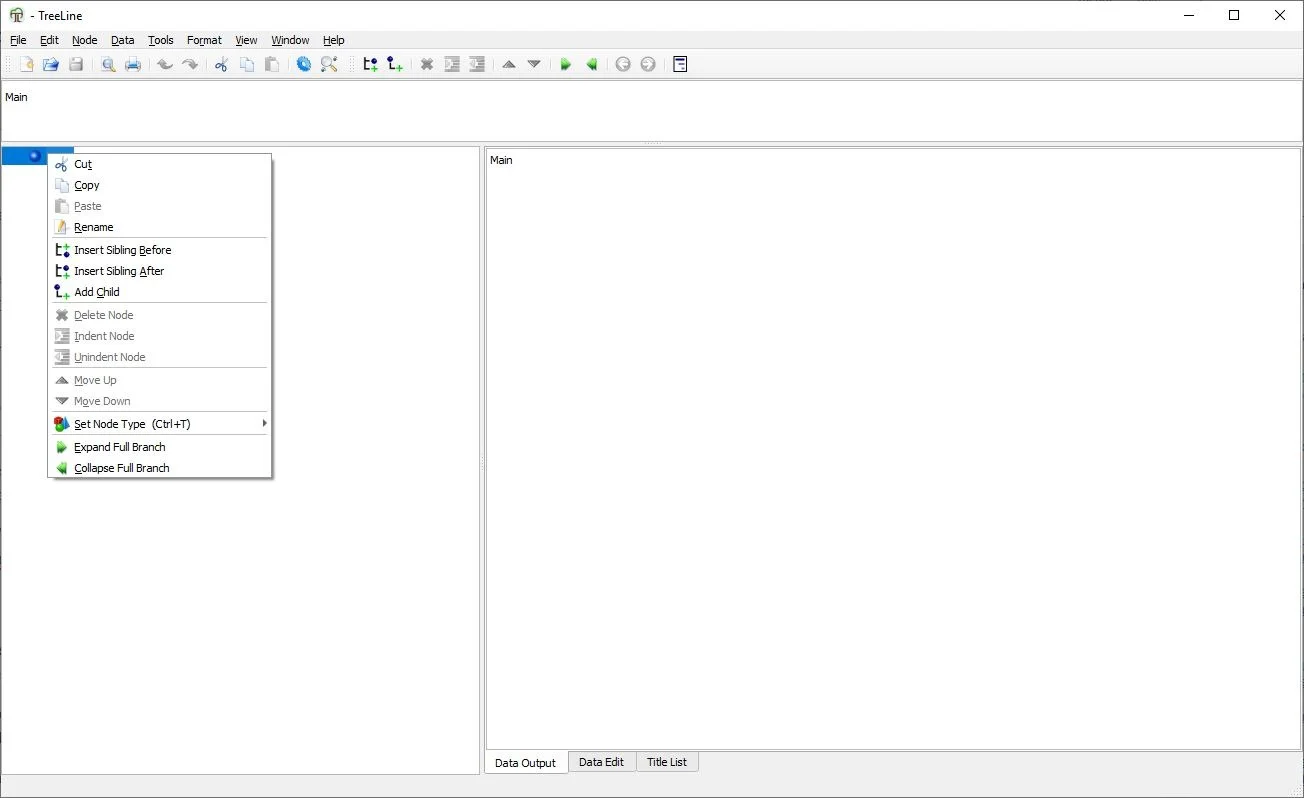
We’ll be using the default notebook in the next section. For now, click on File > New and select Long text. You’ll see a node called “Parent” on the left side bar. This is your primary node or “root folder” if you will. It has a sub-node labeled “Child”. Right-click on the node to bring up the context menu. Use it to rename, reorder, indent the nodes.
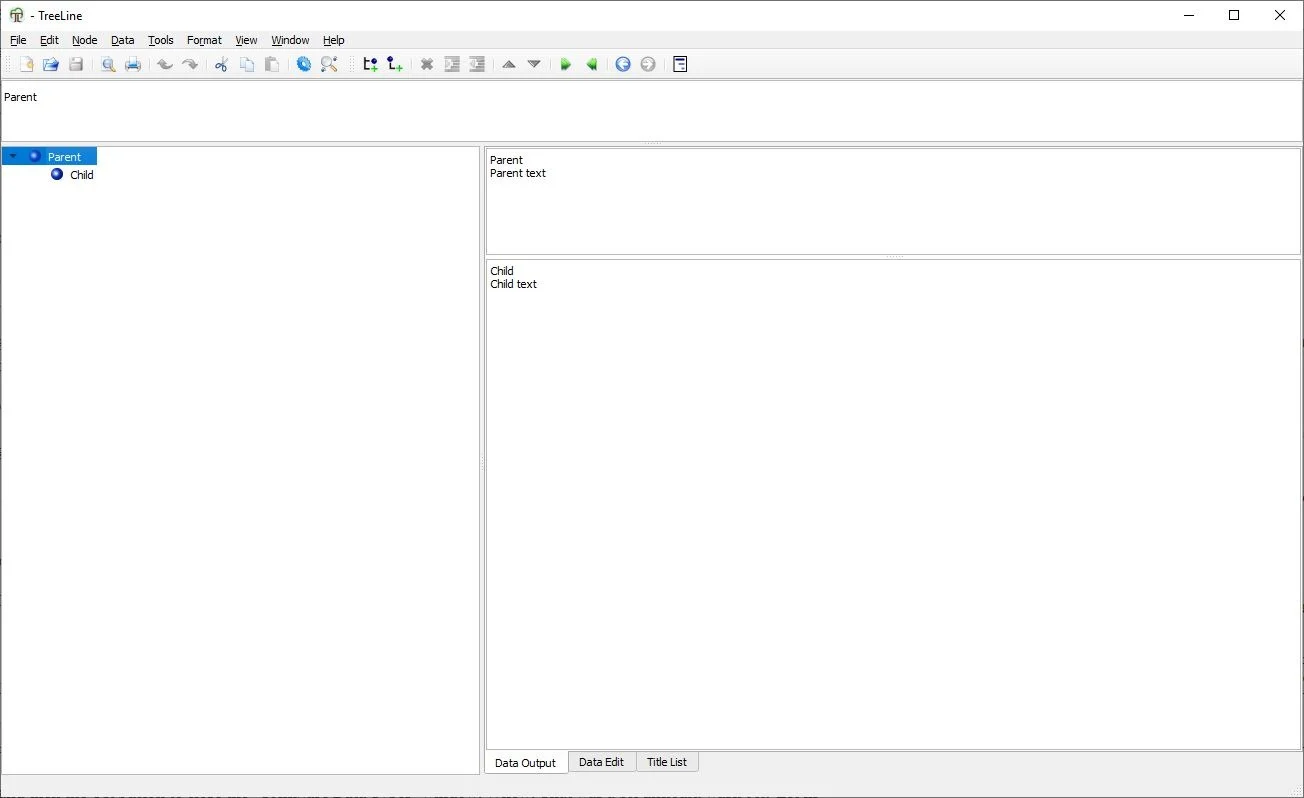
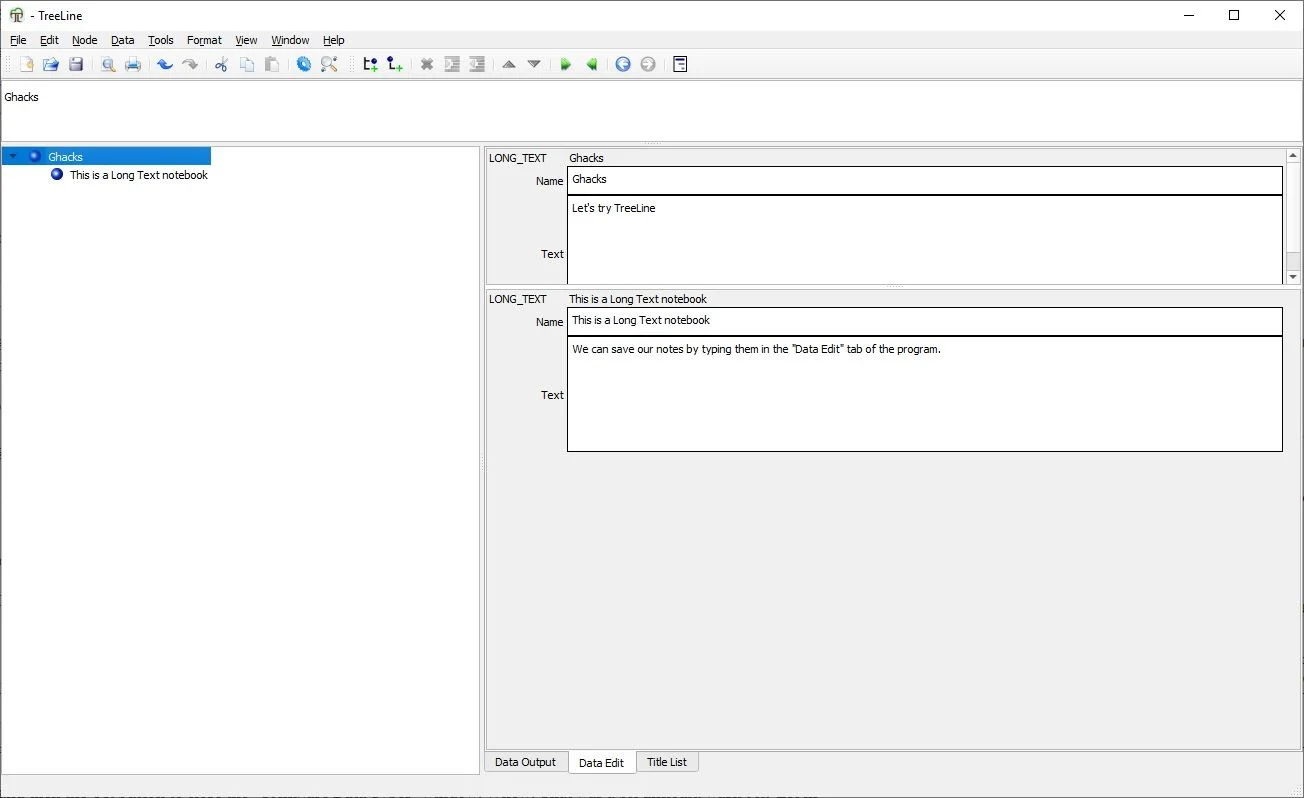
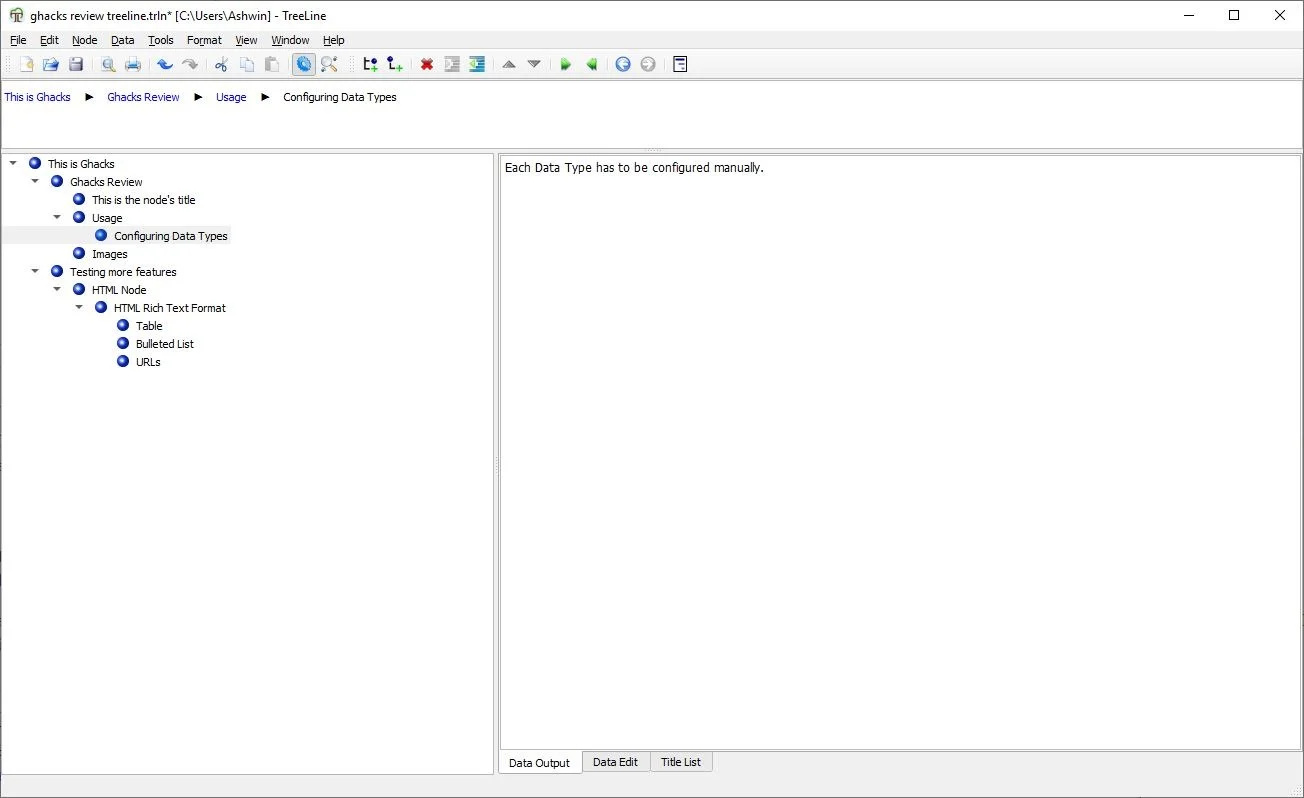
There are three tabs at the bottom of the right pane. The default view is the “Data Output” tab, switch to the 2nd one “Data Edit”. This is the Data Editor in TreeLine.

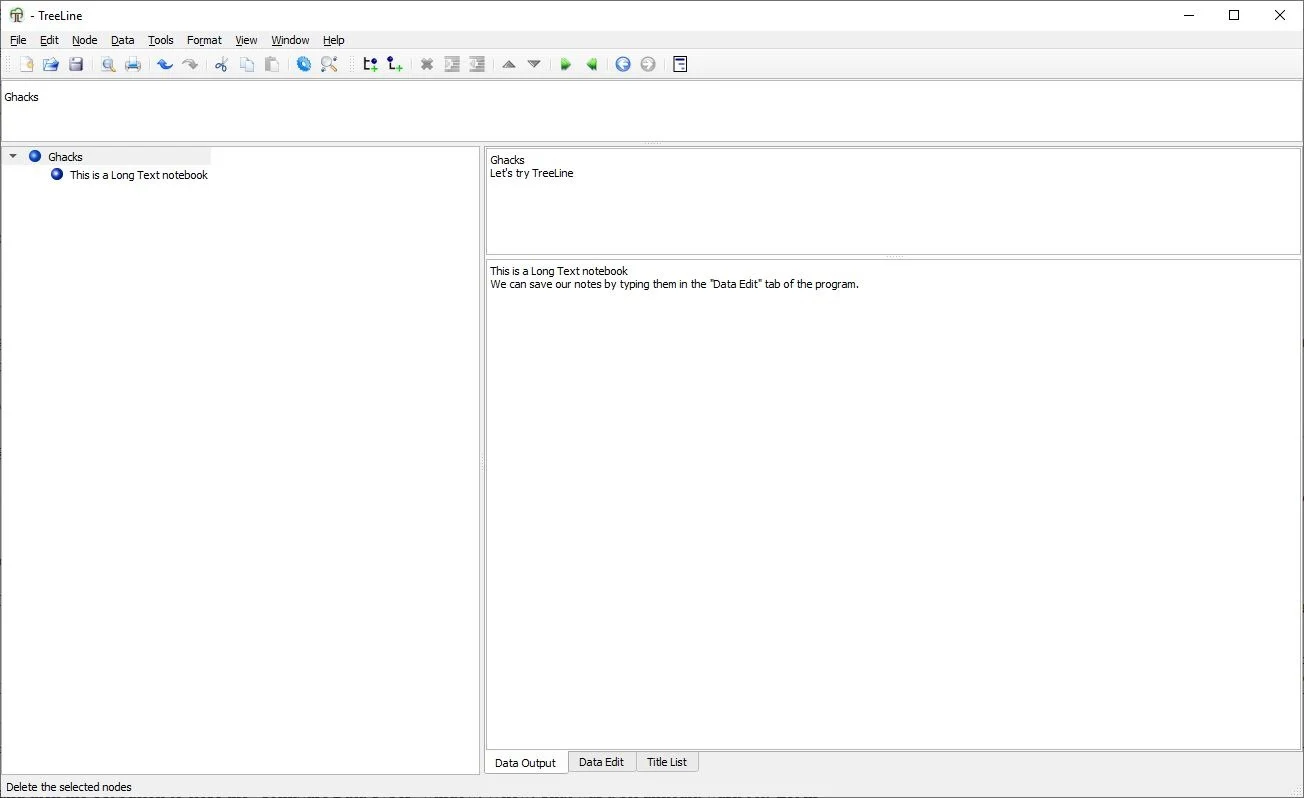
It has a few boxes. The one at the top is the name or heading box, while the large one below it is the text box where you will store your notes. I’ve given them new names and typed something in the text boxes. This is my first note. If we go back to the Data Output tab, we will see the content that we saved earlier, but we can’t edit them on this tab. The Title list tab displays the heading of each child node.
Speaking of which, you can add as many nodes as you want in the side-bar. They can be either a sibling (stored under the same parent node) or a child. To save new content, simply add a new node and edit them. It’s easy.
Configuring Data Types manually
TreeLine’s true strength lies in data types. These are values that you’ll have to manually configure. The default notebook starts blank, as in it has no entries. Right-click on the word “Main” in the Tree View (left side-bar) to view the context menu.
Select “Add Child”, and a new Node will be created. Give it a name. You’ll have to set up the template of the nodes before you can use the notebook. For e.g. to store plain text, you have to configure a title field and a text field, for images you’ll need to set another data type, and so on.
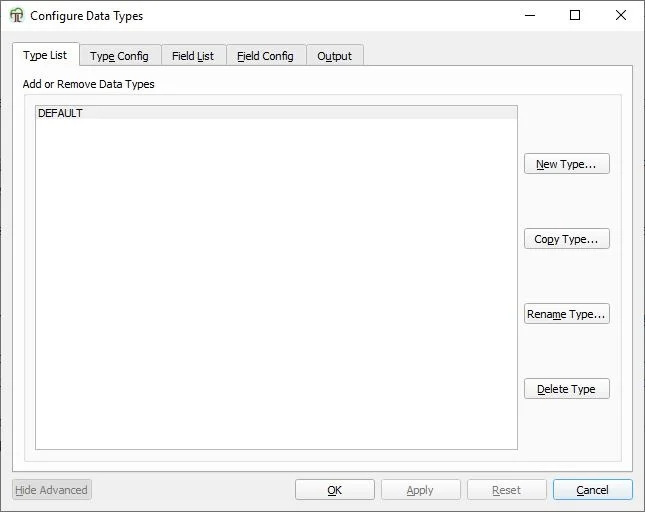
Click on the Data menu, and select “Configure Data Types” option. There are 5 tabs here. The first tab is Type List, you can set various data types here (plain text, html, etc). TreeLine always has a “DEFAULT” type, we’ll use it in this example.
Switch to the next tab, “Type Config” there are options to add blank lines between nodes, enable HTML rich text format, bullets, and table fields. It already has a field “Name”, and its type is “Text”. This is the one that we saw earlier in the Data Editor, which we’ll use for adding titles.
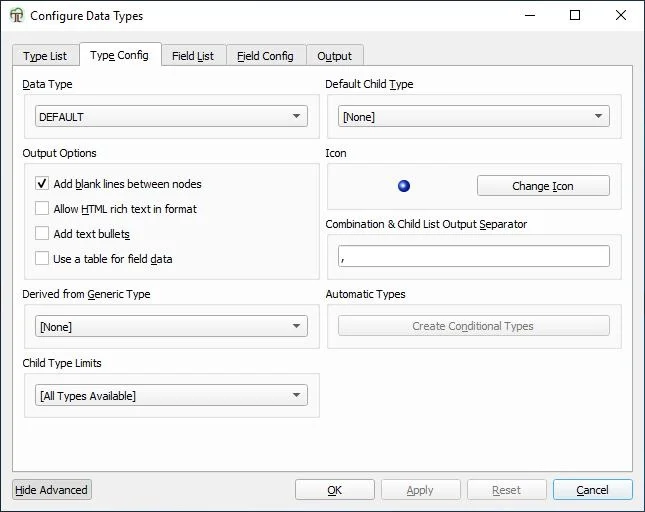
You may change the icon of the new node from this tab. The third tab is “Field List”.
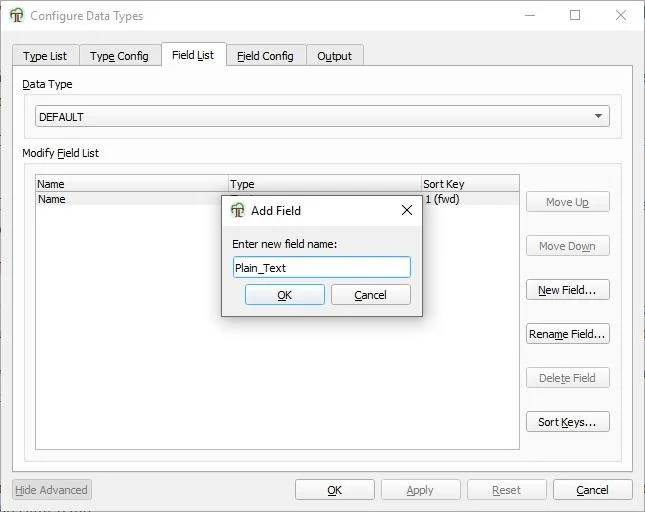
Click on the “New Field” button on the right. Since we want to store text content, we’ll name it as “Plain_Text”. The program always sets the type of new fields to Text, if you want to change this, use the “Field Config” tab. For now though, let’s leave it be.

Go to the Output tab, and set the output format to {Plain_Text}. The Title format has the value {Name}, which can be left unmodified.
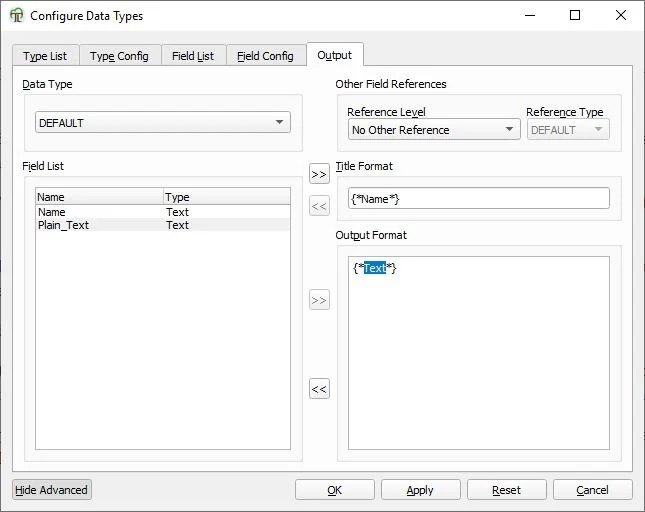
Select Apply and then the OK button to close the “Configure Data Types” window. Whew! That was a bit difficult, wasn’t it? Let me explain what we did here. We created a new text box called “Plain_Text” that we can use for saving notes, and we also had to set TreeLine to display the note in the output viewer.
Usage
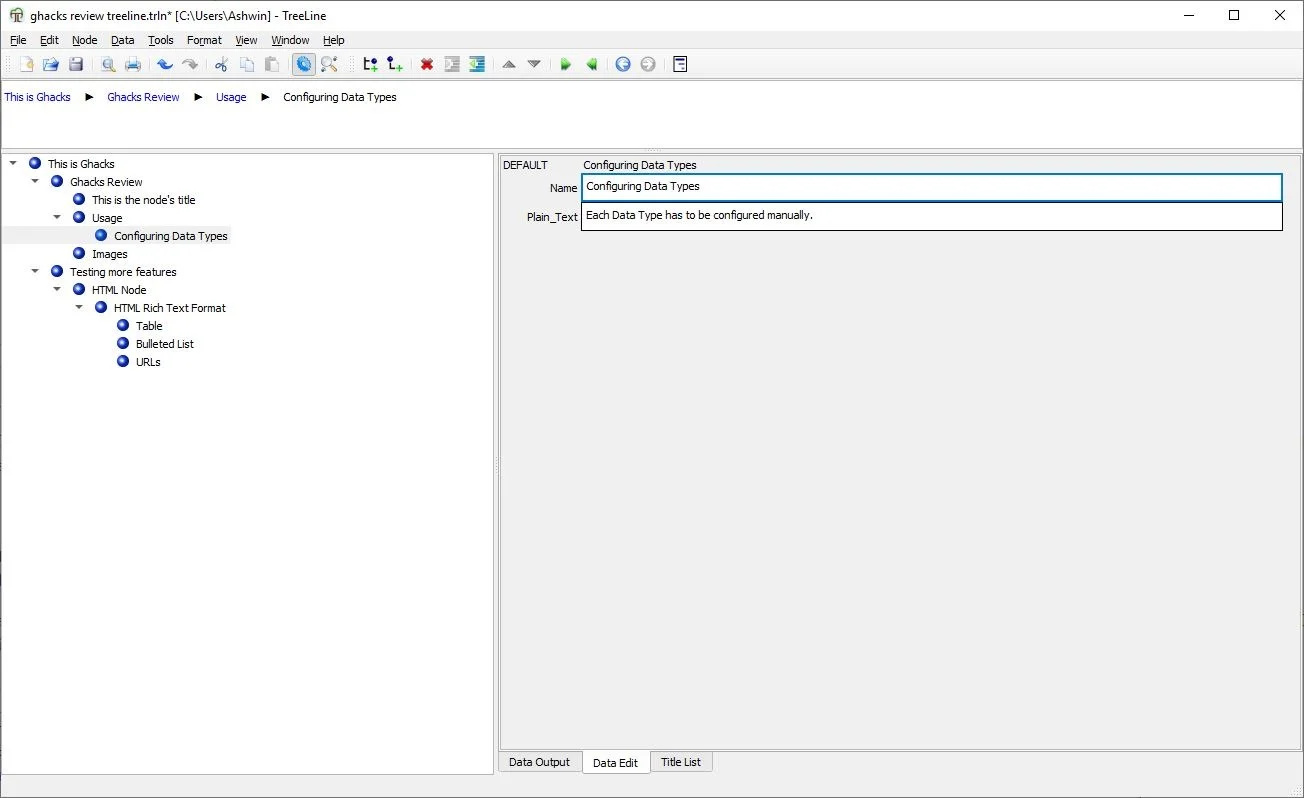
Head back to the Data Editor window, and you’ll see that there is a new field called text. You can now use it to store your notes. Type a title in the Name field, and your notes in the Text field. The program will display the title on the left side bar, and the contents of the note in the right pane.
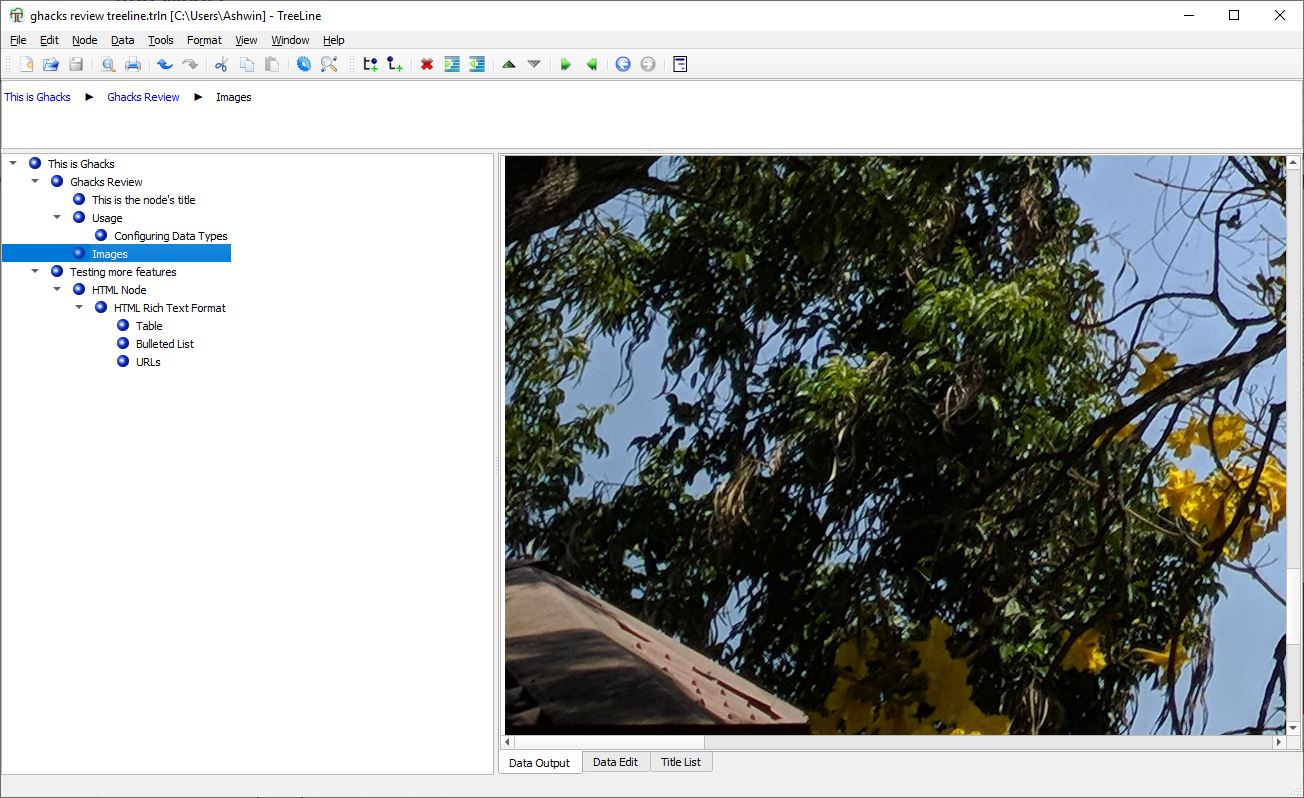
Repeat the steps to create different node data types for HTML and other content like tables, URLs, images, etc. Once you have set up a data type in a notebook, you can use it in any note that you store in it. Right-click on a node in the sidebar, use the “Set Node Type menu” to view the ones you created. Switch to it, to use the corresponding content in the node.
A parent node can contain several child nodes, and each of these can be of a different type. Here are some HTML node examples which I created in TreeLine. Each of these uses a different “Data type” node.
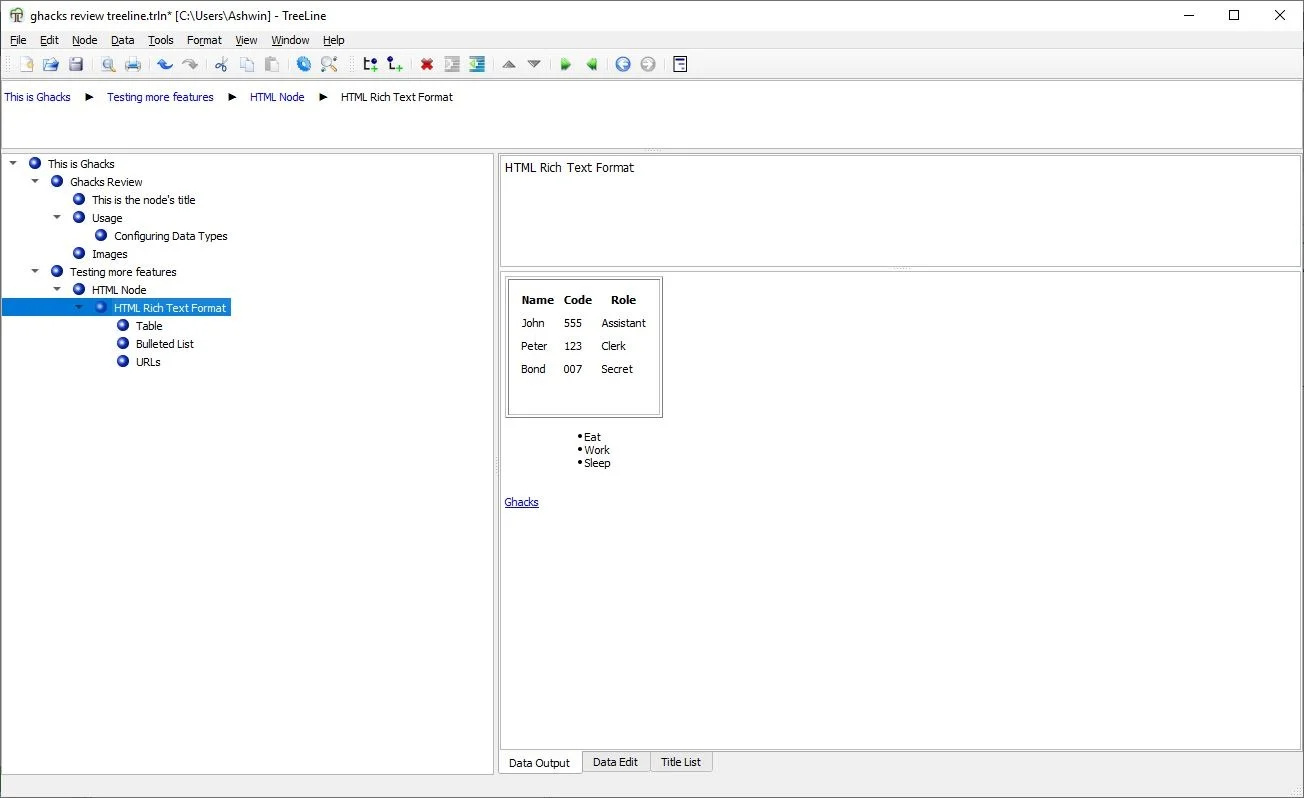
Highlight some text, and use the format menu or the right-click context menu to Underline, Bold, Italic, the content. You may change the font type, color, or add URLs to the text from this menu.
TreeLine isn’t portable, though the installed version can be set to store its settings in its own folder. Windows binaries are available on the official website. Linux users will need to build the app from the source code.
TreeLine’s manual configuration has a learning curve which can be a little difficult to grasp, but it’s quite rewarding. If you use one of the other options (like Long Text), it’s pretty simple to use.