Kali Linux isn’t recommended for beginners. Period. This is the first thing you should learn. It is a Linux distribution geared towards Security Professionals. I know, I know. This isn’t going to stop you. So I decided to put a list of Top Things to do After Installing Kali Linux together for you, so you can maintain at least a certain level of security.
Kali Linux, out of the box, comes with a root user. Operating a Linux Distribution, especially a security distribution like Kali Linux as a root user is a bad idea. There are other distributions like ParrotOS that are a tad bit safer to use for beginners, as they come with a normal privileged user from the beginning. But you are here to learn the Top Things to do After Installing Kali Linux, so creating a new lower privileged user to secure your system is one of them. Let’s dive right in.
A side note, I specifically didn’t call this “The Top 5 or whatever things to do after Installing Kali Linux”, because this is an ongoing affair. I will constantly update and maintain this list. So best Bookmark it and come back once in a while.
Tip 1 – Making sure Kali is Up to Date
The first thing after installing Kali Linux is to update it. To do that, we first have to update the repository and then we have to upgrade the system.
Updating and Upgrading is a crucial first step in my workflow. I don’t want to start working with an outdated system or with outdated tools.
To Update and Upgrade Kali Linux, open a Terminal in Kali and run:
apt-get update && apt-get dist-upgrade -y
Tip 2 – Changing the default Password and taking a Snapshot (VirtualBox ONLY)
IF you have installed Kali Linux on a Laptop or anywhere else than VirtualBox, skip this step and continue with Tip 3
I no longer recommend installing Kali Linux manually on VirtualBox. Kali provides us with a pre-installed VirtualBox OVA file, ready to import to VirtualBox and without the need of installing VirtualBox Guest Additions, which makes it much easier to get up and running within a few minutes. .
If you have followed my tutorial to install Kali Linux on VirtualBox, make sure to change your root password from the default “toor” to something else by typing:
passwd
I highly recommend taking a Snapshot of your fresh installation. Because you probably will mess it up at some point. Instead of completely re-installing the whole thing again, you can save yourself some precious time and just revert back to the working Snapshot instead.
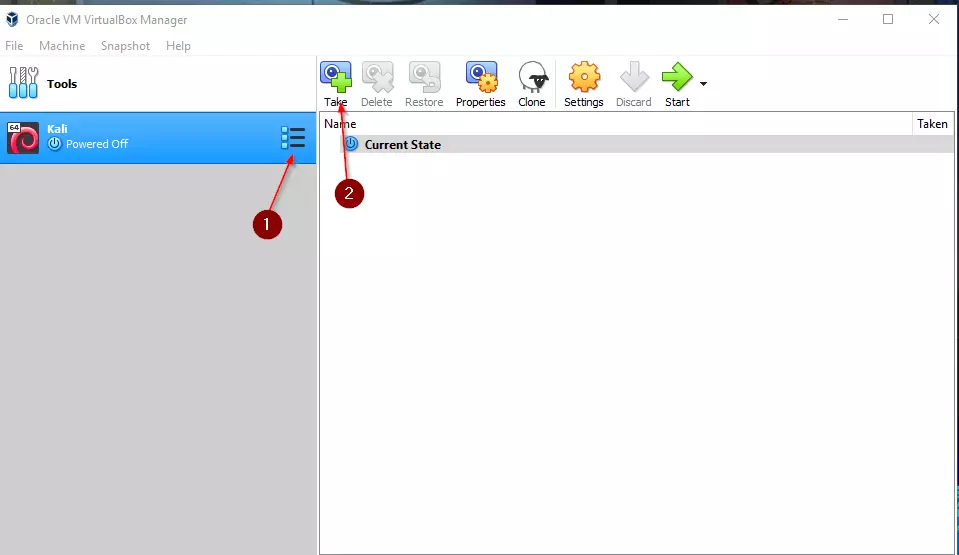
To take a Snapshot in VirtualBox 6.0, select your Kali VM , click on the dropdown icon next to it and select Snapshots . Click on the take icon to create a new Snapshot. Name it properly.
An idea would be: “Fresh Install ” ->Description:” Fresh install DATE + Updates “. Because you will forget when you took the Snapshot later on.
Enable Shared Clipboard and Drag & Drop
Enable shared Clipboard. It allows you to copy something like text from your Host to your Virtual Machine. Also, enable Drag & Drop, you can Drag & Drop files from your Host to your VM and Vice Versa, very useful. Set both to Bidirectional.
In your VirtualBox Window go to Devices → Shared Clipboard → Drag & Drop → Set both to Bidirectional .
Definitely another bonus Tip of Top Things to do after installing Kali Linux on VirtualBox!
Tip 3 – Creating a Low Privileged User Account
It is a good idea to create a new, lower privileged user account. Chrome and Firefox, and a couple of other apps should never be run as root. So, therefore, let’s create a new user with lower privileges. Open a Terminal and run:
adduser USERNAME
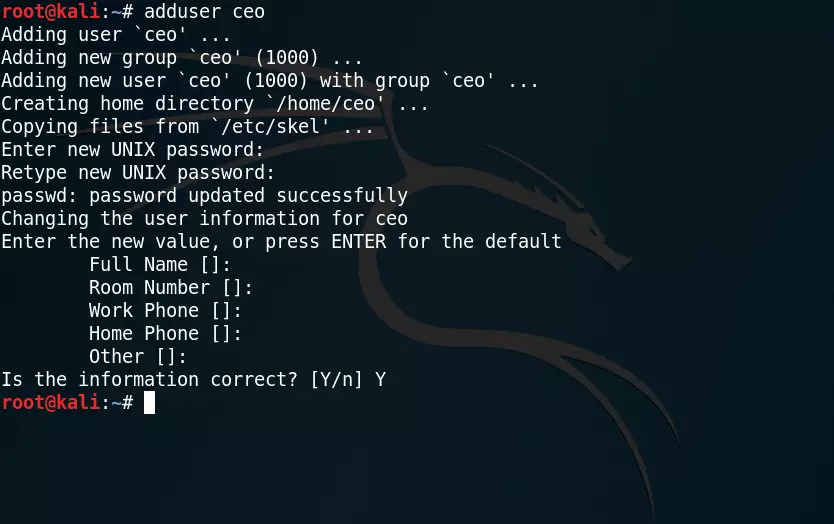
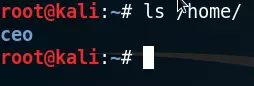
This will create a new user and automatically creates a home directory for him. To verify if that has worked type:
ls /home/
And your newly created user should show up.
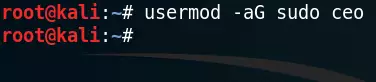
Now we need to add our new user to the Sudo’ers group. If you want to use Kali Linux, you should be familiar with this command. I highly recommend getting your Linux Basics straight before starting to use Kali at all. By adding the user to the sudo group, or, as originally referred to as “superuser do” group, you are allowed to run commands that require root by putting the “sudo” command in front of it. For example, the apt-get upgrade command we ran above wouldn’t be allowed for our new user. Although, if you put “sudo apt-get upgrade” in front of it, it will ask you for your sudo password and run the command for you.
Just think of it as “Do this command as root”, or simply remember “Superuser Do”.
usermod -aG sudo USERNAME
Now just log out your root user and log in with your new user. You find the logout option in the upper right corner.
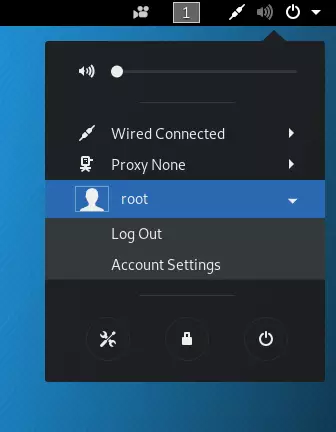
Always log in with your new user from now.
Now we just have to set the user up for BASH. To do that, run:
chsh -s /bin/bash USERNAME
Now that we have our user securely set up, it’s time to get us a nice Drop-Down Terminal!
Tip 4 – Installing Guake Terminal
Installing Guake Terminal doesn’t go on place 4 for the Top Things to do after Installing Kali Linux for nothing. I absolutely love this Drop Down Terminal and can’t live without it anymore. If you have ever played Quake 3 (Rocket Arena, anyone?), or any old Shooter, you might remember you were able to pull down a console by pressing Tilde (^), mostly to enter codes like “god” or “noclip” that made your character a levitating god that ignored walls.
You can have the same thing in Linux! The name Guake was wisely chosen. You will come on it, I bet.
To install Guake Terminal simply go:
sudo apt-get install guake
Now we also want Guake to start automatically the next time we reboot our system, for that, we enter:
sudo cp /usr/share/applications/guake.desktop /etc/xdg/autostart/ sudo reboot now
After you have rebooted your system, you can pull down Guake by pressing F12.
If you want to know how to change the Pull Down from pressing F12 to Tilde, or Circumflex(^) and do other customizations, I prefer Circumflex over F12 for obvious reasons.

Tip 5 – Install your Favorite Code Editor
I have been using Atom and Sublime in the past, but since I started to learn web development, I switched over to Visual Studio Code. Visual Studio Code is quickly becoming the favorite choice of many developers when it comes to code editors, including myself.
I also started to use Visual Studio Code on Kali Linux for my Python code. Visual Studio Code stands out because of its extensive extension library. You can get extensions for almost anything you can think of.
Gladly, it’s very easy to install Visual Studio Code on Kali.
1 – Downloading the Visual Studio Code deb package
First, you need to download the VSCode deb package. This automatically installs the Visual Studio Code Apt repository, so we are able to update our Visual Studio Code editor. Choose the 64bit .deb package.
2 – Install Visual Studio Code
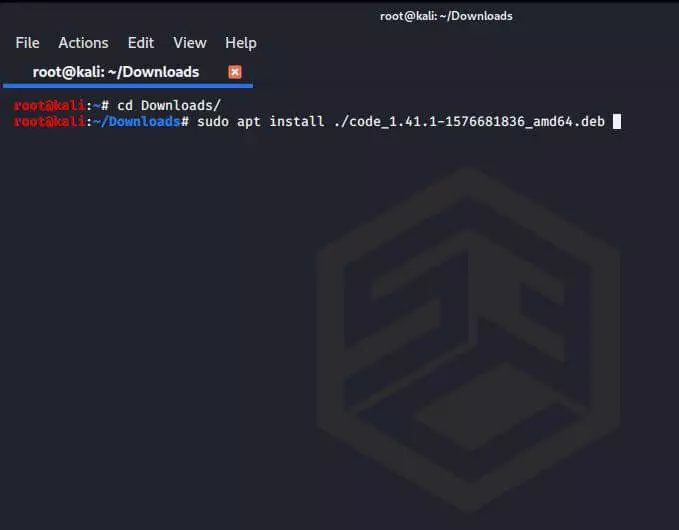
First CD into your Downloads folder, or wherever you have downloaded the file to.
cd Downloads/
Then we just install it using Apt.
sudo apt install ./code_yourversion_amd64.deb
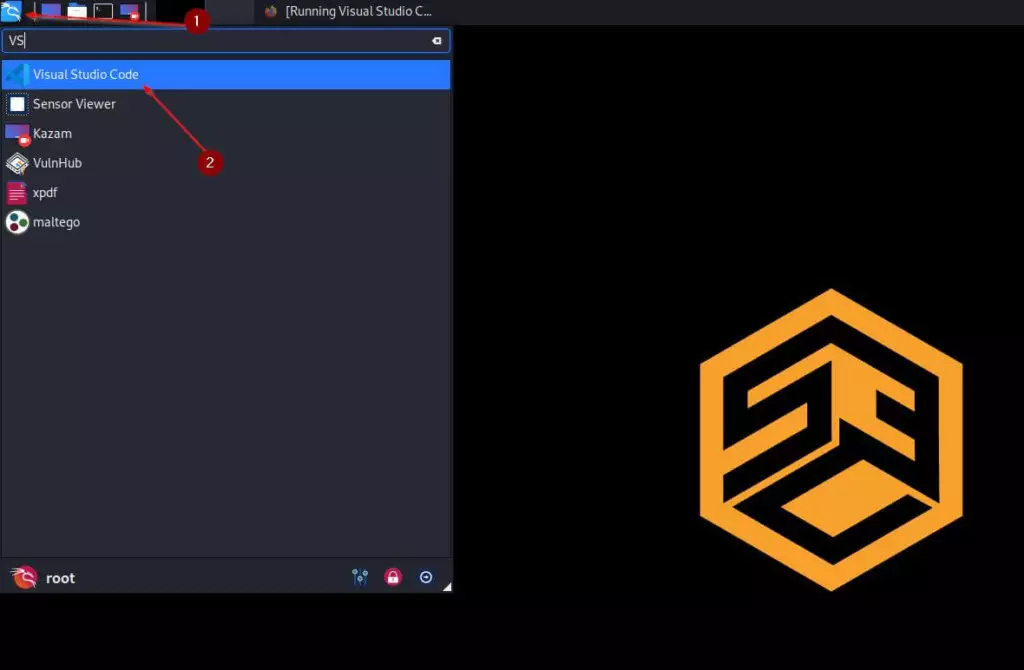
3 – Starting Visual Studio Code
And that’s it. Now you can already go ahead and start VSCode via the app menu.
Tip 6 – Installing OpenVAS
OpenVAS is a very popular Open Source Vulnerability Scanner. It is an essential tool at your repertoire. Because installing OpenVAS initially is a lengthy process by itself.
I use OpenVAS almost all the time because you can run scans effortlessly in the background and it sometimes comes up with interesting findings.
Tip 7 – Installing your favorite Tools
Now this again is up to personal choice, I’ll just leave a list of Tools I like and use regularly below:
- Airgeddon
- Routersploit
- Fluxion
- LazyScript (for the Lazy amongst you, allows you to run and install a lot of tools)
Install instructions for those scripts can be found on the Git website. But I am working on a nice little installer for you guys so you can install those tools easier. You’ll know once it’s available.
Tip 8 – Setting up VPN
I always like to use a VPN when working with any security distribution. So I always have VPN Setup that automatically connects the VPN once I boot the system. But ideally, you have that set up on your Router. That ensures that all your Internet traffic is routed through the VPN.
I use NordVPN in this example because that’s what I am currently using myself. I have an affiliation with both NordVPN and PIA, so if you decide to sign up with them, use link
It’s very easy to install NordVPN on Debian based Distributions.
After signing up with them, you have to download the NordVPN-Repository package.
Once this is done we need to install it via Terminal:
sudo apt-get install /home/YourUsername/Downloads/nordvpn-release_1.0.0_all.deb
sudo apt-get update

sudo apt-get install nordvpn -Y

To login you type:
nordvpn login
To connect you type:
nordvpn connect
This connects you to NordVPN. To show settings and modify them type:
nordvpn settings
Tip 9 – Educate yourself!
Now that you are equipped with the right technical setup, it’s time to upgrade yourself through learning and playing. The Cybersecurity space is a huge playground with many challenges waiting to be solved, but at the same time, it can get very overwhelming because it’s such a complex topic.
Conclusion
If I haven’t forgotten anything, those are the Top Things to do after Installing Kali Linux . It is important that you understand that you can be at risk when running your OS as root. It is definitely not recommended for beginners. Keep my tips & tricks in mind and you have created yourself an extra layer of protection.
Source: ceos3c