Several third-party anti-ransomware software are around to help you protect your data from ransomware. Many users are using third-party anti-ransomware protection to prevent ransomware from encrypting their data.
If you are running version 1709 or greater version of Windows 10, you will be happy to know that there is a built-in feature in Windows 10 to help you protect the data against ransomware.
The Controlled Folder Access feature in Windows 10 monitors apps and reviews the apps that can make changes to files saved in protected areas.
That is, the Controlled Folder Access allows you to add a list of folders that you want to protect from ransomware. Only apps that are safe will be allowed to make changes to files in protected folders. Harmful and unidentified programs will be blocked from making changes to files in protected folders.
If Controlled Folder Access is blocking one of the programs that you trust, you can add the program to the safe list in Controlled Folder Access. You can specify apps that you consider as safe to avoid Controlled Folder Access from blocking your favorite apps.
Method 1 of 2
Turn on Controlled Folder Access in Windows 10
Step 1: Open the Settings app. Navigate to Update & security > Windows Security (Windows Defender).
Step 2: Click Open Windows Defender Security Center button.

Step 3: Click Virus & threat protection . Now click Virus & threat protection settings link.

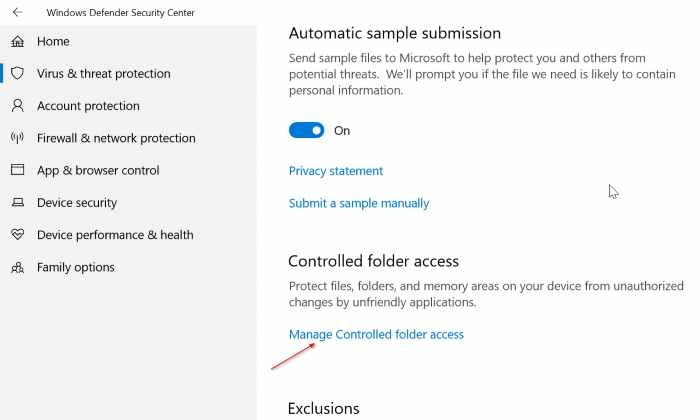
Step 4: In the Controlled Folder Access section, click Manage Controlled folder access link.
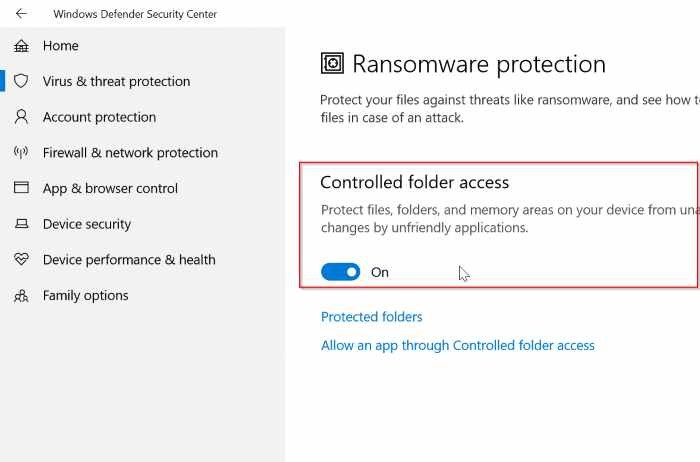
Step 5: Move the Controlled folder access switch to the “ On ” position to turn on the ransomware protection. Click Yes button if you get the User Account Control prompt.
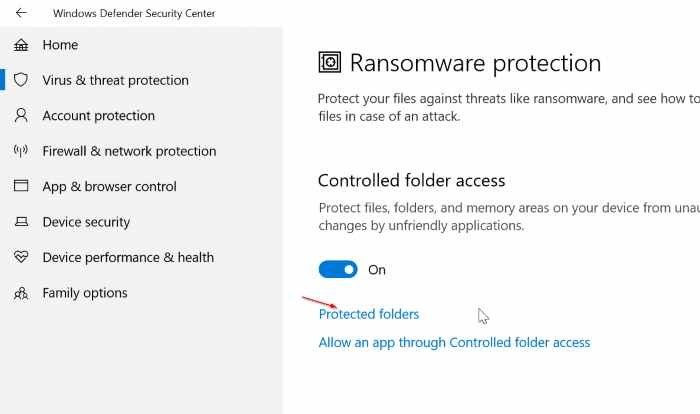
Step 6: Now, click Protected folders link, click Add a protected folder option and then add a folder that you want to protect from ransomware. If you want to protect multiple folders, please add them one-by-one.
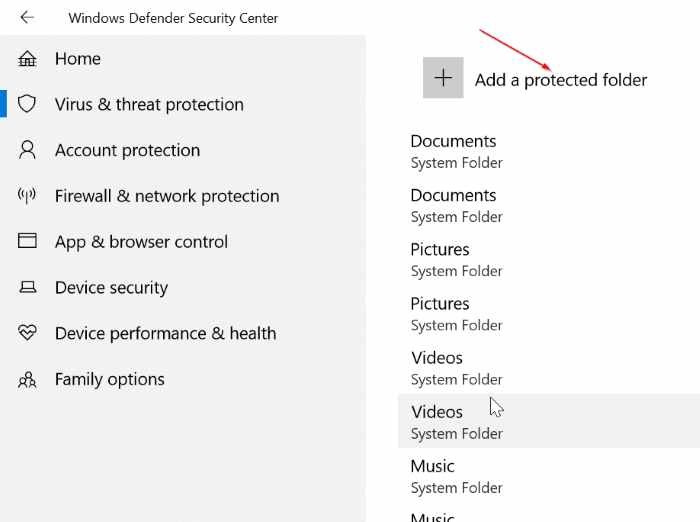
Note that many of the library folders such as the desktop, documents, pictures, and videos are protected by default. It’s important to note that you can add additional folders to the default list but cannot remove folders from the default list.
Step 7: Most of the common apps will be allowed to access files in Controlled Folder Access, but if you want to allow an unknown program to access these folders, you can add it here.
Finally, click Allow an app through Controlled folder access link to add apps that you want to allow to make changes to files in these protected folders.

That’s it! You have now set up the built-in ransomware protection in Windows 10.
Method 2 of 2
Enable and configure Controlled Access via PowerShell
In addition to Windows Defender Security Center, one can also use the PowerShell to enable the Controlled Access and add folders to it.
Step 1: Open PowerShell as administrator. At the PowerShell window, type the following command and then press Enter key to turn on Controlled Folder Access.
Set-MpPreference -EnableControlledFolderAccess Enabled
Step 2: Lastly, to add folders to the default list, use the following cmdlet.
Add-MpPreference -ControlledFolderAccessProtectedFolders “”
Hope you find this guide helpful!
Enjoy!