
Now it’s possible to open your Linux command prompt on your Android phone to get some things done. Usually installing Linux on Android phones needs rooting your device. But now……
With just a few taps, an Android phone can be weaponized into a covert hacking device capable of running tools such as Nmap, Nikto, and Netcat — all without rooting the device.
UserLAnd, created by UserLAnd Technologies, is a completely free Android app that makes installing Linux distributions quick and effortless, without any rooting. With this, it’s possible to run an ARM64 Debian operating system alongside the current Android OS. Sometimes referred to as “AARCH64,” this ARM architecture is the same used by the Kali Linux Raspberry Pi ARM images, which makes it easy to import Kali’s tool repository. And best of all, the UserLAnd team recently added a dedicated Kali filesystem so importing repositories won’t be necessary for all users.

All of the created filesystems are easily disposable. While many Kali tools work without issues, UserLAnd is still a new project and may cause some tools (like Nmap) to break or fail when executing certain commands. It’s worth mentioning, these issues will likely be resolved in the near future.
For the technically inclined, UserLAnd utilizes custom scripts and executables that allow it to create the Debian and Ubuntu filesystems. One example of this is PRoot, an open-source software that implements functionalities similar to chroot. PRoot allows you to execute programs with an alternative root directory, no root needed. Normally, a user-space application will communicate directly with the Kernel through system calls. With UserLAnd, PRoot is running in the background, interpreting these system calls, and it will perform and manipulate them when necessary to emulate users and permissions in the filesystem.
We’ll start by installing an SSH client, which will be the primary app for interacting with the Debian OS. Then, I’ll walk through some OS setup tips and importing the Kali Linux repository to really turn Android into a hacking device. As some readers may know, Kali Linux is based on the Debian operating system, so importing their repository won’t cause anything to break or become unreliable.

Step 1: Install the ConnectBot App (Optional)
UserLAnd recently added a built-in SSH functionality, so this step is no longer required. However, third-party SSH clients can still be used if preferred.
ConnectBot is an open-source SSH client designed for Android smartphones, which allows you to securely connect with SSH servers. This will be the primary way of interacting with the new UserLAnd Debian operating system. If you don’t use or have access to Google Play, ConnectBot is available via the F-Droid repository.
- Play Store Link: ConnectBot (free)
- F-Droid Link: ConnectBot (free)

JuiceSSH is also a very good option to use instead of ConnectBot since it has more features, so you can use that if you’d rather. ConnectBot is more regularly updated and easier for beginners, so we went with that.
Step 2: Install the UserLAnd App
I’ve already covered what UserLAnd is and does above, so I won’t go over anything else in detail here. The important thing is that you install it, and you can do so using either Google Play or F-Droid.

Disclaimer: UserLAnd does have limitations. Without root access, Android’s Wi-Fi interface can’t be switched into monitor mode, so traditional Wi-Fi hacking tools like Aircrack-ng won’t work. However, there’s still a lot that can be done with UserLAnd, as you’ll see in future guides, and running Kali without rooting or wiping the Android OS is no easy achievement. So be sure to give the UserLAnd app a good rating on Google Play — the developers totally deserve some positive feedback.
Step 3: Create a New Filesystem
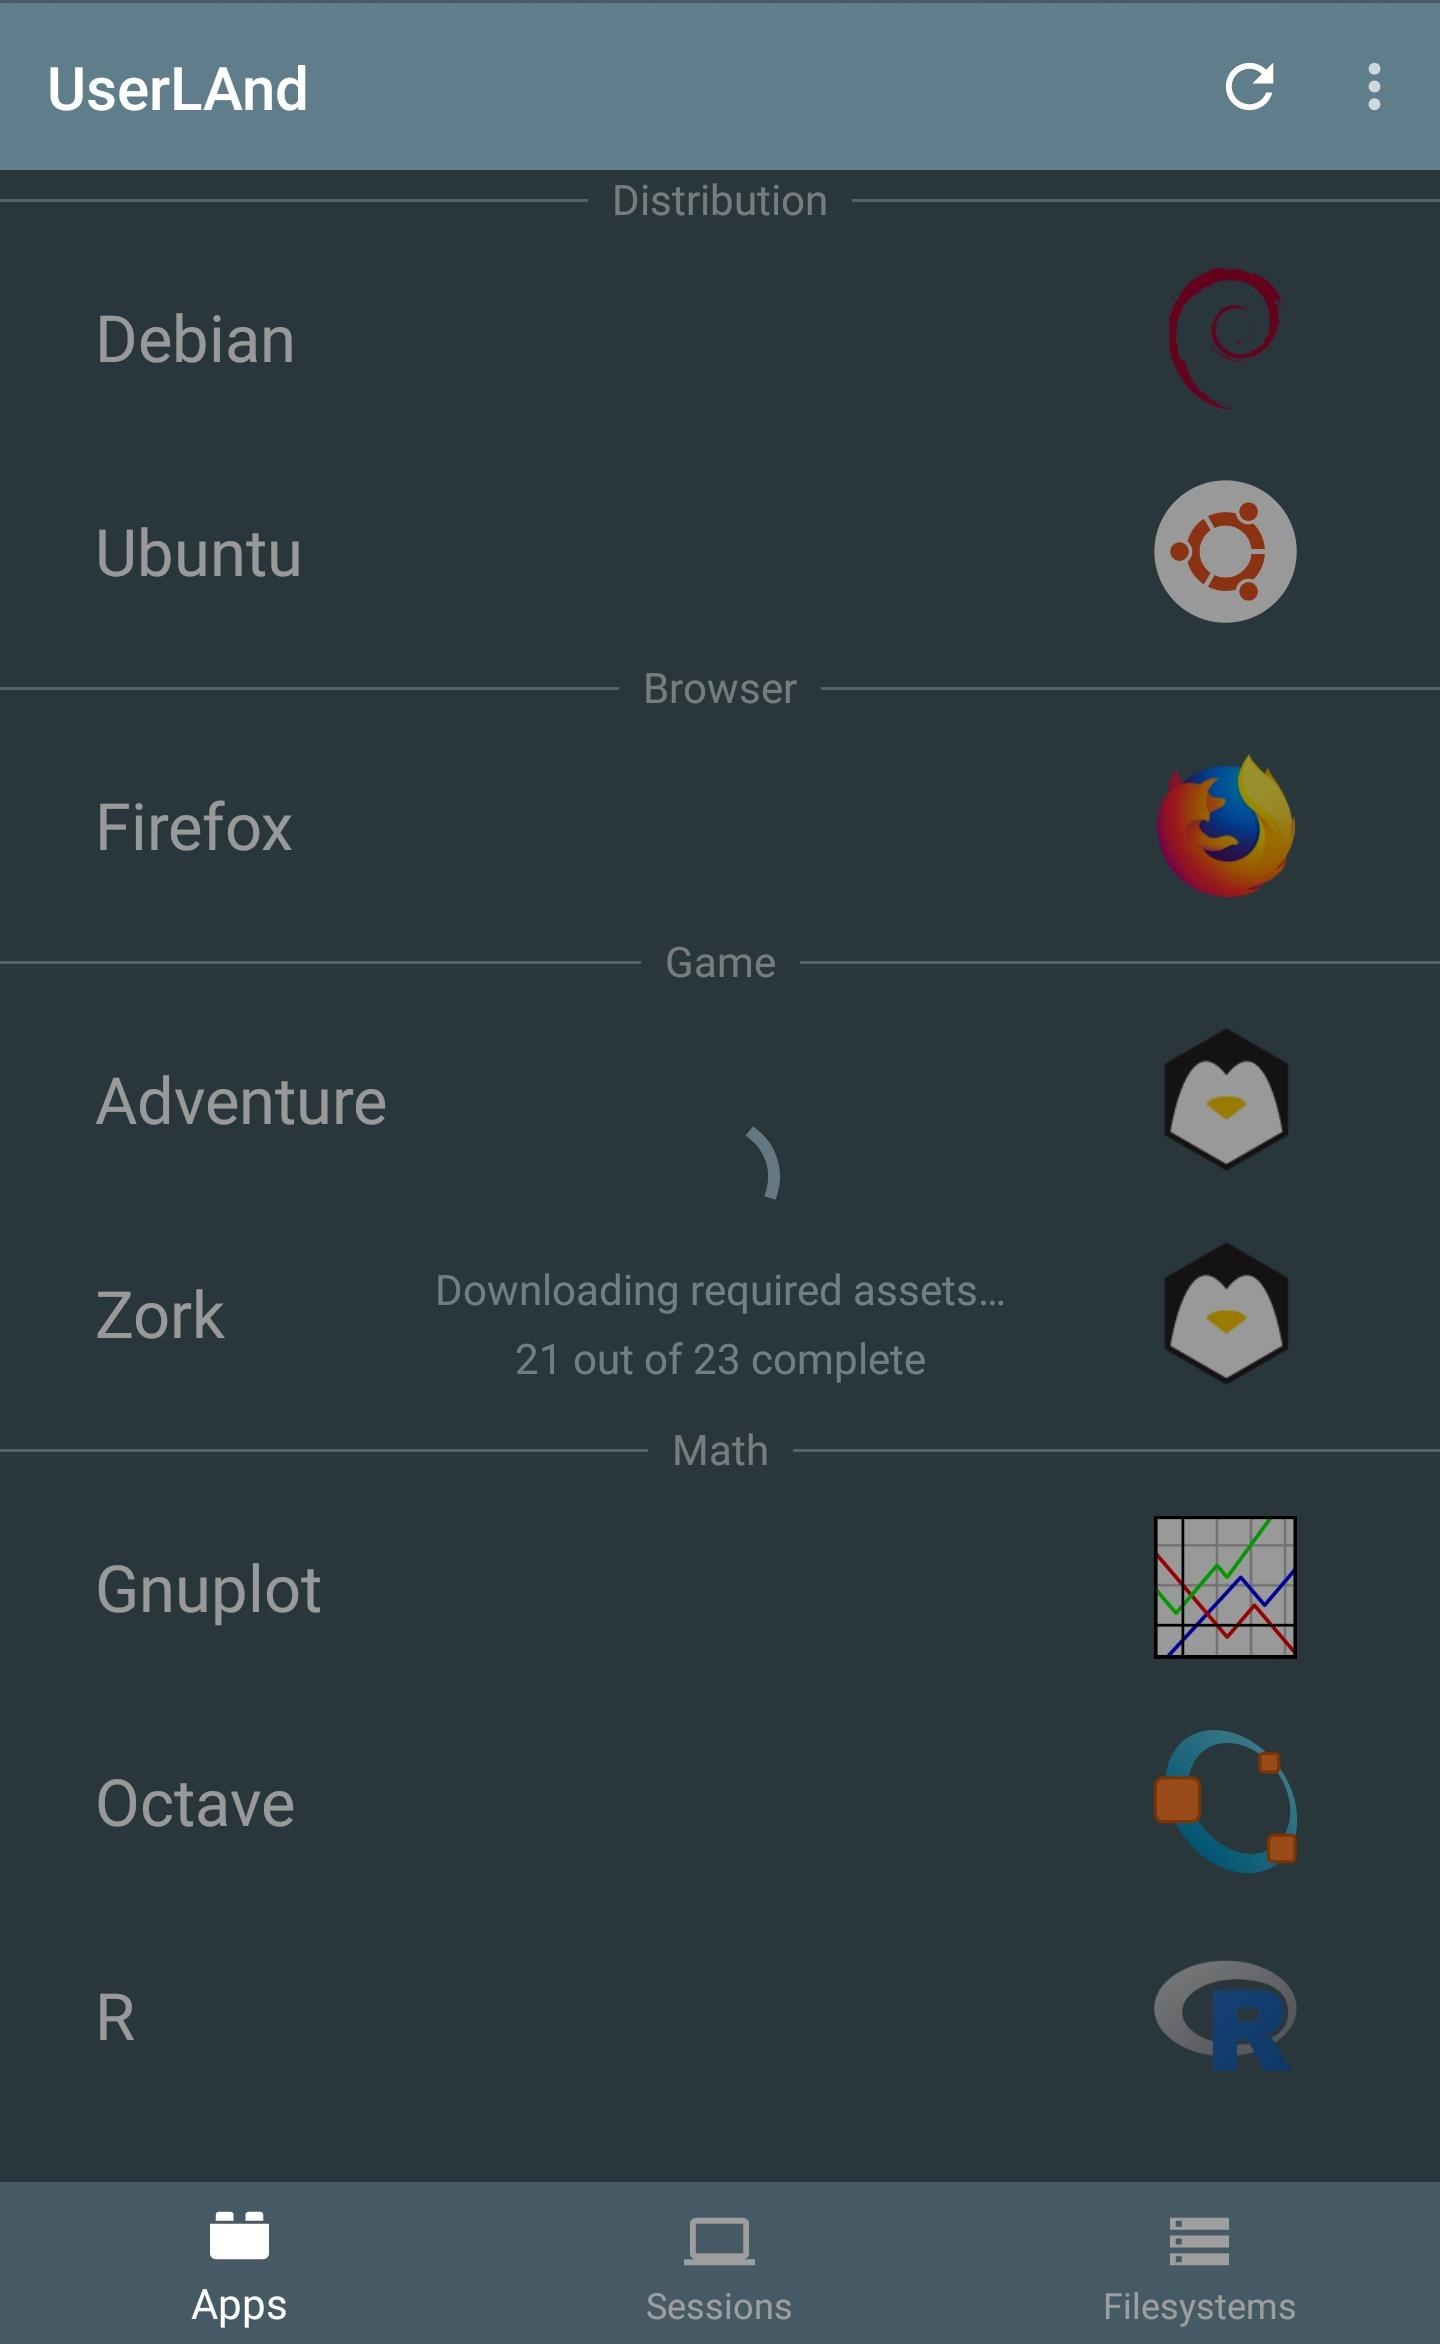
When the installation is complete, open UserLAnd, and view the “Apps” tab. Refresh the tab and wait a few minutes for the distributions to populate.
The Kali Linux OS has recently been added to the list of available distributions. Select “Kali” or “Debian” and the UserLAnd app will prompt for credentials. Create a username, password, and VNC password. The “Password” will allow access to the SSH server started when the filesystem is finished installing. The “VNC Password” won’t be used in this tutorial but is required to proceed with the installation.


UserLAnd will then download the necessary executables and scripts from its GitHub repository that are used to create the filesystems. The time it takes to download and extract the required assets will vary based on the Android CPU and internet connection speed. The installation process took up to 20 minutes to complete in some tests, so be patient.
In my first attempt, UserLAnd returned the following “Could not extract filesystem. Something went wrong” error. Removing and reinstalling the UserLAnd application seemed to resolve the issue. If this error persists, open a new GitHub issue.
Step 4: Interact with the Filesystem
When the installation is complete, head over to the “Sessions” tab, and select the newly created option. UserLAnd will automatically attempt to open ConnectBot and ask “Are you sure you want to continue connecting?” Tap “Yes,” and enter the password created in the previous step.


At this point, syncing a Bluetooth keyboard to the phone will make setting up the OS easier, but isn’t required. If you don’t use a Bluetooth keyboard, I recommend installing Hacker’s Keyboard from the Play Store, and you’ll see why as we continue.