The virtual desktop feature has been part of Windows 10 for a long time. With virtual desktops, users can create multiple desktop spaces. For instance, you can open and use your office applications in one virtual desktop and use another virtual desktop for casual web browsing and other things.
In Windows 10, one can access virtual desktops by simultaneously pressing the Windows logo and Tab keys or clicking on the Task View button on the taskbar (if you have not removed it from the taskbar).
Until now, Windows 10 did not allow users to set different wallpapers for each virtual desktop. That is, when you apply a new desktop background, the same would appear across all virtual desktops. Although third-party tools have been existed for a long time to change virtual desktop backgrounds, nothing beats an in-built option.
Some time back, Microsoft added the ability to rename virtual desktops. This time around, we have the option to have different desktop backgrounds for all virtual desktops.
Windows 10 offers three ways to change the desktop background of virtual desktops.
IMPORTANT: You must be running Windows 10 build 21337 or later to change the virtual desktop background. If you are running an earlier version, use this free software.
Method 1 of 3
Change virtual desktop background via Windows + Tab screen
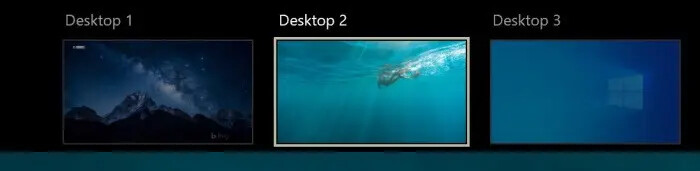
Step 1: Simultaneously press the Windows logo and Tab keys on the keyboard to view all virtual desktops. Alternatively, click on the Task View button on the taskbar to open the same screen.
Step 2: Perform a right-click on the virtual desktop where you want to change the desktop background and then click the Choose background option. If the Choose background option does not show up, it is likely because your Windows 10 build does not support the feature yet.

Tip: Right-clicking on a virtual desktop tile also displays options to move it to the left or right and rename it.
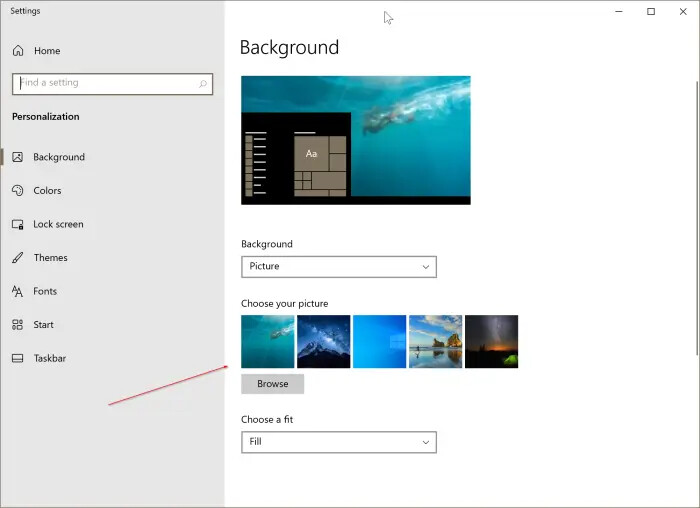
Step 3: Clicking the Choose background option will open the Settings > Personalization > Background page. Here, either click on one of the recently used background pictures or click on the Browse button, choose a background and then click the Open button to apply the newly selected desktop background picture.
Method 2 of 3
Change the virtual desktop background picture via Settings in Windows 10
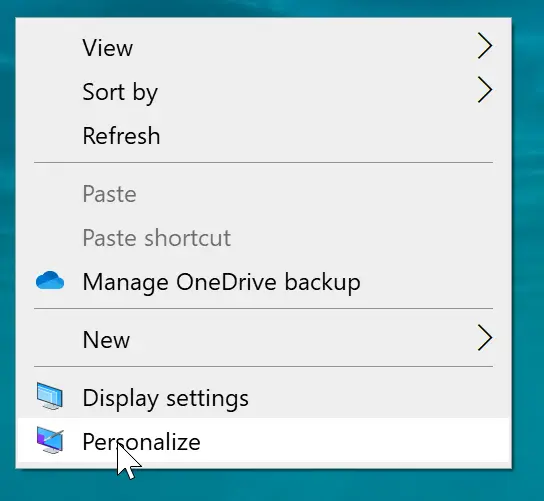
Step 1: When using a virtual desktop, perform a right-click on an empty spot on the desktop and then click the Personalization option.
Step 2: Here, in the Choose your picture section, click on one of the recently used pictures to set it as the desktop background. If you would instead like to have a different picture, click on the Browse button, select an image of your choice, and then click on the Open button. Simple as that!
Method 3 of 3
Change the virtual desktop background via File Explorer in Windows 10
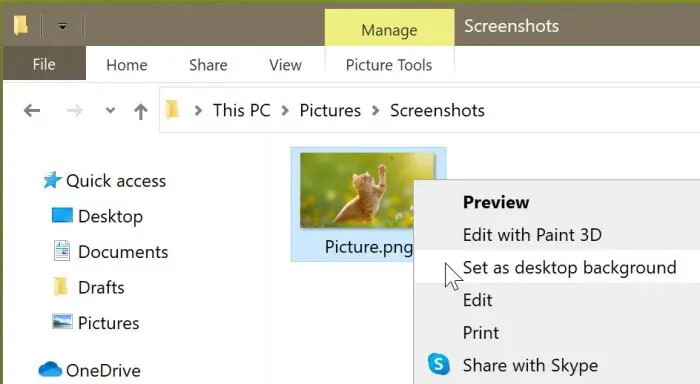
Step 1: Launch the File Explorer and navigate to the folder containing the picture you want to set as the current virtual desktop background.
Step 2: Perform a right-click on the picture file and click the Set as desktop background option to set it as the current virtual desktop background picture.
Source: 1hack.us
Happy learning!