Using a local server is the safest way to develop your WordPress site. When you’ve done developing the site, the next step is to migrate the site from the local server to a remote server to make it accessible online.
Here we’re going to show you two ways to do so. First, we migrate the site manually step-by-step. Then we’re also going to use some plugins that can help us migrate a WordPress site. (Source: hongkiat)
Migrating WordPress Manually
In this method, we will be migrating both the physical WordPress files and the database file manually from localhost to the server.
Note: We are using MAMP on localhost, and hosting with Hostgator (with cPanel) on the live server.
Make a copy of the existing database (localhost)
First, let’s download a copy of your existing WordPress database. Following the following instructions to get a copy of your database:
- Launch a browser, go to
http://localhost/phpmyadmin/.
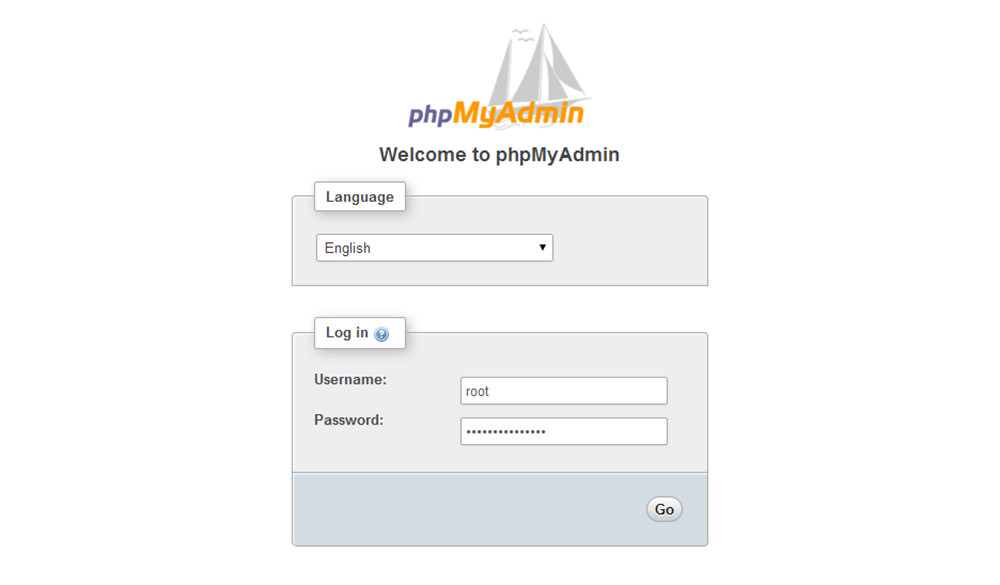
- On the left sidebar, click the name of your WordPress database.
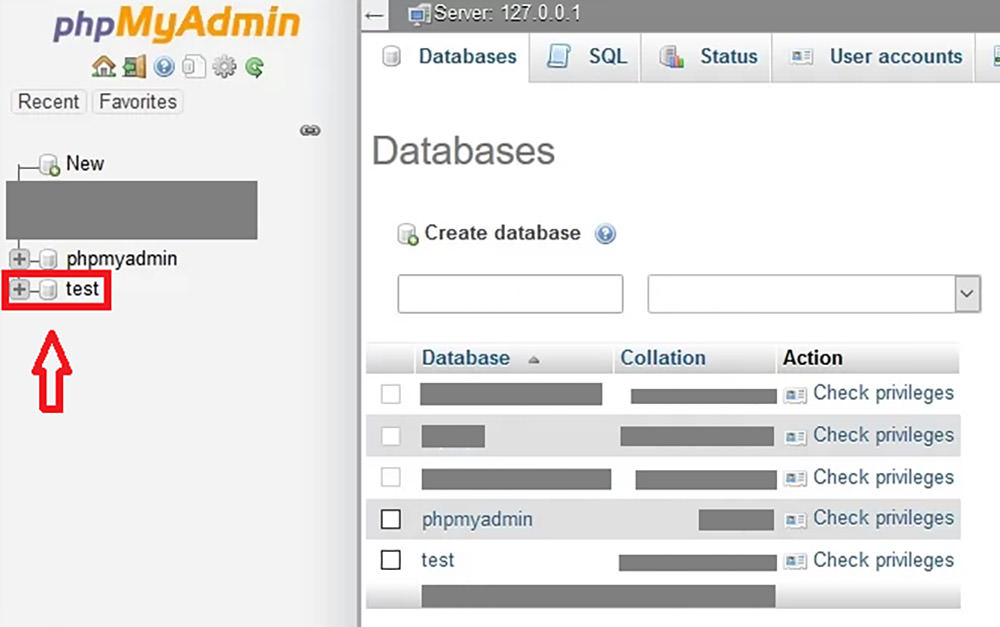
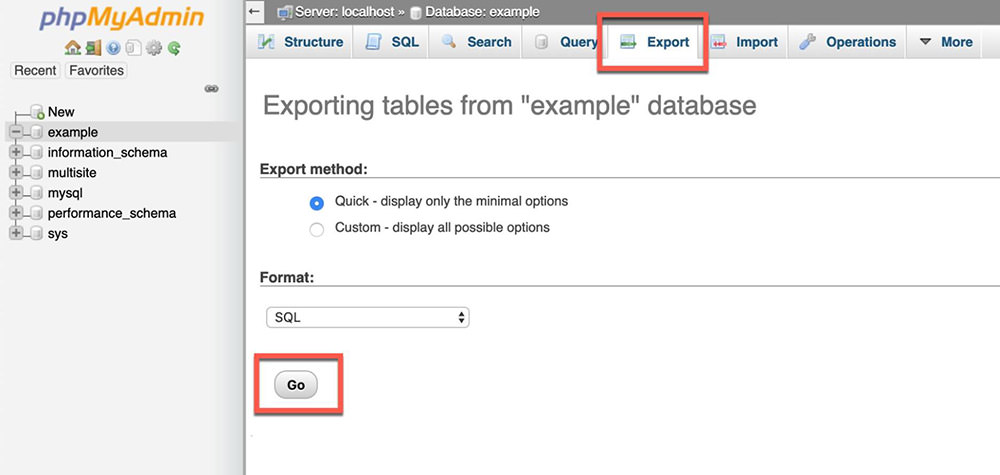
- Click Export. Select Gzip (download db in .gzip format) under Format, and then click Go.
Create a new database (live server)
Before we can upload our localhost WordPress database to the live server, we must first create a database in our web hosting account.
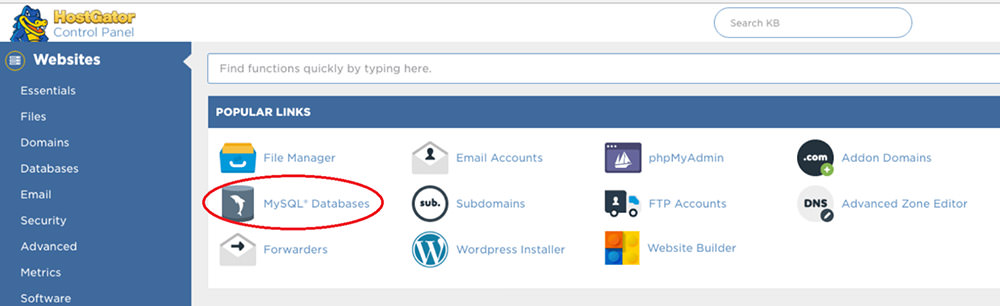
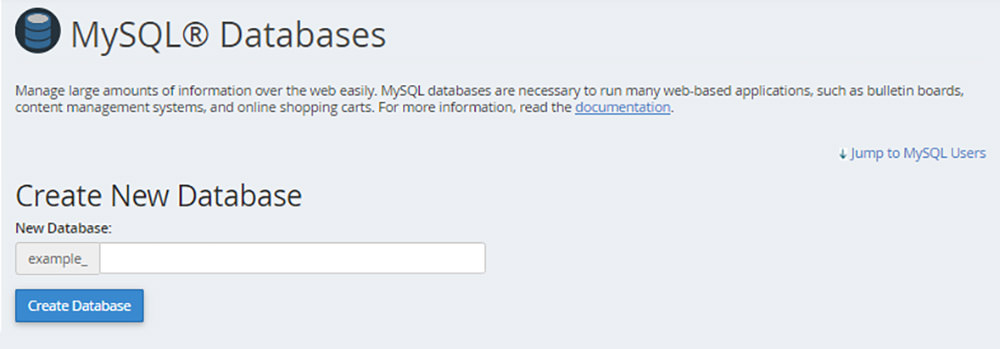
- Log in to your web hosting account. Under the cPanel or the admin page, look for a button or link that says “MySQL”, “MySQL Database”, “Database”, etc. Then click on a link or button that says “Create New Database”.
- Give your database a name, then click “Create Database”.
- After the database is created, we will need to create a user for this database. Enter a username, a password (twice), and click “Create User”.

- Then we will need to link both the database and the user. Select the User, and the Database name, then click Add.
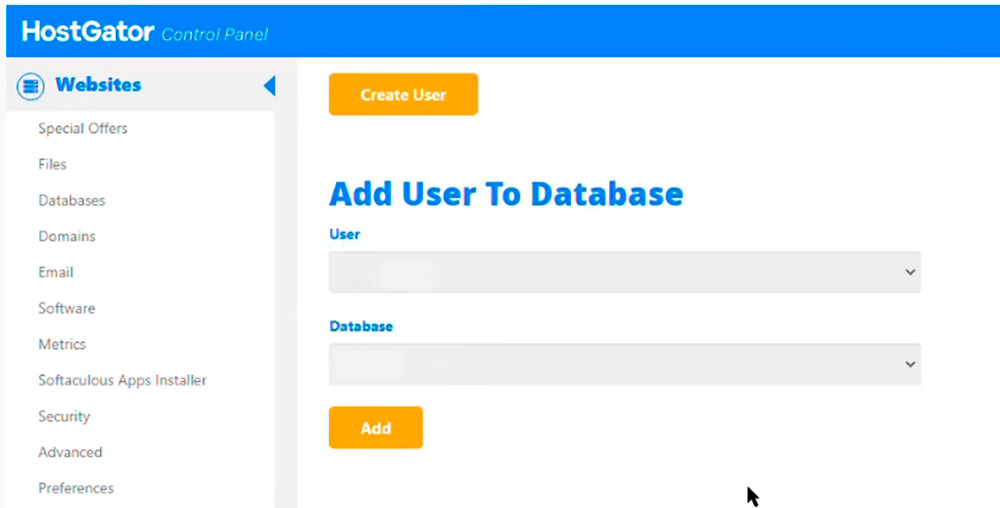
- If you are prompt or redirected to a page confirming the user’s privileges, just ensure all boxes are checked and click “Make Changes”, or “Done”.

Note: Keep a copy of the credentials (username and password), we will need it later.
Upload database to live server (live server)
So we’ve exported the localhost’s database and created a new database on the live server. It’s now time to import the database to the live server.
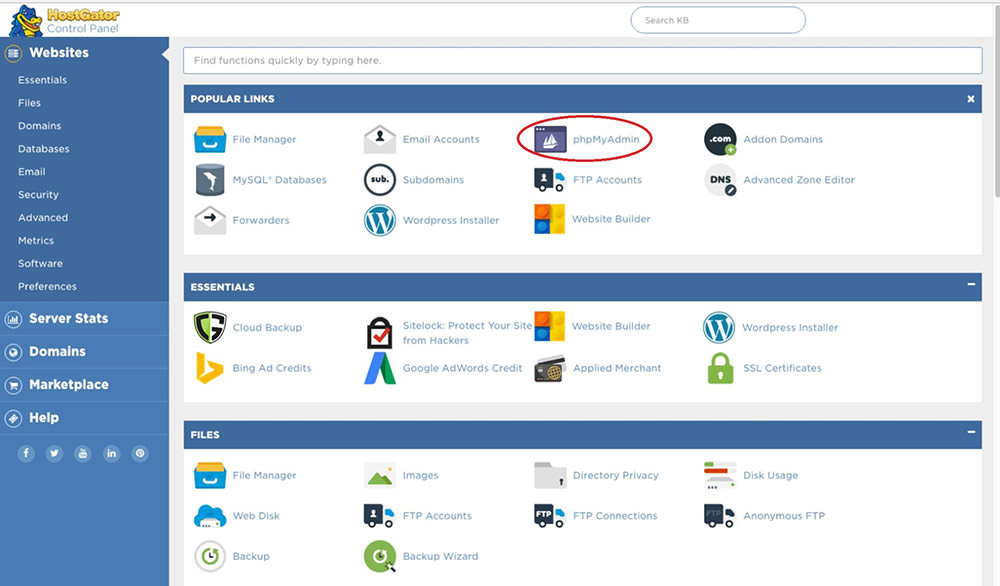
- In the admin section of your web hosting account, navigate to the Database section, and click “PhpMyAdmin”.
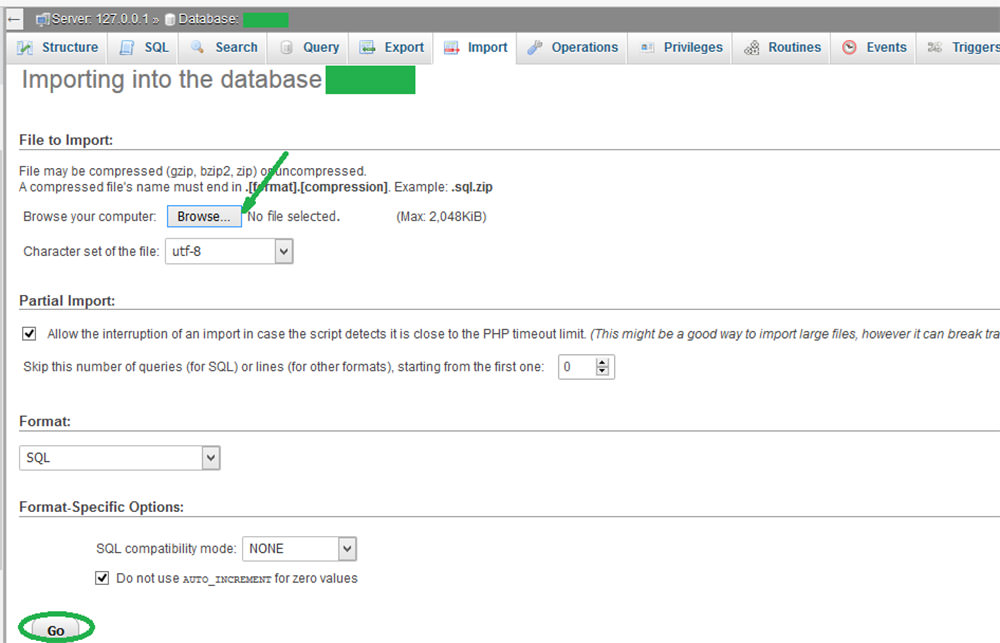
- On the left sidebar, click on the name of the database you’ve created earlier, then click Import on the top menu.
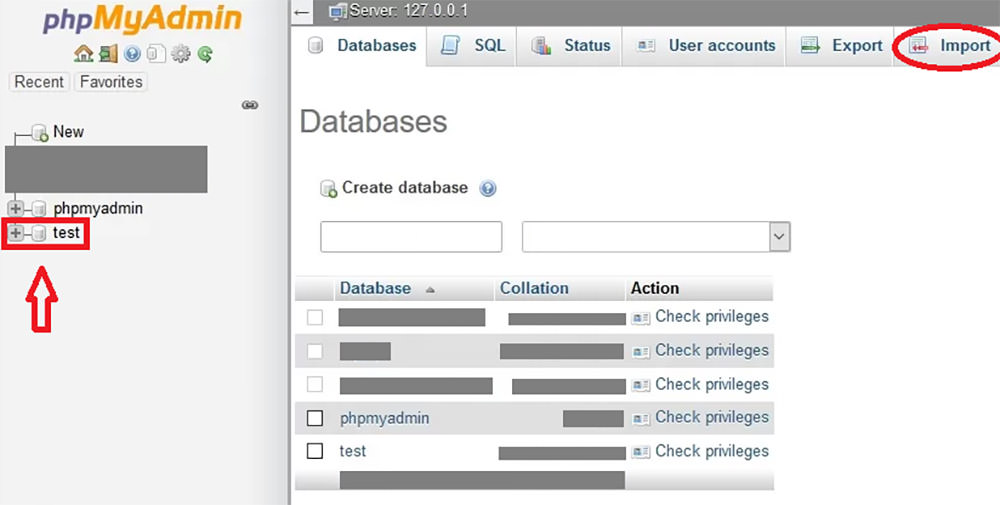
- Click Browse, select your localhost’s database (in .gzip format), then click Go.
Edit settings in your Database (live server)
After the database is uploaded, we will need to update the site URL. To do so we’ll need to navigate to the wp_options table on the database and find the siteurl and home entry within the table.
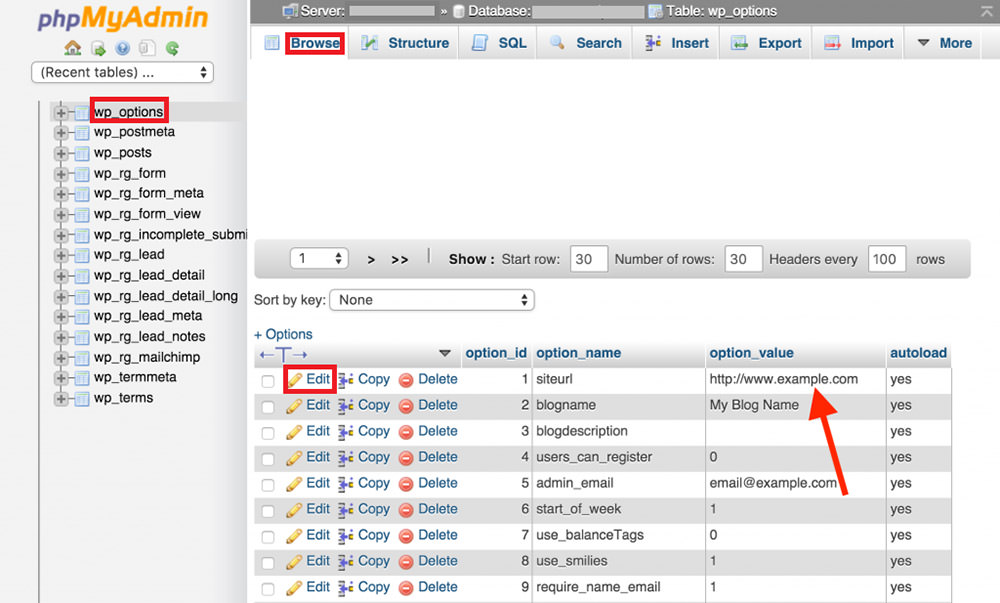
When you’ve just developed the site, the siteurl and home entry will be set to http://localhost. Assume you have a domain, mywpblog.com, and that you’ve set the DNS to point to the live server. You will need to change the siteurl and home from http://localhost to http://mywpblog.com.
Transferring physical files to live server
At this stage, the migration of the database is basically done. Now, let’s send the physical WordPress files up to our web hosting account. To do this, I would recommend using an FTP client
If you don’t have one, you can download it from FileZilla. Connect to your web hosting account via FileZilla, and start transferring all the WordPress-related files and folders.
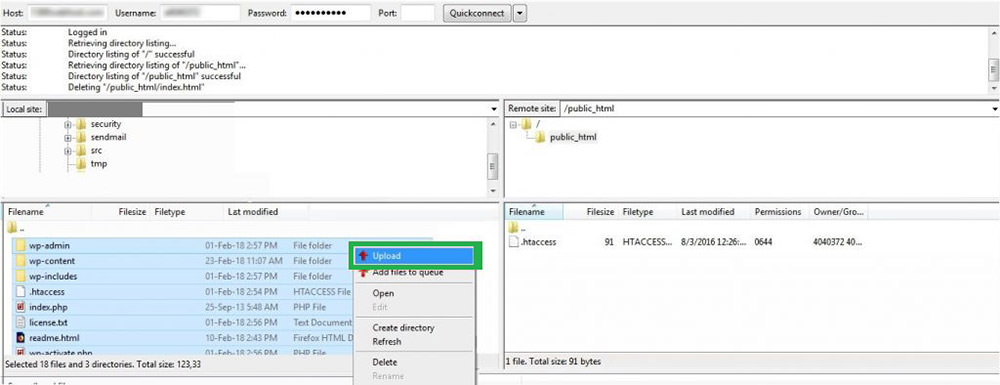
Note: Make sure the directory on your live server is correct You should usually be transferring files and folders into public_html/.
Edit WordPress config file (live server)
Last but not least, we will also need to edit wp-config.php on the live server, so it can read from the database.
Open wp-config.php with your favorite text/code editor, and look for this section in the file.
define( 'DB_NAME' , 'your_database_name' );
define( 'DB_USER' , 'your_database_user' );
define( 'DB_PASSWORD' , 'your_database_password' );
define( 'DB_HOST' , 'localhost' );
Replace 'your_database_name','your_database_user', and 'your_database_password' with the correct information from our previous “Create a new database” step.
Check settings and test
If all goes well, your site should have been successfully migrated from your localhost to the live server.
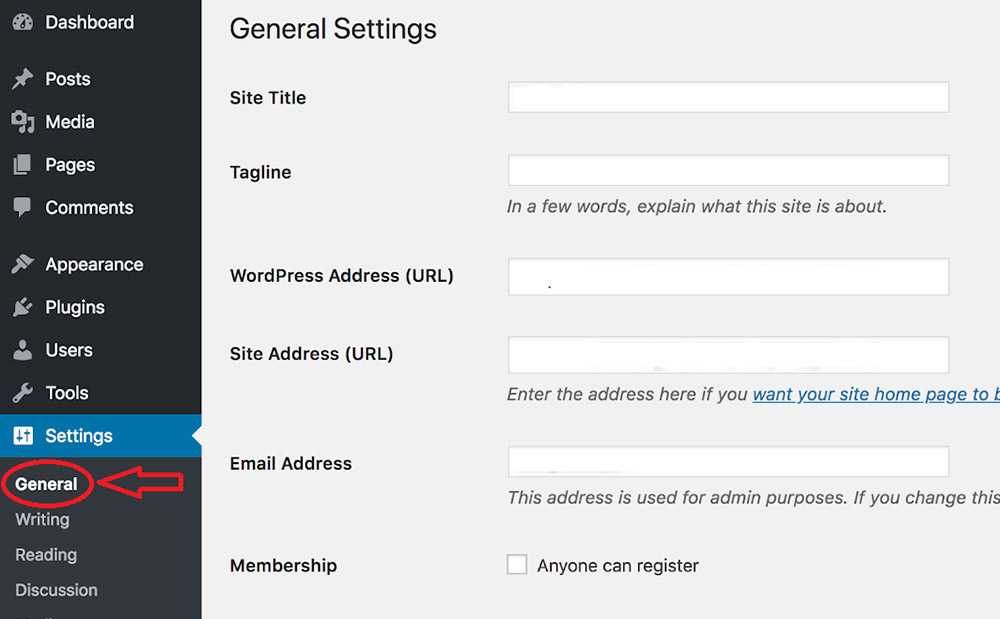
On the live site, go to WordPress Dashboard, then navigate to Settings > General. Make sure “WordPress Address (URL)” and “Site Address (URL)” are correct, then click Save Changes.
Now, launch a new browser and type in your URL, your WordPress website should appear like how it is on your localhost.
Migrating WordPress With Plugins
If you do not want to get your hands dirty in to manually downloading and uploading files and databases, you can consider the option of migrating with WordPress plugins.
Here are some that I recommend.
UpdraftPlus
UpdraftPlus is an advanced WordPress site backup plugin. You can automatically create a backup and store it on a remote server (Google Drive, FTP, Dropbox, and others). It supports incremental backups, and the ability to restore directly from the site admin menu. On top of that, its premium version comes with a migration tool that makes it easy to migrate your site.

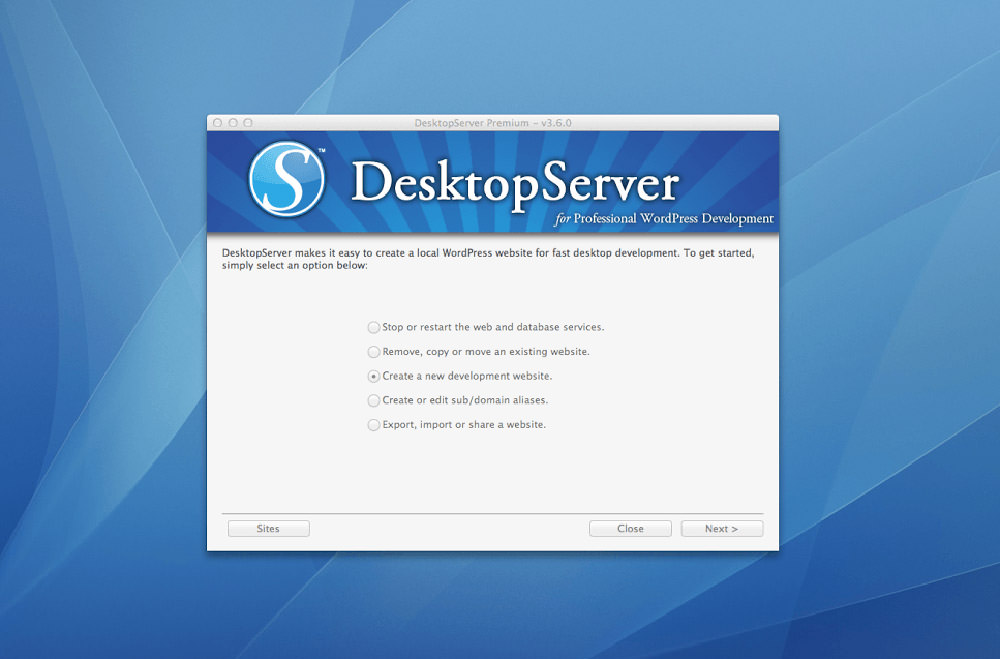
DesktopServer
DesktopServer is a desktop application that’s available for macOS and Windows that allows you to run WordPress locally on your computer. It makes it easy to set up virtual hosts, duplicate test sites, create local multisite sites, archive sites, as well as migrate your site.
The Wizard GUI on the application makes migrating your WordPress site as easy as a few clicks.
All-in-One WP Migration
All-in-One WP Migration is one of the most popular WordPress migration plugins. It helps and does most of the heavy process of migrating a WordPress such as uploading the database, moving the files, and changing the URLs.
It also lets you exclude directories to migrate, such as spam comments, media files, as well as posts.
Duplicator Pro
Duplicator Pro is another popular WordPress migration plugin. It’s easy to use regardless of your technical skill level. It lets you migrate your WordPress from localhost to a live server or from one server to another server.

Bonus: Migrating with WordPress Plugin (Walkthrough)
In this demo, we will use the All-in-One WP Migration WordPress plugin.
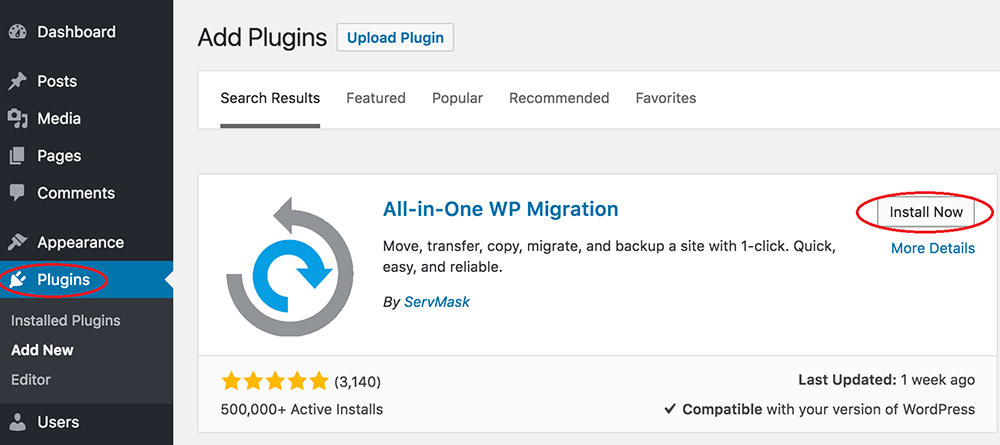
- In your localhost’s WordPress, install and activate the All-in-One WP Migration plugin.
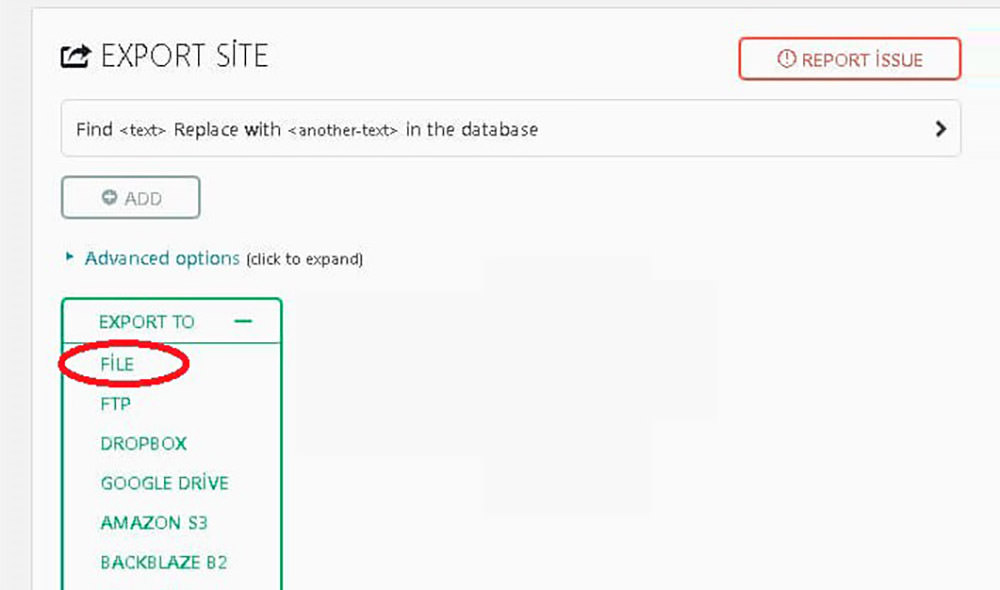
- On the left sidebar, you should then see the “All-in-One WP Migration” link. Hover over it, then click Export.
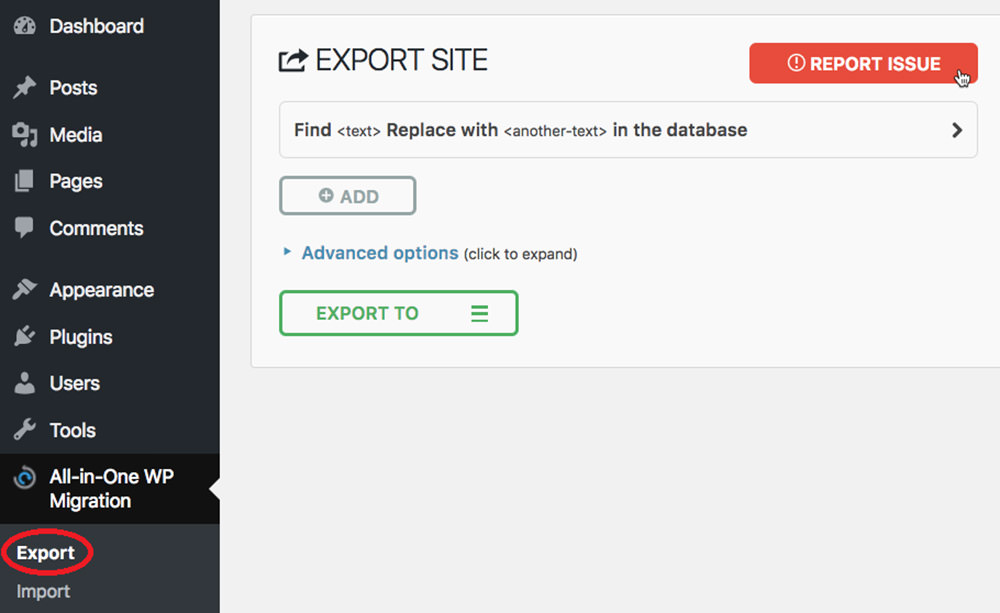
- Select Export to, then select File to download a copy of your database.
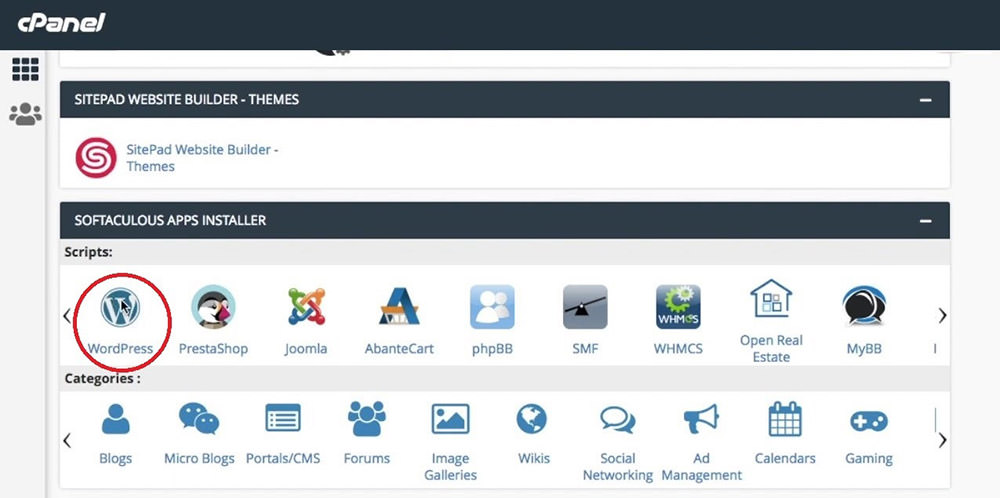
- Install a new copy of WordPress on your live server, then install and activate the All-in-One WP Migration plugin.
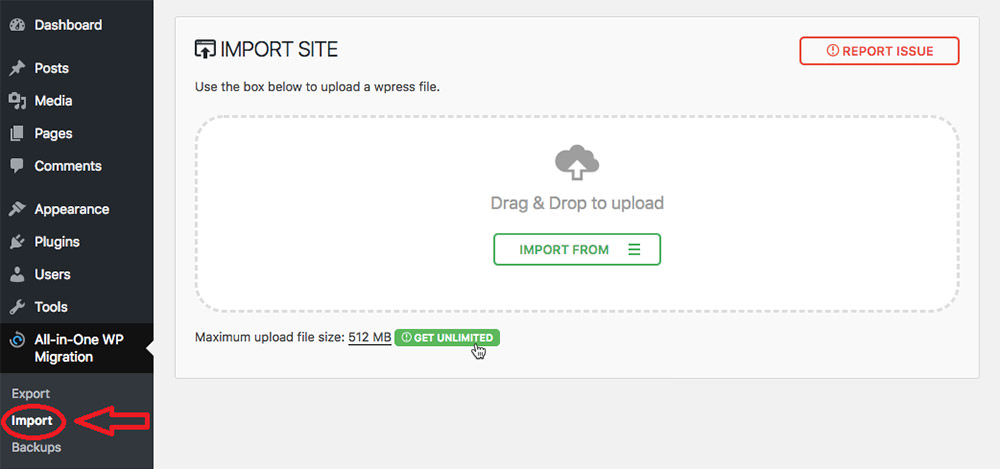
- Under the All-in-One WP Migration on the left sidebar, go to Import.
- elect File, and then proceed to browse for the database file downloaded earlier.
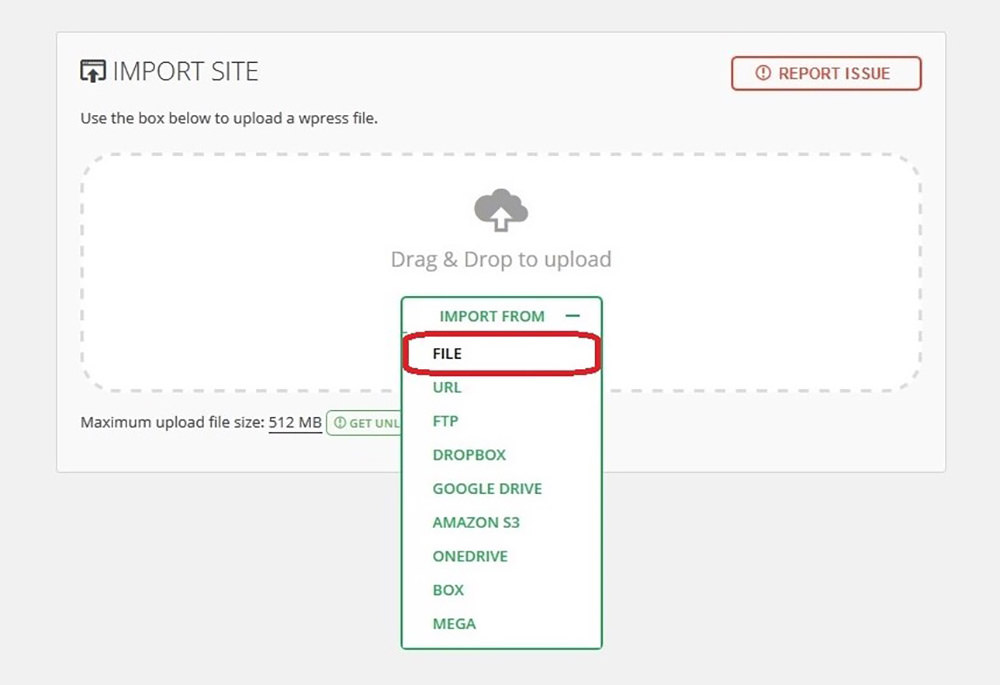
- Click Proceed to confirm replacing the current database with the localhost’s.

Happy learning!