MT Your Guide to Downsizing RAM Usage on Google Chrome
How to Make Google Chrome Use Less RAM
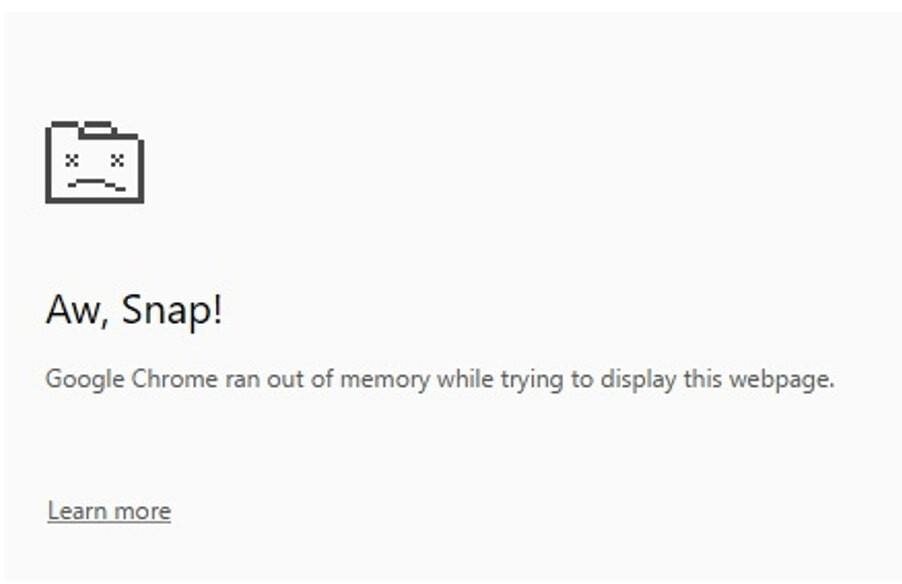
Google Chrome is loved by many, but it can be a ruthless memory guzzler. If you delved into Activity Monitor, you’d see that this browser is among the most memory-consuming resources. The frustrating sign of your Mac running out of memory is the message below. If you get it too often, time to act. In this article, we will look at some ways to make RAM consumption for Google Chrome more efficient.
Make Google Chrome Use Less RAM
First, let’s answer the question of why Chrome uses too much RAM. A browser is where things happen. Whether you’re watching videos, surf the web, or use web applications of any sort – it creates a separate process. In a nutshell, the more tabs open – the more processes are running. It’s intended this way for a reason so that if anything goes awry with one of those processes, it won’t bring others to a halt. That safeguards your browsing experience but overwhelms memory and may cause a slowdown. Can you do something about it? Certainly. There’re many things you can do to downsize memory usage.
Keep open tabs to a minimum
For a reason we’ve described earlier, too many tabs typically eat up a big chunk of computer memory. Multiple open tabs also clutter your workspace, but even if you’re okay with the clutter, your system can get overworked. To rectify this issue, you should close tabs you’re no longer using and see if that helps take some pressure off RAM.
What if you need to keep your tabs open? There’s an easy way to close them temporarily using TooManyTabs, an extension from Chrome that lets you restore the order or the tabs so you can access everything you need later. It’s convenient for when you need to optimize your Mac’s speed by reducing memory consumption. TooManyTabs is also easy to use. After you download and install the extension, it will show you the list of your open tabs. With one button click, you can put the tabs on hold and then easily reopen them.
Enable hardware acceleration
Your Google Chrome may be fast, but there’s always room for performance improvement. Hardware acceleration not only optimizes memory consumption but also helps media load more quickly. This way, your machine will rely on your GPU rather than letting your CPU do the heavy lifting on its own.
How to activate hardware acceleration? First, open Google Chrome and go to Settings (the three-dot menu in the upper right corner). After opening Settings, scroll down to Advanced and click to open it. From there, you will be able to turn on Use Hardware Acceleration When Available. Then, restart Chrome. After it starts up, enter “chrome://gpu/” in the address bar and press Return to see if the feature has been enabled.
Run an update
Google drops updates for Chrome from time to time, including new features and fixes that boost your browsing experience. So, to make the most of the browser, it’s best to run the latest version. Your browser notifies you when there’s a pending update by coloring the menu into green, yellow, and red colors, depending on how many days passed from an update’s release date. If you do not have this button, you are already using the latest version.
To update Google Chrome, follow the steps below.
- Open Chrome on your Mac;
- Click the More icon at the top right corner;
- Click Update Google Chrome;
- Click Restart.
If you worry about your current tabs, you should know that an update won’t affect them. Chrome will automatically reopen windows after starting up. However, you will lose your Incognito windows. You can postpone the restart by clicking Not Now. If you do that, Google will automatically apply an update next time you launch Chrome.
Restore Chrome default settings
Reverting to Chrome’s default settings is a drastic step, but it is efficient for reducing RAM usage. Before you proceed, note that resetting Chrome’s settings is exactly what it says on the can, meaning you’ll get a newly installed browser on your Mac, for the most part. Some configurations will become a clean slate: from your home page to pinned tabs and extensions. A reset will also clear your cookies and cache. Resetting Chrome, however, won’t affect your bookmarks, passwords, and browsing history. Follow the steps below to restore Chrome default settings.
- Open Chrome – Settings – Advanced;
- Scroll down to “Reset and clean up” option;
- Click “Restore settings to their original defaults”;
- Confirm the action in a pop-up window.
That’s it! Hopefully, the methods we’ve described helped optimize your Chrome experience, and you won’t come across the notorious “Aw snap” message anymore. (Source: thetechrim)
Happy learning!