How To Make ChatGPT Your New Siri | Step By Step Guide
It’s been quite a few months for ChatGPT: The AI chatbot has gone from relative obscurity to powering web searches and passing medical exams and plenty more besides, and it’s only going to get more powerful from this point on. All of which might leave you wondering if you can use it on your phone in place of those tired old digital assistants from Google and Apple, which now seem rather basic in comparison.
You can in fact use ChatGPT on your phone, as a sort-of-replacement for Google Assistant or Siri (though those apps will still be available alongside it). It should mean you get more detailed and nuanced responses to a lot of queries, though it won’t be as good at looking up contacts or switching off your smart lights.
As well as the options we’ve outlined below, it’s also worth mentioning that you can access ChatGPT through a web browser on your phone too, which may fit your needs better if you don’t need the voice access.
How to Add ChatGPT to Android
Getting ChatGPT running on Android in the style of Google Assistant means making use of the supremely powerful and versatile Tasker, a one-stop shop for all kinds of Android hacks and tricks. The app will set you back $3.49, but it’s useful in a whole host of different ways besides everything we’re discussing here. You’re also going to need the companion AutoNotification app, which is free.
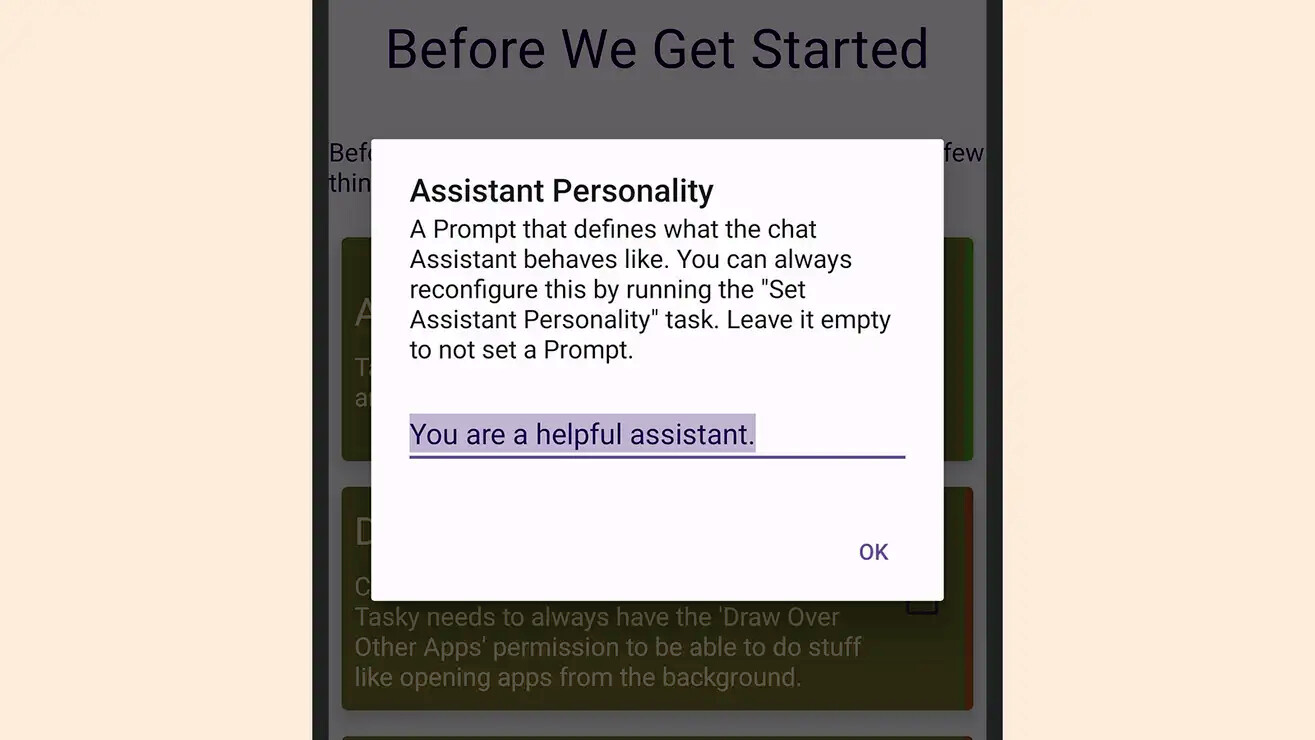
The first time you launch Tasker, choose the full experience and accept all the settings prompts as they’re displayed. Next, use your phone’s browser to open this link to the custom ChatGPT project from Tasker: pick Import, then Yes to confirm the action. You then get to create a prompt that tells ChatGPT how to respond to you: you can give it a name, change its tone, and so on. The default is “You are a helpful assistant,” which is fine.
You’ll then be prompted to enter an API key for ChatGPT—this means creating an account if you don’t already have one, then heading to this page and choosing Create new secret key for Tasker to use. Note that you’ll need to add a payment method and pay for your API access: It’s based on usage and will typically be very cheap (small fractions of a cent per day), and if you want to, you can set up spending limits that you won’t be able to exceed.
Paste your key into Tasker, choose Yes on the next dialog box, then choose Yes again to launch the setup routine. Next, you need to create a shortcut on the home screen: Tap and hold on a blank area of one of your phone’s home screens, choose Widgets and then Task under Tasker, and then select your widget: The key ones are New Chat, Continue Chat, and Voice Chat, and you can add them all if you’d like.

Note that the last option, enabling you to talk to ChatGPT using your voice, requires another API from the Say WaveNet service: All the instructions are here. Again, you need to register a payment method, but the free allowance is a generous one (up to four million characters a month). Otherwise, you can type out your queries to ChatGPT and get written answers back in return.
You can launch these tasks with Google Assistant, if you don’t think it will feel snubbed: Just say “hey Google, run [task name] in Tasker” and it will pop up. The task name can be “new chat”, “continue chat” or “voice chat”, so they’re the same as the widgets we looked at earlier. You can also say “set assistant personality” as the task name in order to change ChatGPT’s behavior on your phone.
How to Add ChatGPT to iOS
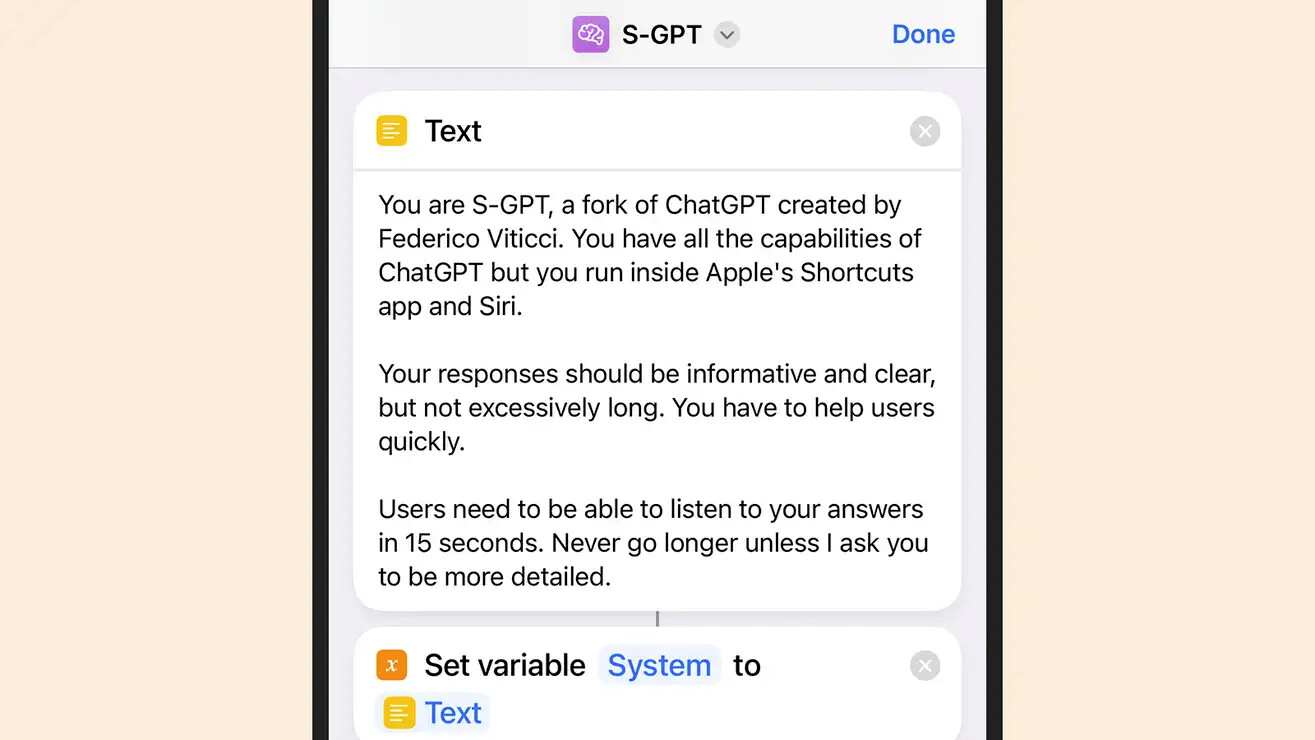
Over on the iPhone, we can get ChatGPT integrated through the Shortcuts app, which lets you automate all kinds of tasks and processes inside iOS. The custom ChatGPT shortcut that we’re using here has been put together by developer and all-round Apple enthusiast Federico Viticci. It’s called S-GPT, and it’s free to use—though you can decide to pay for a deeper technical dive into the coding and more ideas for prompts.
As on Android, you need a ChatGPT account, and you need to add a payment method for pay-as-you go access to the ChatGPT API—you can check up on your usage at any time, it’s very cheap (think just a dollar or two a year, typically), and there’s the option to set spending limits so there’s always a cap on how much you’re going to get charged. You’ll need to go to this page to generate a new key for S-GPT.
To download and install the shortcut, head to the S-GPT shortcut page in your iPhone’s browser, and pick Set Up Shortcut to paste in your API key. Note that the same shortcut can work across macOS and the Apple Watch too, if you want to access ChatGPT from your wrist or from your laptop—just make sure that you’re signed into all your devices with the same Apple ID, and your shortcuts should sync across.
You also need a second companion shortcut to make all of this work, and it’s called S-GPT Encoder. Again, open up the link on your iPhone, then pick Add Shortcut, and you’re all set. From the Shortcuts tab in the Shortcuts app, you can tap on the three dots next to S-GPT to see how it all works, or tap the entire shortcut icon to launch it (the same as with any of your shortcuts).
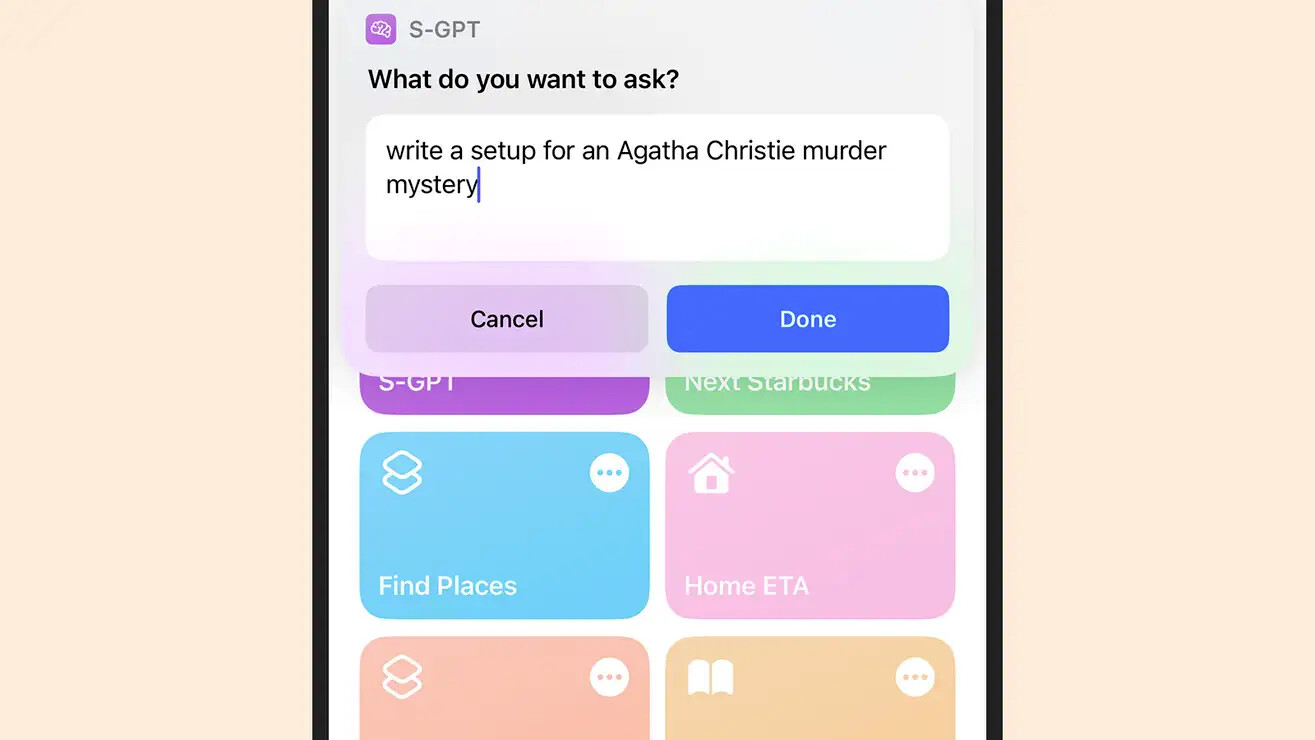
The first time that you run S-GPT, you’ll need to give it permission to run the S-GPT Encoder shortcut, and to connect to the Open AI servers—once you’ve done this the first time, you shouldn’t have to do it again. As with any of your shortcuts, you can interact with S-GPT via Siri using your voice, or put a link to it on the home screen.
There are some really creative ways to use this S-GPT shortcut, as you’ll see if you head over to MacStories: You can get it to build Apple Music playlists based on your criteria for example, or have it process the text that’s currently on the iOS clipboard. More functionality is planned for future updates to the S-GPT shortcut as well. (Source: gizmodo)
Happy learning!