How to Use AdsPower
AdsPower has an easy-to-understand interface, which makes it easy to use. All you need to do is follow the step-by-step guide described below on how to use the AdsPower software for multiple account management.
-
Go to the AdsPower website.
-
Navigate to the software download page and download the application. You can install and start using it. The initial account is free, and you can have 5 free browser environments.
-
You’ll need to import accounts from the account management interface. You can import a single account or do a bulk import.
-
Set up browser fingerprints, but if no special requirements, you can leave the default setting.
-
Configure proxies. The guide is next after this section.
-
For each of the accounts, click on “open” to open a browser environment for the account.
How to Integrate Proxies with AdsPower
You will need proxies in other to keep accounts truly separated. You can use any proxy server of your choice. However, for this tutorial, we would be making use of residential proxies from Bright Data, formerly known as Luminati Networks.
Step 1: Log into the Bright Data user dashboard. If you do not have an active proxy subscription, make a purchase.
Step 2: From the user dashboard, go to the proxies area, and you will see the proxy endpoint and its associated details such as a proxy address, port, username, and password.
Step 3: You can use the tool available to select proxies from certain geolocation if you need proxies only from certain locations. As you use the filtering option, the endpoint/port address will change.
Step 4: Copy the IP address, port, username, and password.
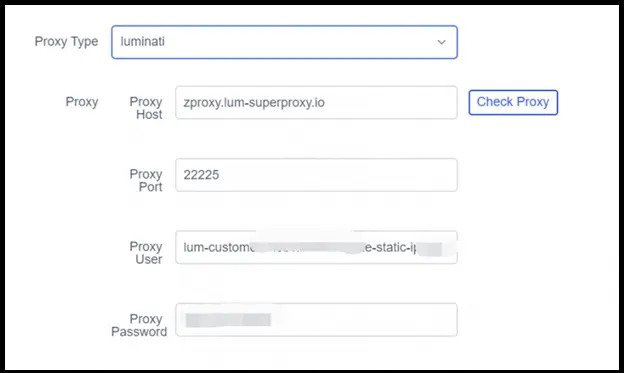
Step 5: Head over to the AdsPower software. Launch it and go to the account management interface. For an account, you want to add proxy, scroll down to the proxy setting section and enter the information like the below – just an example.
Proxy Type: Luminati
Proxy Host: zproxy.lum-superproxy.io
Proxy Port: 22225
Proxy User: Your Zone user name
Proxy Password: Your Zone password
Step 6: Continue the other configuration until you are done, then save.
Source: BestProxy
Happy learning!