Most people carry a laptop nowadays, however, a laptop is likely to be dwarfed by the capability of a professional workstation, so if you own a workstation and you prefer accessing its full power without too much frustration, maybe you should consider Moonlight.
Moonlight is a FREE, Third-party remote desktop application aim to solve the Achilles heel of all remote desktop applications, latency. People who used Teamviewer or Chrome desktop will notice the horrible latency in prolonged use, the experience is rather unsatisfying. But with Moonlight, the application takes advantage of the Nvidia Gamestream API, which is a C2C video encoding API used in the past that allows users to stream their gaming sessions to other clients apart from their gaming rig.
All you need is to own at least one Nvidia GPU.
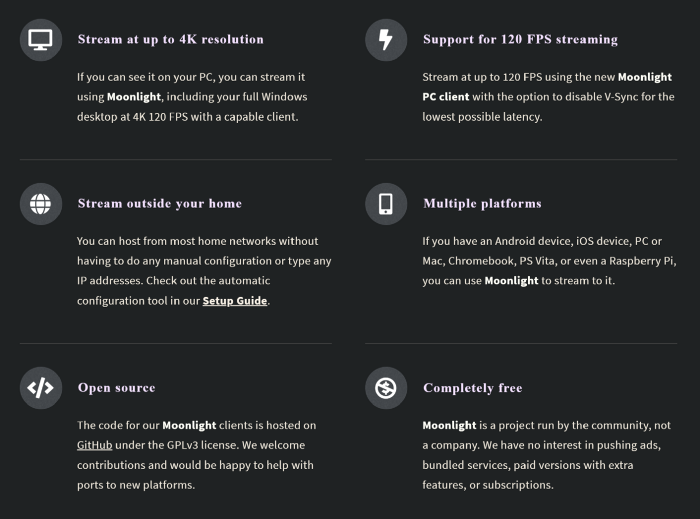
The merits of Moonlight is that it supports up to 4K, 120FPS low latency streaming, it goes with you anywhere in the world, and clients support almost every platform, even on low-power embedded devices.
To setup Moonlight is fairly easy, if you are trying this outside your home, we suggest you set up Chrome Remote Desktop for better accessibility.
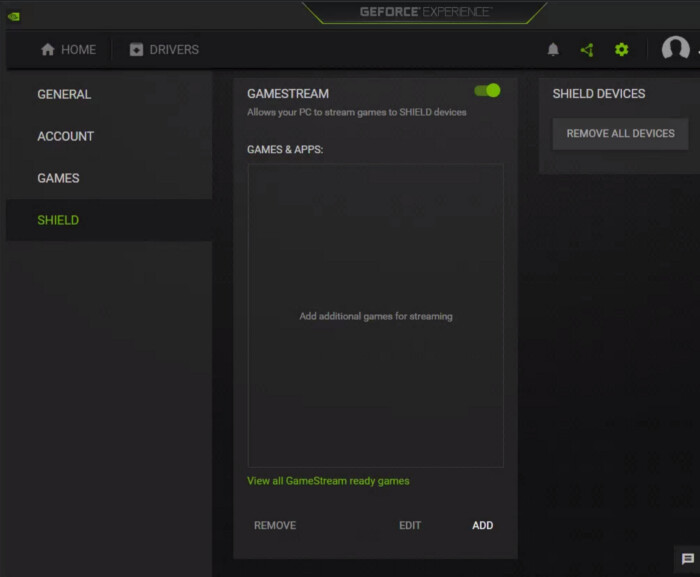
Step 1
You are required to install an Nvidia GPU on your streaming host, please install Geforce Experience. After you are done with everything, find “SHIELD” in the hierarchy, then enable GAME STREAM.
Step 2
After you finish step 1, turn to your streaming client and install Moonlight, you are free to tinker with the setting as much as you see fit, note that you are advised to delicately assess your own system for optimum performance, a higher fps or resolution always requires more video bit rate, while higher bit rate will create extra latency.
I would recommend the client use the same resolution as the host, and you should stick to 60 fps unless your ISP is known for reliability.

Step 3
In the client click add PC manually on the top right corner, type in the IP address of your host, if you do not know the IP address of your host PC, feel free to switch to the host PC and google “IP location”, the IP address comes in a 4 separate digits form. Go back to your client and insert the IP address then click confirm.

type in your specific IP address, this one is mine.
Step 4
After you click confirm click on the newly created PC icon that still has a lock in the center. A bubble will show up requiring you to enter a 4 digit number in your host PC, follow the instruction.
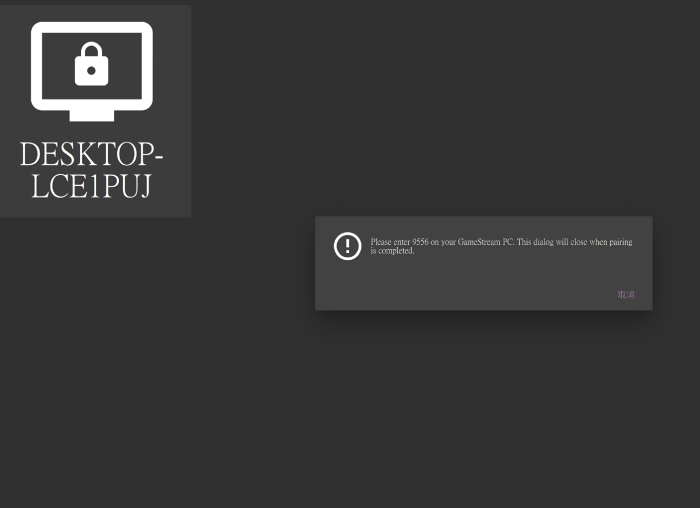
Click the PC icon that has a lock in the center
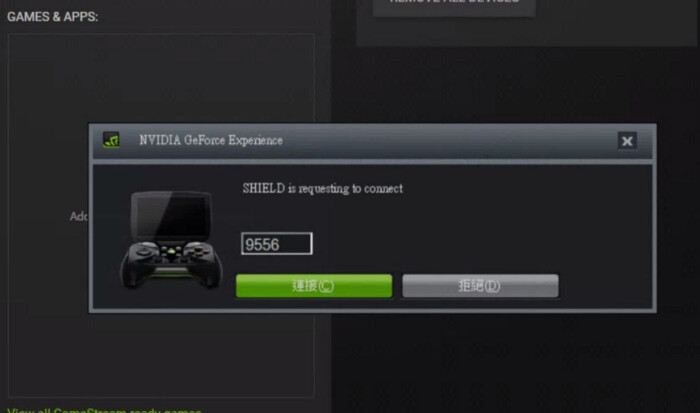
enter the number from the client popup bubble
The lock-in in the center disappears after you have done everything right.
Step 5
This is the step where Moonlight turns from an incompetent sidekick to a hero in a nerdy fantasy. Go to the host PC and fire up Geforce Experience, select SHIELD and you’ll find three buttons “Remove”, “Edit”, “Add” in the Gamestream tab, go to the folder below:
(or just add the line below to the file path)
C:\Windows\System32
find a file name mstsc and open it.

mstsc is the heart of Moonlight
Enjoy Moonlight. That was easy, wasn’t it
Next time you open up Moonlight in your client, always select mstsc unless you have other intentions. “mstsc” is the Windows build-in remote desktop function you probably never heard of, because it was never an impressive alternative comparing with Chrome Remote Desktop or Teamviewer, however, since you’ve given it privilege to transmit data through the powerful Nvidia Gamestream API, it becomes light-years ahead of its counterparts.
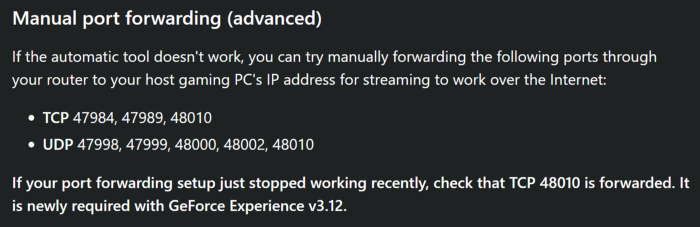
This is merely a setup guide for Moonlight, some people use complex networking in their houses, be sure to check out some details if your handshake attempt fails.
Moonlight Setup Guide & Documentation:
Source: GitHub & Medium