
As You Know Kali Linux is the Most popular Linux Distribution Used For Pentesting, and it is widely used by Security Researchers, Ethical Hackers and even Cyber Criminals.
Now In This Tutorial Let’s See How We Can Install The Kali Linux Distribution In Our Android SmartPhone with Root and Without Root
There is a tutorial on installing Kali Linux in android by official Kali Linux you can read it here
- But the tutorial is only for root users
Let’s Explore Our Top 3 Ways To Install Kali On Android Without Root & With Root
Requirements To Install Kali Linux On Android (With Root)
Requirements :
- Android Device with at Least 5 GB Free Space, RAM at Least 1GB
- A Speed Internet Connection
- Device Must Be Fully Charged
- Root Access (Android Rooting Guide giyf.com)
- BusyBox Must Be Installed ([BusyBox Installation Guide giyf.com)
We can Install Kali Linux Without Root, Firstly Let’s See How To Install With Root
Steps To Install Kali Linux on Android With Root
Step1: Download And Install Busybox Installer from Playstore, and Install The Compatible Version Of BusyBox On your Android,
Step2: Now Download and Install Linux Deploy from Playstore
• After Installing, Open Linux Deploy and Click On Three Dots (On Bottom Right Side) as Shown In the screenshot
• In The Distribution section Select Kali Linux,

• Scroll Down And Define your desired Username and Password In The Username and Password Fields

• Now Save All The Settings

• Now Click On Three Dots, you will see Install just Tap on It
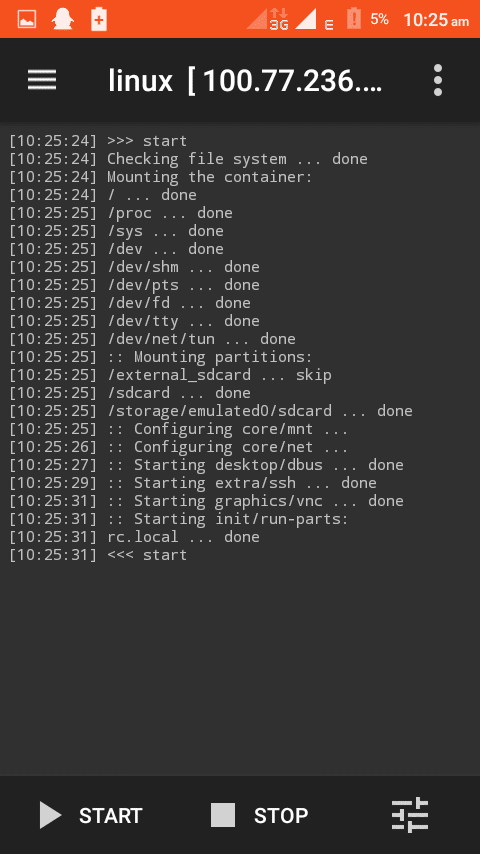
• It will take 5-10 Minutes to Install Kali Linux On Your Android, after installation success, click on Start Button
• Now You Have To Install VNC Viewer From Play store
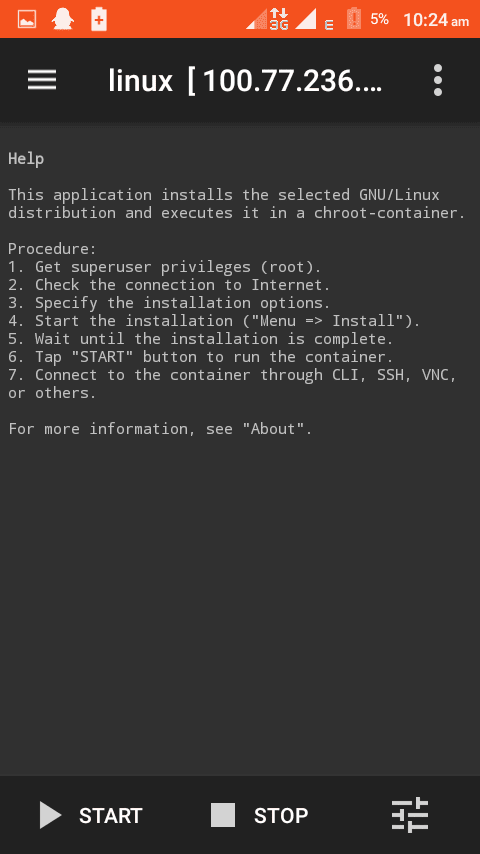
• After Installing, Goto Linux Deploy and Click On Start Button
• Now Goto VNC Viewer App and make a new connection, In The Address Field type localhost and Name Field as Kali Linux
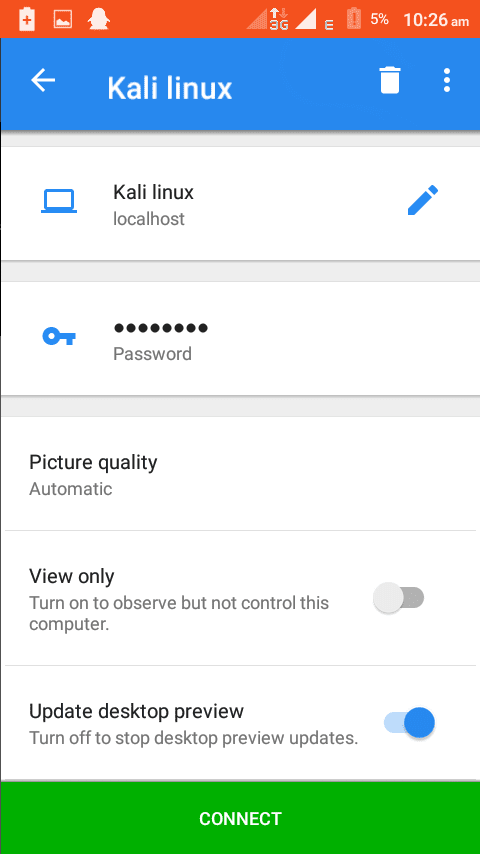
• Now Tap On Connect, you will be asked to enter username and password, just enter the username and password which you have chosen
Finally, click on connect, that’s all you will be able to use Kali Linux On Your Android

How to install kali linux on android without root
In the past Root Is Required To Install Kali Linux On any Android Device, But Now You Can Install Kali Linux on Android Without Rooting Your Android
Install kali linux on android step by step no root
There are two more ways to Install Kali Linux without Root
Let’s see
How To Install Kali Linux With Limbo PC Emulator
The Limbo PC Emulator is a Good PC Emulator For Android, which we are going to run Kali Linux through it
-
Firstly Download And Install Limbo PC Emulator From Play store
-
The Important Thing is Downloading the Kali Linux ISO File
-
Before Downloading The iso file you have to know your device architecture
So The Question is
How To Know Your Device Architecture?
-
Firstly Download and Install Droid Hardware Info from Playstore
-
After opening it, Look At the System Tab, if You see Arm: Armv7 Arm64, X86
-
Armv7 is 32Bit, Arm64 is 64 bit
-
That’s all you have known your device architecture
Now goto the official Kali Linux Website and download the Kali Linux iso file as compatible with your device
-
Now open Limbo PC Emulator
-
Click on New (on the Top Right Corner)

-
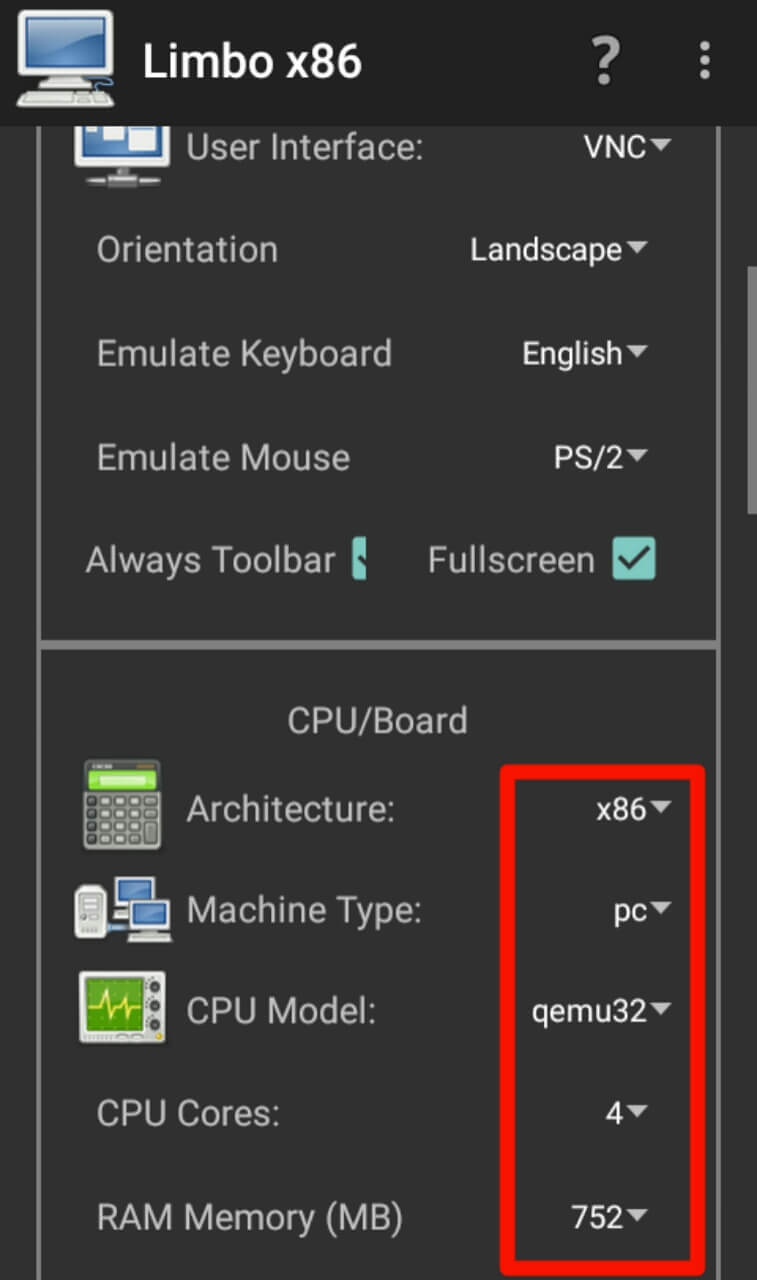
Select Your Architecture as shown in the screenshot
-
Select the Machine Type To Pc
-
Select Core CPU to 4
-
In the storage section select Hard drive and select the Kali Linux iso file
-
In the Boot Settings Select Default or Hard drive

- Now Goto Top And Click on start
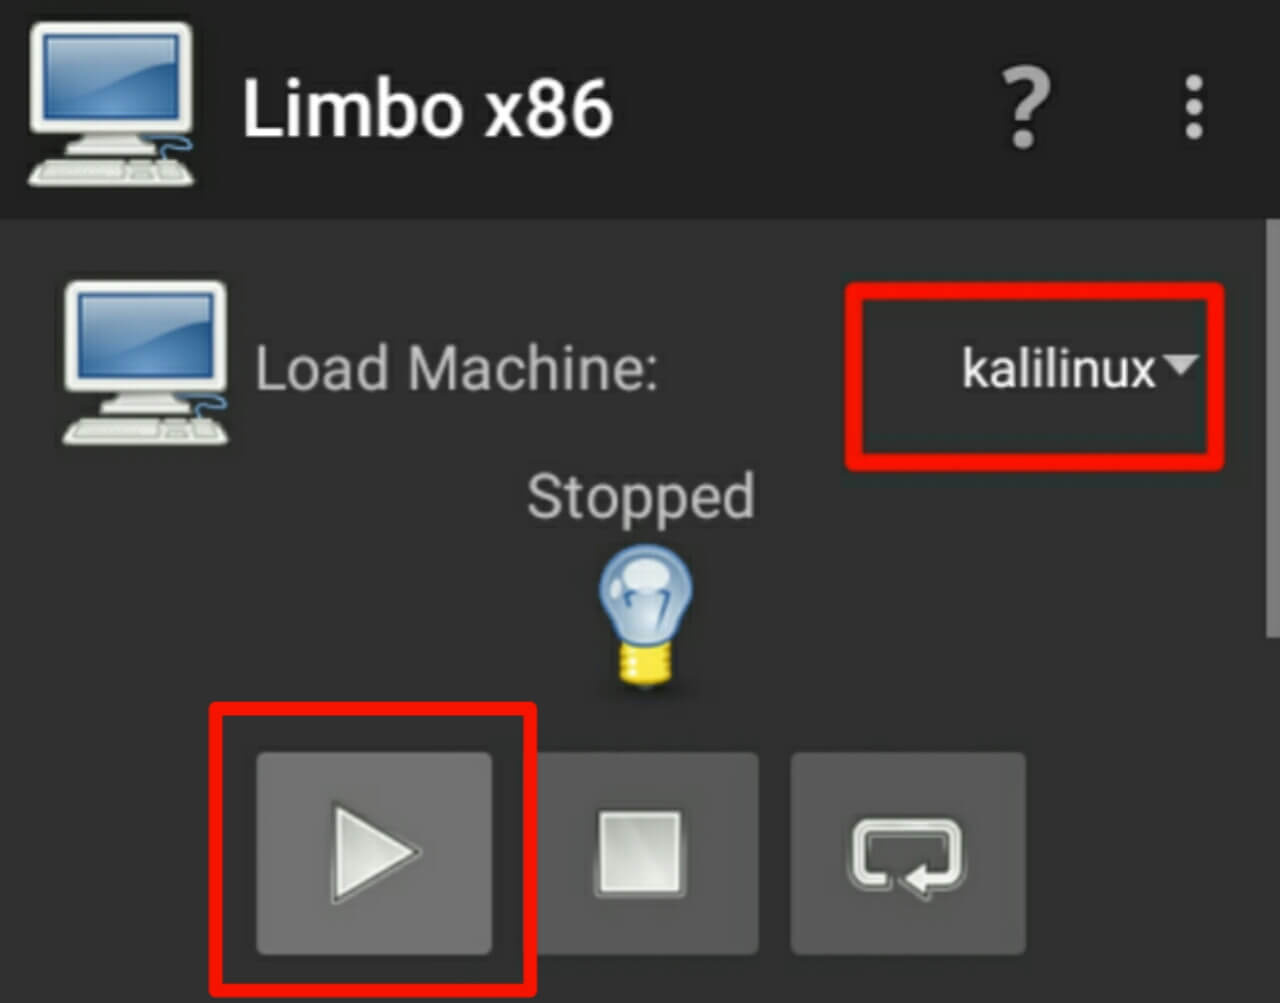
- You will be able to see the user interface just click on keyboard and hit enter

- After Booting Finish, You will be able To Use Kali Linux on Your Android
Note:
Different Devices supports different methods of booting, if booting fails then select booting from Different Methods
You can do the same by using Bochs Android App
Firstly download and install Bochs from play store

After that, open Bochs And On The Storage Tab Tick on ata0-master
And Select Cdrom then Select the Kali Linux iso file
In the Boot Section Select CD Rom
In the Hardware Section,

Assign The RAM You wanna use for Kali Linux
After that just click on the Start Button (In The Top Right Corner)
That’s all You Will Be Able To Use Kali Linux On Android without Rooting
Now let’s see
How To Install Kali Linux Using Termux
Now we can install kali linux in android by using termux that too without root
Just Follow below simple steps to install and use kali on your android
Note:
•You must have at least 2GB Free Space on Your Device
•You have to Install Termux and Anlinux App From Playstore
•Device Must be Fully Charged
Firstly Install Termux, Anlinux App From Playstore
Then Open Anlinux and Click on Dashboard

And Choose Kali as the Destro and you will get the commands
just click on copy
Now Open Termux and Paste the Commands in Termux and hit Enter

it will take some time to install kali
After Successful installion you will be able to start kali by typing
./start-kali.sh
Pro Tip:
In the same way you can install Parrot Os, Arch Linux, Ubuntu and many other popular os in your android
just have a look at the dashboard in Anlinux App
Now we need Kali Desktop Environment so Open Anlinux App and Click On Dashboard
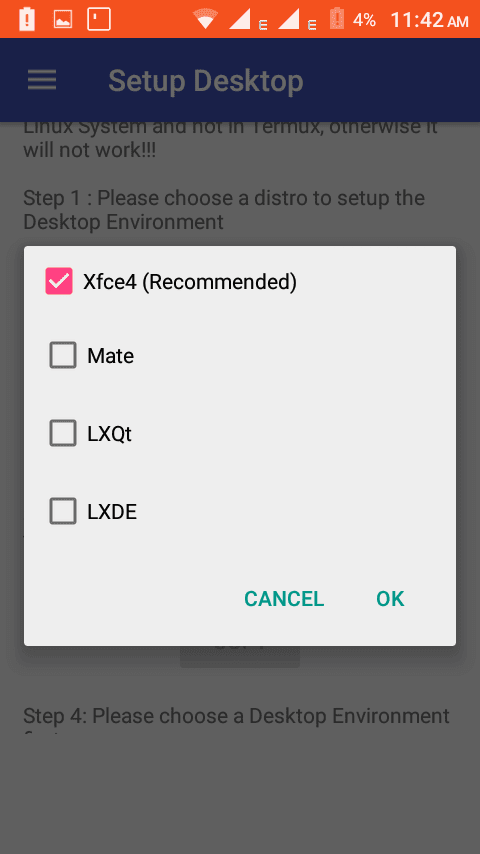
then select Environment to Xfce4
And Destro to Kali
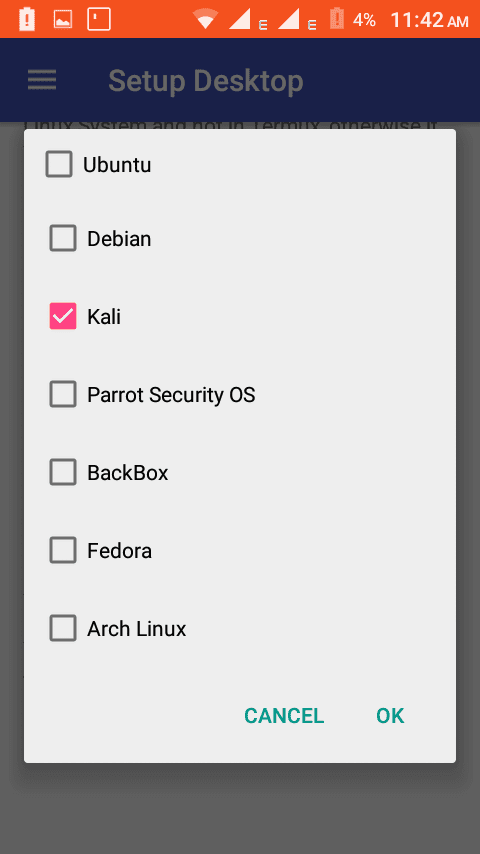
You Will Get the Commands just click on copy
Now Open Termux and start kali by typing
./start-kali.sh
Now Paste the commands
it will take some time to install kali desktop image

after successful installation, You have to select language, Keyboard Type and set a password
if you have done the above then you can start the vnc server by typing
vncserver-start
Note:
The command vncserver-start
must be typed inside the kali machine, ie. after starting kali by ./start-kali.shvncserver-stop command is used to stop vnc server
Now Download VNC Viewer From Playstore
and Make a new connection
In the address field type localhost:1
and give any name as you wish
Now Click on Connect…
Now Enter The Password…
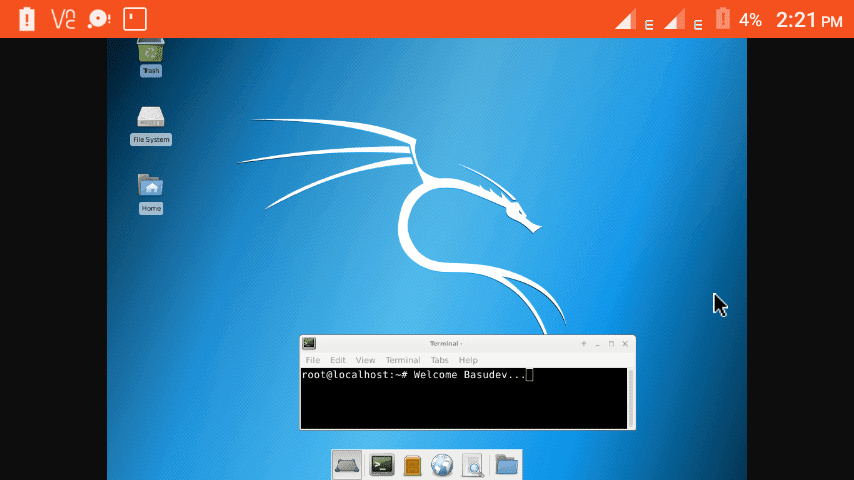
Boom… You are able to use kali linux on android through Termux
Hope You Guys, Found Our Tutorial worthy!