What Does the 504 Gateway Timeout Error Mean?
There’s a lot that happens behind the scene when you visit a website or click a link on your browser. Typically, it follows the steps below:
- Enter a URL in the browser’s address bar.
- The browser validates and locates the website’s IP address (via DNS lookup).
- The browser sends a request to the website’s servers.
- The servers process the request and send a copy of the web page to the browser.
- The browser assembles and interprets the information from the server and displays a webpage.
How to Fix the 504 Gateway Timeout Error
We’ve compiled a handful of potential troubleshooting methods that’ll resolve the error if the problem is from your end. Put them to test and see if they work for you.
1. Refresh the Webpage
As earlier mentioned, a website may display the 504 error code if its servers are overloaded—perhaps due to a sudden spike in traffic. If this is the cause of the error, reloading the webpage may restore things back to normalcy. Click the circular arrow icon next to the address bar or press F5 to reload the page.
You can also reload a page on any browser using the Control + R shortcut (for Windows) or Command + R (for Mac).
2. Restart Your Router or Network Device
Before you reboot your network device, connect your computer to an alternate network if there’s any available. If you can access the webpage on a different network, your wireless router or internet modem is the problem.
Restart the network device, reconnect your computer to the network, and reload the webpage. If you’re still getting the 504 Gateway Timeout error, consider resetting the router or modem to factory default.
3. Check Your Proxy Settings
If you use a proxy on your computer, make sure the server settings are correct and properly configured. Go to Settings > Network & Internet > Proxy (for Windows) or System Preferences > Network > Advanced > Proxies (for macOS) to check for any manual proxy setup.

Disable the proxy and refresh the affected website. If your browser loads the webpage, your proxy configuration is probably the problem.
4. Change DNS Servers
Most computers use the default Domain Name Servers (DNS) designated by the Internet Service Provider (ISP). These ISP-assigned servers are sometimes unreliable and cause issues like slow connectivity. If the affected webpage loads successfully on a different device, change your PC’s DNS provider to any free and reliable public server with fast response time. That can make a lot of difference.
Change DNS on Windows
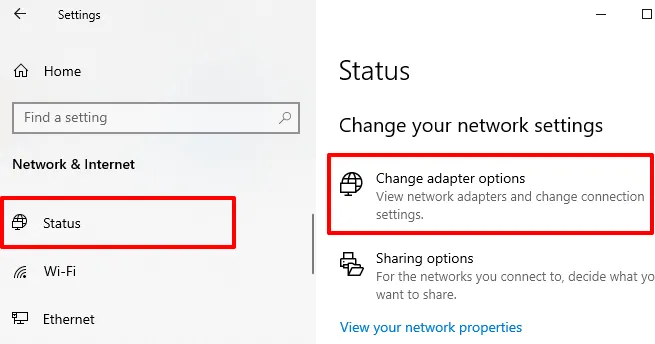
To change your DNS provider on Windows, go to Settings > Network & Internet > Status and click Change adapter options.
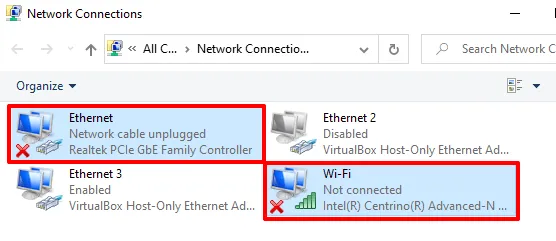
- On the next window, double-click on the adapter responsible for your network connection: Ethernet or Wi-Fi .
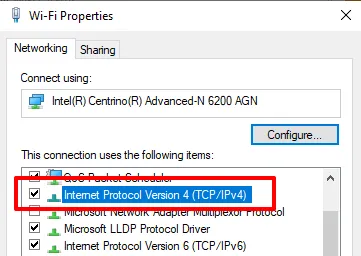
- Click the Properties button.

- In the “This connection uses the following items” section, double-click Internet Protocol Version 4 (TCP/IPv4) .
- Check the “Use the following DNS server addresses, ” enter 8.8.8.8 in the Preferred DNS server box and 8.8.4.4 in the Alternate DNS server box. Click OK to proceed.
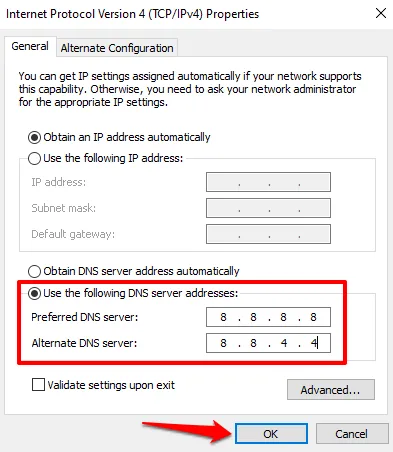
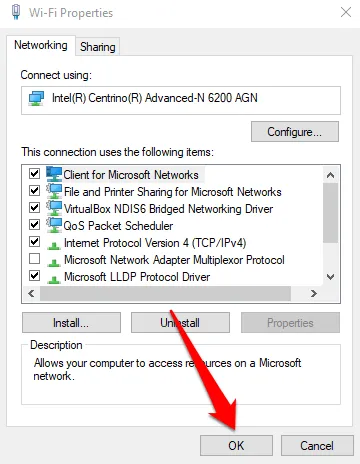
- Finally, click OK on the Wi-Fi/Ethernet Properties window to save the changes.
Change DNS on macOS
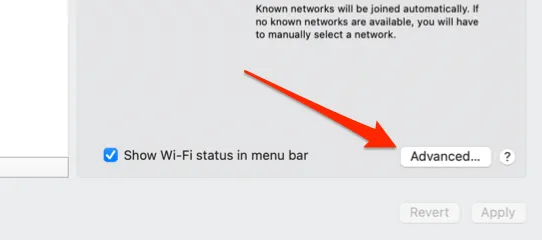
For Mac users, navigate to System Preferences > Network and click the Advanced button at the bottom-left corner.
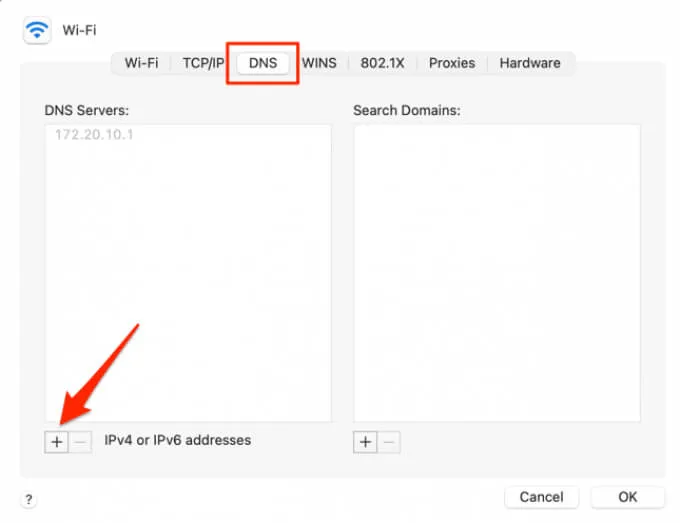
Go to the DNS tab and click the plus (+) icon at the button-left corner to add a new DNS server.
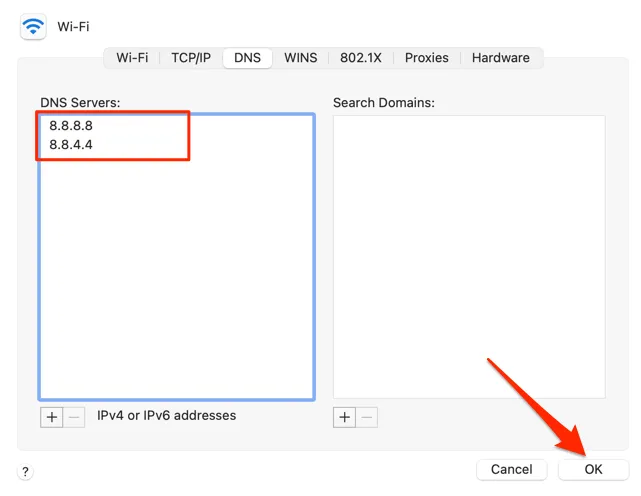
Add these Google Public DNS: 8.8.8.8 and 8.8.4.4. Click OK to proceed and click Apply on the next page to save the changes.
5. Clear the DNS Cache
When you visit a website, your computer stores information about the website’s domain name in a DNS cache. Next time you visit the website, data in the DNS cache swiftly points your browser in the right direction so that the website loads faster.
It’s possible to experience a timeout error if a website changes its IP address or server. This is because the DNS cache will direct your browser to the old (or outdated) IP address. You can fix this problem by clearing the DNS cache. That will prompt your device and browser to obtain updated DNS information next time you visit the website.
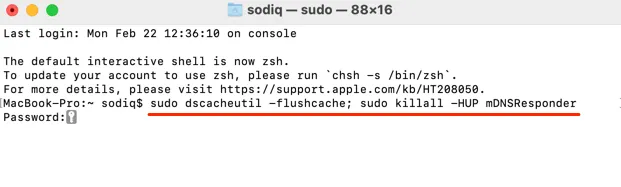
To clear the DNS cache on Mac, launch Terminal (go to Applications > Utilities > Terminal), paste the command below in the console, and press Return.
sudo dscacheutil -flushcache; sudo killall -HUP mDNSResponder
Enter your Mac’s password when prompted and press Return.
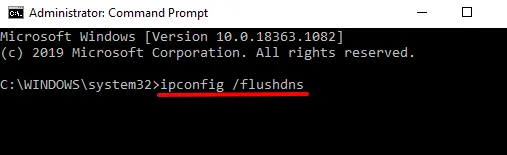
For Windows devices, launch the Command prompt (press Windows + X and select Command Prompt (Admin)), paste the command below in the console, and press Enter.
ipconfig /flushdns
Enjoy an Error-Free Internet Experience
Hopefully, you now know what causes the 504 timeout error and how you can attempt to fix it as a website visitor. If the error continues after troubleshooting your computer and network settings, reach out to the website administrator; the problem is most definitely due to server-side malfunctions. If the error is popping up on every other website, you should contact your ISP to confirm if there’s a network outage. (Source: helpdeskgeek)
Happy learning!