Did you know that you can use the built-in tool DISM on Windows machines to export drivers?
Windows comes with a set of drivers to make sure that most hardware devices work out of the box. Manufacturers create drivers for their devices that users may install; these may add support for functionality or may be required to get a device working at all on a Windows PC.
If you plan to migrate to a new Windows PC or to set up the current one from scratch, you may be interested in having these custom installed drivers at hand to install them.
Tip: you may list all installed third-party Windows drivers using the free tool DriverView. Nir Sofer has another tool, InstalledDriversList, which you may use as well. There is also Driver Store Explorer that you may use.
How to export drivers using DISM
With DISM, it takes one command to export drivers on the current Windows system. Here is how that is done.
- Open Start.
- Type cmd.exe.
- Select Run as administrator.
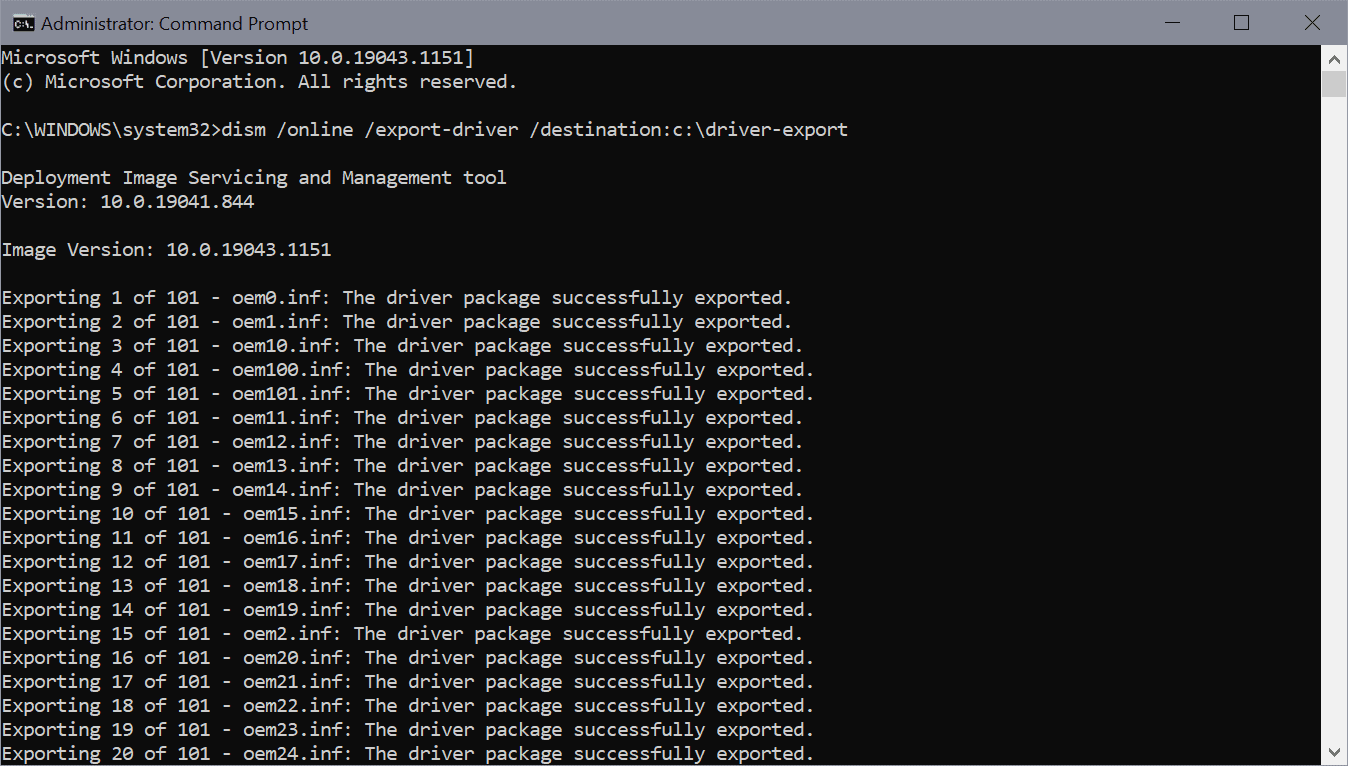
- Run the command dism /online /export-driver /destination:
- replace with the path that you want the exported drivers to be saved to, e.g. c:\users\martin\downloads\driver-export\
- Note that the folder needs to exist, you get an error otherwise and no export.
The command exports all third-party drivers to the destination folder. Note that you may also use it to export drivers from an offline image using the following command (run from an elevated PowerShell prompt)
Export-WindowsDriver -Path c:\offline-image -Destination d:\drivers
Check out Microsoft’s Docs website for a full list of available parameters.
The process may take a moment to complete. A test on a Surface Go device resulted in 101 exported drivers. The process took several minutes to complete.
The exported drivers are placed in the specified folder. Each driver is put in a separate folder.
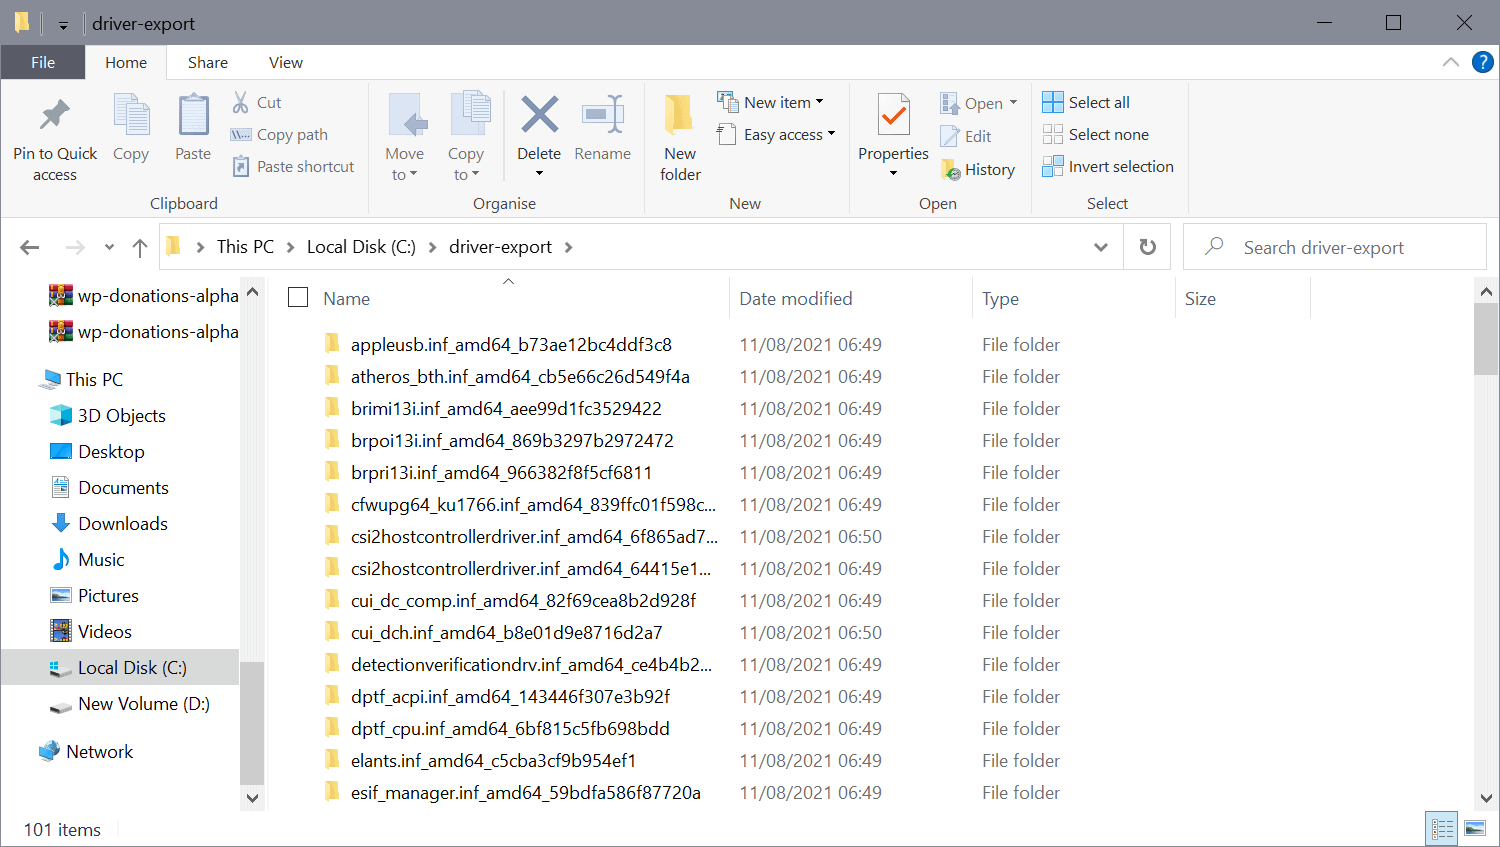
Recognition may be difficult, as folder names may not reveal much about the driver. You may open the .inf file in a folder in a plain text editor to look up additional information.
Import the exported drivers
Importing can be done for individual drivers or, by using a special command, for all drivers.
You may right-click on an .inf file to install the driver. Another option that you have is to open the Windows Device Manager to use the update driver button. Using it, you get an option to pick a driver from the local system. Just pick the exported driver and wait for the process to complete.
A recursive import of all exported drivers requires the tool pnputil.exe. Run the following command in an elevated command prompt window:
pnputil.exe /add-driver *.inf /subdirs /install
Replace with the full path of the exported drivers folder.
Closing Words
It takes a single command to export all third-party drivers on Windows systems. Using it before setting up a system anew or migrating to a new system may help users who don’t have access to certain driver installations anymore.
Happy learning!