How to enable “enhanced” search in Windows 10
To enable Enhanced Search in Windows 10:
- Launch the Settings app.
- Click Search > Searching Windows.
- Click the “Enhanced” radio button under “Find my Files”.
Applies to Windows 10 1903, and up
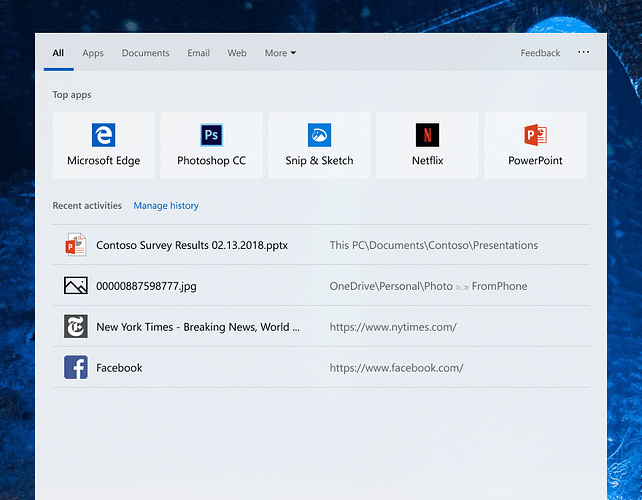
Windows 10’s May 2019 Update overhauled the search experience by separating it from the Cortana assistant interface. As part of this change, Microsoft also revised search itself, adding a new “enhanced” mode which is more effective at finding files.
Previously, the taskbar searchbar would only search through files on your desktop and in your libraries. The new enhanced mode lets you search all the files on your device, irrespective of where they’re located. This means search is more likely to deliver a result, especially if you store files in non-standard locations.
Because enhanced search has a much broader scope, you might notice slightly reduced performance and battery life when lots of new files are being indexed. Nonetheless, if you use search a lot, the benefits of the new system should significantly outweigh the few caveats.
Enabling Enhanced Search
To enable Enhanced search, open the Settings app (Win+I keyboard shortcut) and then click the new “Search” category. Choose the “Searching Windows” page from the left sidebar. Next, click the “Enhanced” radio button option under “Find My Files.”
Enhanced search will now be turned on. If this the first time you’ve used it, Windows will commence indexing your files. You can track the progress under the “Indexing Status” heading.
Indexing might take a long time, especially on low-end devices. The process automatically pauses if you’re running on battery power. Until the index is complete, some files might not appear in search results, so it’s best to connect your device to power and wait for the procedure to finish.
Excluding folders from Search
You can stop folders from showing up in search using the “Add an excluded folder” button further down the Searching Windows page. Use the filepicker to browse for the folder to exclude. Any files within the location will be removed from the index, so you won’t see them in search.
Generally, you should exclude all root directories which don’t contain your own files. Some locations, such as the Windows system directory, are excluded by default as you’re unlikely to ever search them. Excluding folders which only contain system files reduces the index size and improves performance, so spend the time to blacklist any locations you’ll never need to search.
With the configuration complete and the index built, you can now press Win+S to search all the indexed files on your PC. You should find many more results display, compared with the libraries-only search of previous Windows 10 releases.


