As we know we can use free internet from some networks using the application HTTP Injector. For this we should create a SSH account and then other work is done from the HTTP Injector app. The detail process is described below.
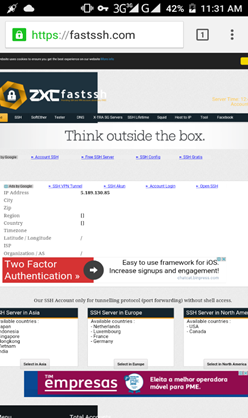
First of all we should create an SSH account from www.fastssh.com.
It looks like
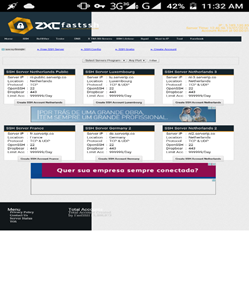
Now Click on Select in Europe and select SSH Server from that page.
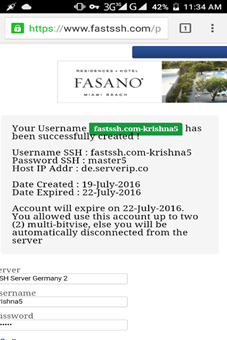
Then comes a page where we create SSH account. Enter Username, Password and solve simple mathematics question and clock on Create Account which is valid for 3 days. To Create 7 days account enter username on right side of page on Create account for 1 week.
After Clicking Create Account our account is created if no error which is valid for 3 days.
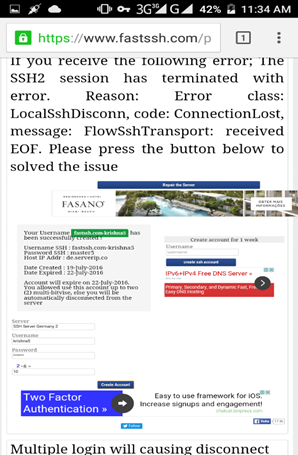
Similarly when you enter username on Create Username for 1 week and click on Create SSH account then another page appears.

Then Press on Back button in Browser or go back to previous page then there comes the Create account page for 7 days (1 Week).
After entering details and clicking on Create Account . SSH Account for 7 Days is created.
Now It’s time to create Config file from and for HTTP Injector. If you don’t have HTTP injector you can download it from Play Store.
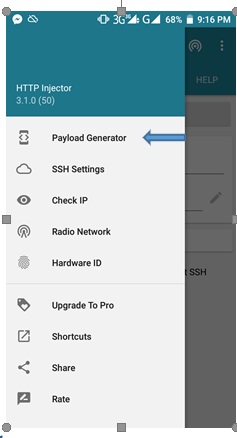
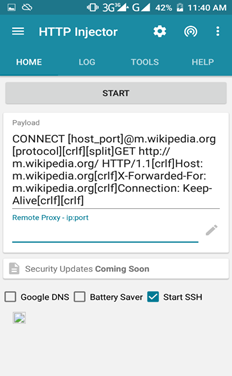
• Open HTTP Injector and click on Menu“ “ .
• Click on Payload Generator.
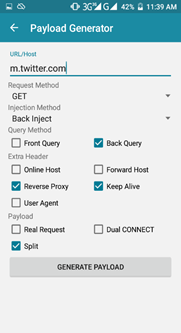
• Enter “m.twitter.com” or “m.wikipedia.org” in URL/HOST field.
• Select Injection Method to “Back Inject” which automatically selects Request Method as “Get”.
• Check Query Method as “Back Query” .
• Check Extra Header as “Online Host” and “Keep Alive”.
• Check Payload as “Split”.
• Click on Generate Payload button which redirect to new page as below
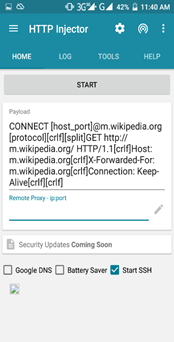
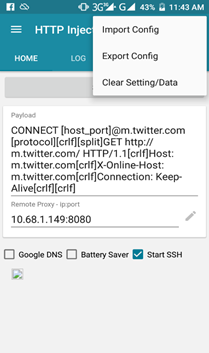
On the new page enter “10.68.1.149:8080” in “Remote Proxy-ip:port” field. And Click on Start .
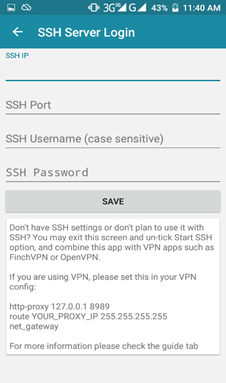
Now a new page appears where we have to enter the details of SSH Account we have created earlier at first.
• On SSH IP field enter “de.serverip.co”.
• On SSH Port enter “443”.
• On SSH Username field enter the previously registered SSH username. Eg: fastssh.com-abcxyz
• On SSH Password field enter the registered username Password.
• Now Click on Save button.
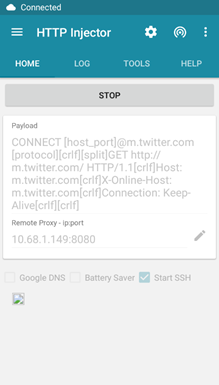
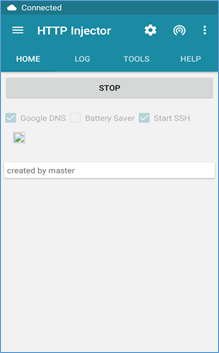
• On the seen Page click on “Start” to check whether the entered data are correct or not. If it gives the message “Connected” then we are ready to export the file . If it is not then repeat the process and enter the correct details.
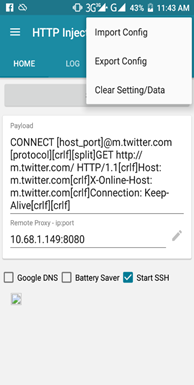
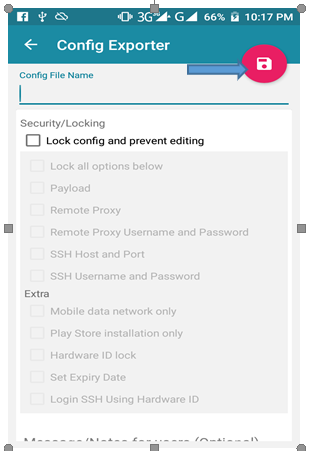
• After it gives the “Connected” message click on “Stop” . Then Click on rightmost 3 dot(.) menu option and click on “Export Config”.
• Provide the Config File Name in Config File Name field . Check on “Lock config and prevent editing” . And provide Message/Notes in Message/Notes for users(Optional) field if you like.
• Now your Config File is exported in your Storage. You can use it by Clicking on Import Config in rightmost triple Dot(.) Menu.
In this way Config file is created and Imported in HTTP Injector to use free internet.