Saving email attachments is a great way to back up all those images, documents, music, and whatever else you’re emailed throughout the day. But doing it manually is not a fun process, you’re likely to miss a few over time, and you’ll use up valuable storage on your computer.
What you can do instead is set up your email to automatically save attachments to an online file storage service. Most cloud storage services have loads of free space, and the methods described below can save the email attachments automatically with each new email.

There are two really great ways to automatically save email attachments to a cloud storage service. The first one we’ll look at uses the file storage service Koofr to both auto-save and store the attachments; it works from any email but your files can only be saved to Koofr’s storage service.
The other method is a bit more flexible in that you can pick a different cloud storage service, but it doesn’t work with all email providers.
Using Koofr To Auto-Save Email Attachments
- Visit Koofr and make a new account. You can do so with your email address or Google account.
- Go to Add > Create folder .
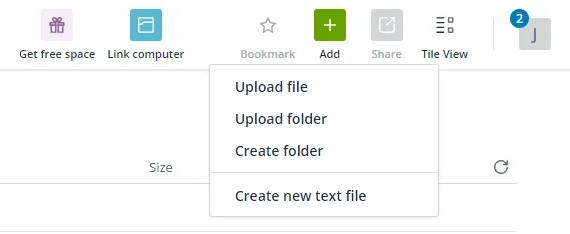
- Name it something about attachments, because this is where all your email attachments will be gathered.
- Hover your mouse over the new folder to find a button called Share . Select it, and then choose Receive files .
- Pick Never in the expiration section.
- Copy the email address at the bottom and then select OK .

- Go to your email provider’s website and set up automatic forwarding for any emails that have attachments.
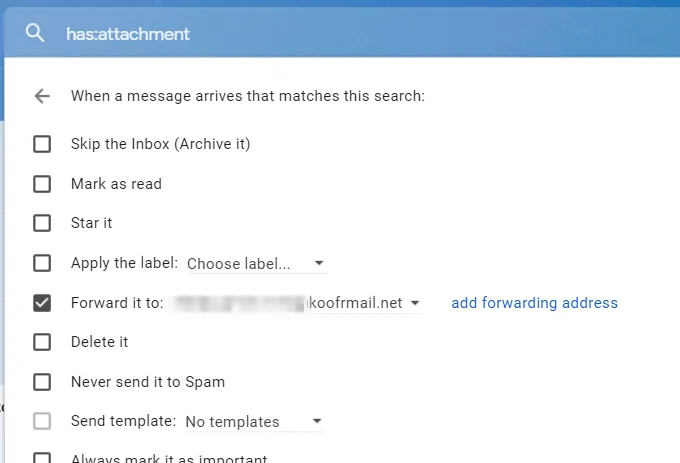
- In Gmail, you can do this by entering the Koofr email into the forwarding settings in your Gmail account. After confirming that the email address is yours, select the arrow next to the search bar and marking Has attachment .
- From there, choose Create filter and then Forward it to .
- Select Create filter to turn it on.
All your attachments are stored in the folder you made above. Something to know about this procedure is that the emails are stored, too, not just file attachments. So it works as an email backup service too.
Unfortunately, you can’t choose to save only the attachments, so the folder could get cluttered fairly quickly.
Automatically Saving Email Attachments With Zapier
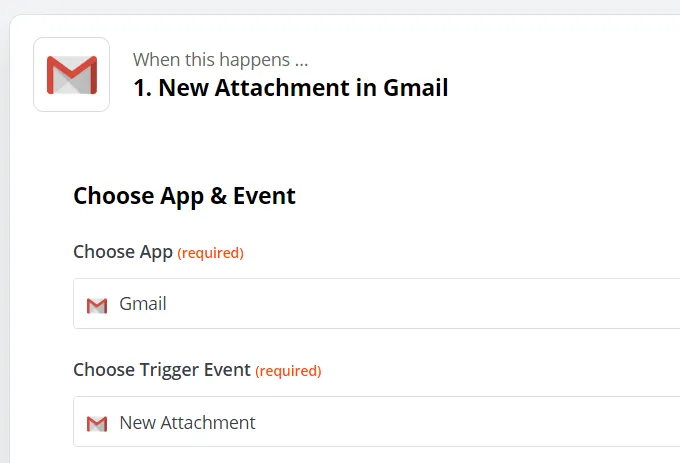
- Open the new Zap page. If you’re not logged in, you’ll have an opportunity to make an account.
- Choose your email provider in the first text box (Gmail, Microsoft Outlook, and others are supported) and then New Attachment in the second one, followed by Continue .
- Choose your email account from the drop-down box or, if asked, log into it to make the connection. Press Continue .
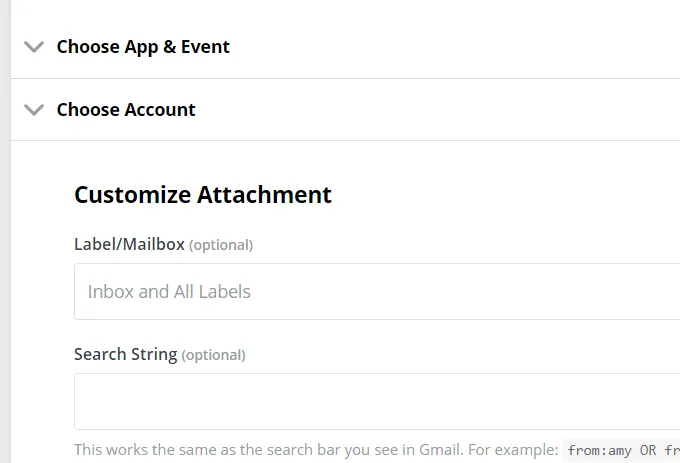
- Pick a label to save attachments only if the email is labeled with the one you choose, or pick Inbox and All Labels to save every attachment regardless of how it’s labeled.
- You can also use this screen to force the attachment saving to take place only if the email matches a specific search. For example, to auto-save attachments from a specific person, you’d enter from:[email protected] .
- Press Continue when finished.
- Optionally test the routine by selecting Test & Review , or finish with the Test & Continue button.
- Select the plus sign under Do this… to choose what should happen once an email with an attachment is found.
- Find and select the cloud service you want to save email attachments to. Popular ones like OneDrive, Dropbox, Google Drive, and Box are supported.
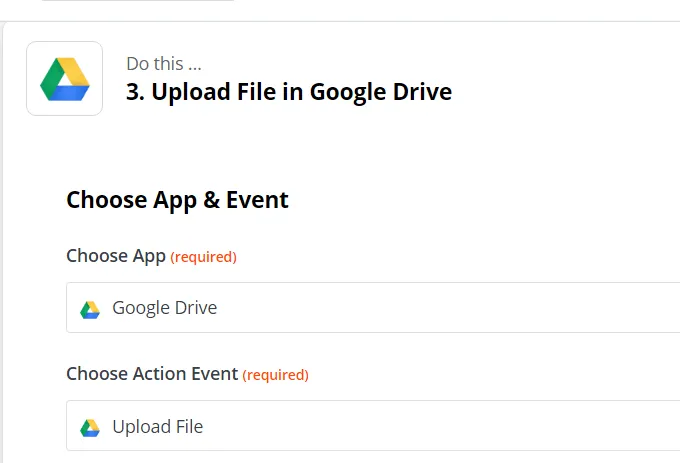
- Under Choose Action Event , select what should happen. We’re using Google Drive for this example, so we’ll choose Upload File .
- Press Continue .
- Sign into the cloud service provider when asked.
- Optionally choose where within your account you want attachments saved.
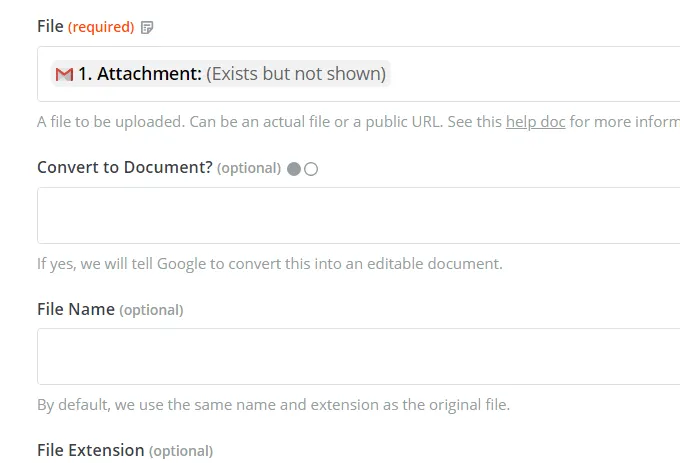
- For the File option, choose Attachment . Optionally fill out the rest of the fields, and then press Continue .
- Optionally test the routine and then press Turn Zap On to enable it.
Using Zapier to automatically save email attachments doesn’t do anything to the original email. The message won’t be marked as read and the attachment and/or message won’t be deleted.
Other Email Attachment Saving Methods
Zapier and Koofr are the best ways to automatically save email attachments to a cloud storage service, but we shouldn’t overlook other, not-so-automatic methods that are built right into some email provider websites.
- With Gmail, for example, you can hover your mouse over an attachment and choose Save to Drive to instantly transfer it to Google Drive.
- If you’re on Outlook.com, select the cloud icon that shows up on attachments to save the file to OneDrive.
- Yandex.Mail users can open an attachment and select save to Yandex.Disk .

Another method involves cloudHQ. The way it works once you’ve got it set up is that you open the email that has the attachment you want to save, and then click a button to choose where in your cloud storage service you want it stored.
It takes a few clicks but still beats downloading the attachment and uploading it to the file storage site manually.
There are three extensions you can install to Chrome to make this work:
Here’s how this works if you’re using it in Gmail to save email attachments to Google Drive:
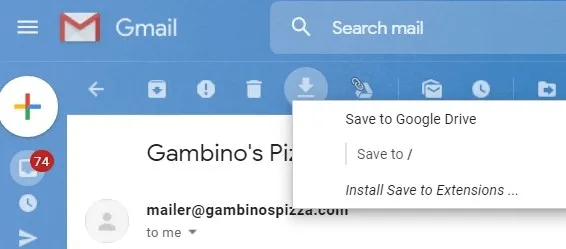
- Open the email that has the attachment.
- Select the download button from the menu at the top.
- Choose Save to Google Drive .
- Choose a folder if you want, but make sure to pick Save only attachments from the drop-down menu.
- Optionally change how the attachment is named, and then press Save .
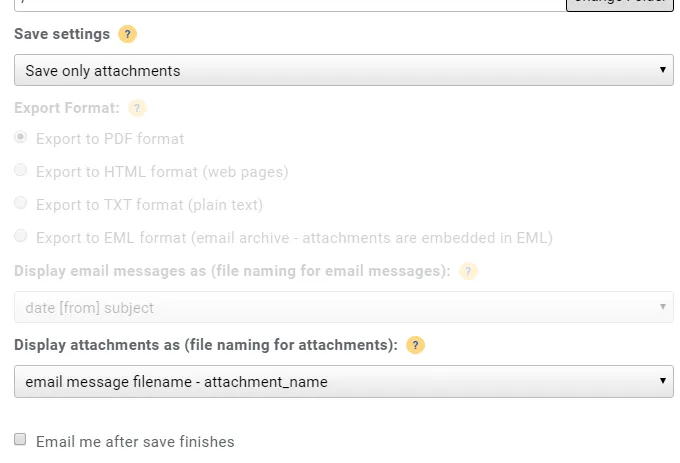
As you can see, cloudHQ can also save the whole message if you’d prefer. Just change the Save settings option to do that.