
Hacking kit is take an important role on professional pentesters. Some of exploitations requires hacking hardware to complete an attack. There is so many hacking kit types, but now we going to create USB Rubber Ducky from cheap hardware called Digispark.
What is USB Rubber Ducky?
Rubber Ducky is the name of USB for hacking and pentesting, this USB is different from regular USB. USB Rubber Ducky developed to impersonates a keyboard. Basically if the USB is plug in on your computer then it can type anything on your keyboard. Of course before that attacker programmed the USB to type a command for inject malicious payloads such as reverse shells and RATs.
Computers recognize it as a regular keyboard and automatically accept its pre-programmed keystroke payloads at over 1000 words per minute. And also you can injecting keystrokes wirelessly with tool called Uberducky. USB Rubber Ducky is quite popular on hackers communities. It also shown in a hacking scene in Mr. Robot.
Convert Digispark into USB Rubber Ducky
To create cheap hacking USB, you must have the requirements:
Requirements
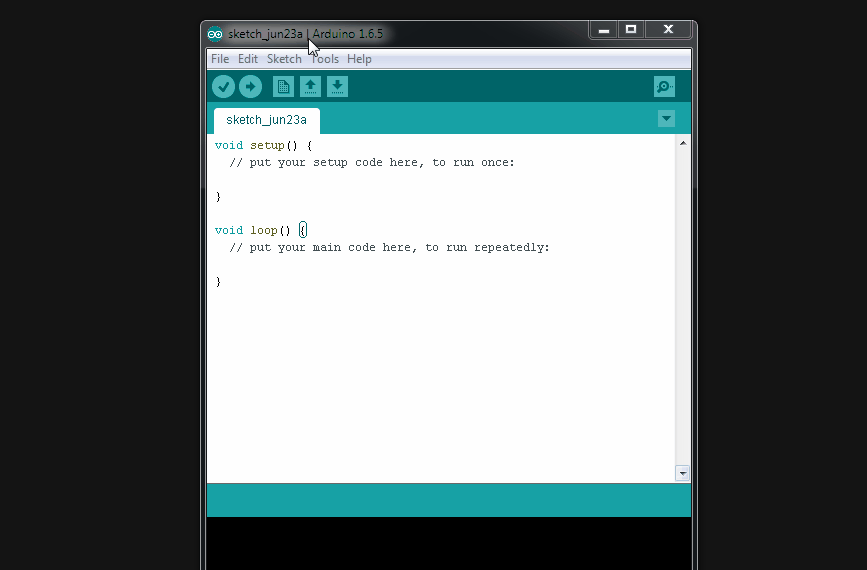
Step 1: Setup Digispark on Arduino IDE
Install your Arduino IDE, after finish plug in your Digispark and then open the Arduino IDE. Go to File → Preferences.

On the input field named “Additional Boards Manager URLs” enter this URL. Then click OK
http://digistump.com/package_digistump_index.json

Go to Tools → Board → Boards Manager. From the drop down menu select “Contributed”, Select the Digistump AVR Boards package and click Install button.
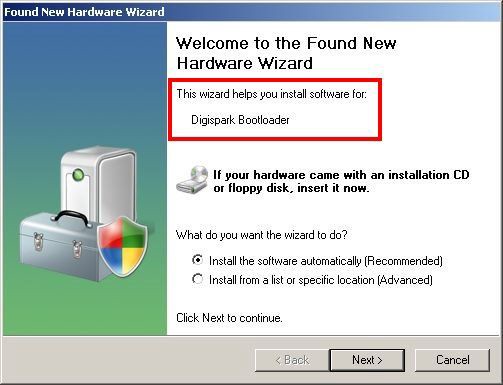
Step 2: Install Digispark Bootloader Driver
Installing botloader driver is very important. Once you program it, it’ll work like a rubber ducky (a generic USB keyboard) on any device you plug it into without any driver. Download the driver here and then install it.
Step 3: Final Installation
After all step is complete, close the “Boards Manager” window and then select the Tools → Board, and select Digispark (Default — 16.5mhz) and set it as default.

Now your Digispark is successfully converted into USB Rubber Ducky. You can upload any payloads and then try to plug the malicious Digispark USB on your computer.
Upload Payloads into Disgispark
There is so many tools which can help you choose any payloads you want. Here is the tool Digispark-Duckduino, DigiSpark-Scripts or you can convert the original Rubber Ducky Payload into Digispark Payload with Duck2spark.
To inject the payload into Digispark USB, it very simple, you just have open the arduino IDE and write/insert your payload code after that click upload and then plug in the Digispark.
